Introdução
The Creative Ziio boasts excellent sound quality and usability. It uses a 7'' LCD screen that cannot be replaced by a generic screen. Replacement screens may be provided by contacting Creative, depending on warranty details. Searching local tech stores or online tech supply sites may be helpful as well.
O que você precisa
-
-
Remove the back panel by using the plastic opening tool to carefully pry around the panel's edges.
 Pergunte ao FixBot
-
-
-
Remove the four 3mm Philips #00 screws around the large silver battery.
-
-
-
Remove the four 4mm Philips #00 screws on the edges of the circuit board.
-
-
-
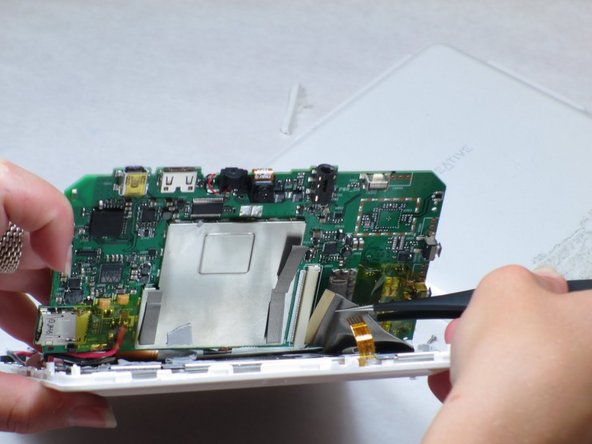
Ferramenta utilizada neste passo:Tweezers$4.99
-
Remove the ribbon cable from the exposed side of circuit board near the headphone jack.
-
Carefully lift up the circuit board on the detached side.
-
Disconnect the second ribbon cable by pulling the end of the ribbon from its housing on the circuit board with tweezers.
-
-
-
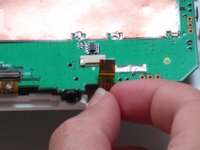
On the opposite end of the device: Remove the ribbon cable in between the speakers at the end of the battery.
-
-
-
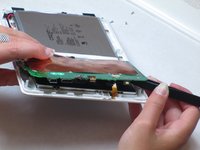
There are three additional 3mm Philips #00 screws underneath the circuit board that need to be removed.
-
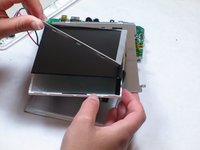
Now, remove the battery and circuit board with the LCD attached and turn it over so the screen is facing upwards.
-


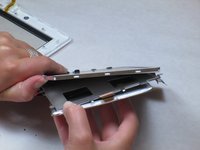

To reassemble your device, follow these instructions in reverse order.
Cancelar: não concluí este guia.
2 outras pessoas executaram este guia.
Equipe

Cal Poly, Team 14-10, Maness Spring 2013 Membro de Cal Poly, Team 14-10, Maness Spring 2013
CPSU-MANESS-S13S14G10
4 Membros
Autoria de 15 guias
2Comentários do guia
Where can I buy Creative Ziio 7" LCD Scren?
i need LCD Creative Labs ZIIO 7 Inch Tablet, where i can buy?... please help me... thx before...