Introdução
Introduction
If your Creative Ziio 7" tablet’s camera is no longer functioning, whether it’s producing blurry images, failing to open, or not capturing photos. this guide will help you replace the faulty camera and restore your tablet’s functionality.
The camera module allows your tablet to capture photos and videos, making it essential for video calls, photography, and more. This repair involves disassembling the tablet, disconnecting delicate ribbon cables, and replacing the camera module with a compatible part.
Tips and Warnings:
- Power off your tablet completely and unplug it from any external power sources.
- Use caution when opening the back panel to avoid damaging clips or internal components.
- Handle delicate parts, like ribbon cables, gently to prevent accidental damage.
This guide is beginner-friendly and does not require advanced skills such as soldering. However, patience and careful attention to detail are essential for a successful repair.
O que você precisa
-
-
-
Remove the back panel by using the plastic opening tool to carefully pry around the panel's edges.
 Pergunte ao FixBot
-
-
-
-
-
Unscrew the four 3mm Phillips #00 screws found in each corner of the motherboard.
-
-
-
-
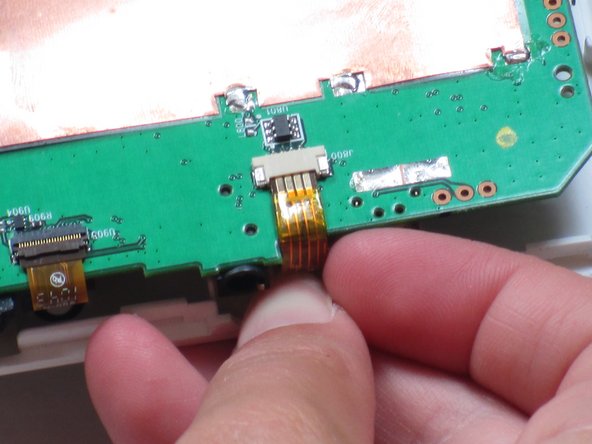
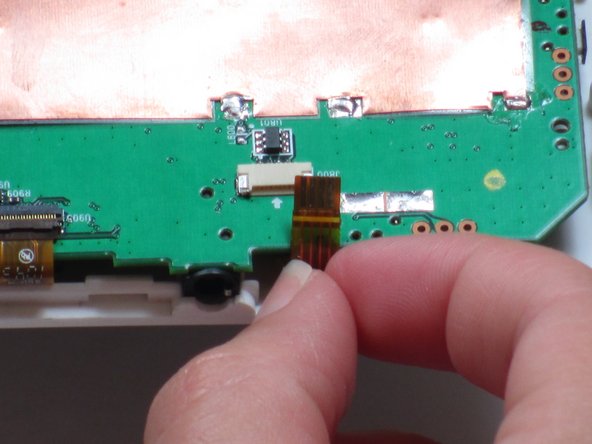
Unplug the ribbon cable near the edge of the motherboard in the bottom right of the device.
-
-
-
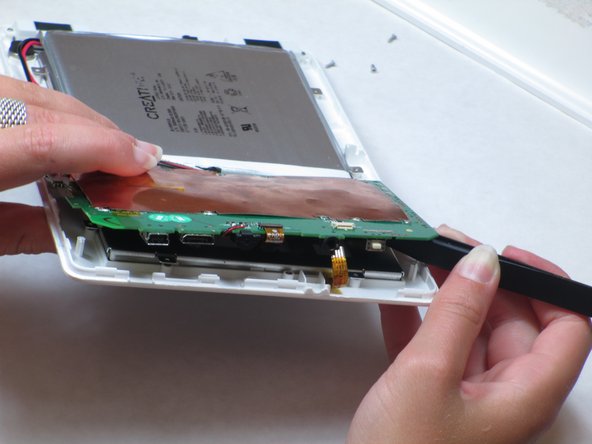
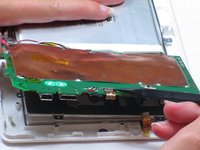
Lift up the motherboard.
-
Remove the tape on top of the strip. Use tweezers or pliers to pull on the strip and unplug it.
-
-
-
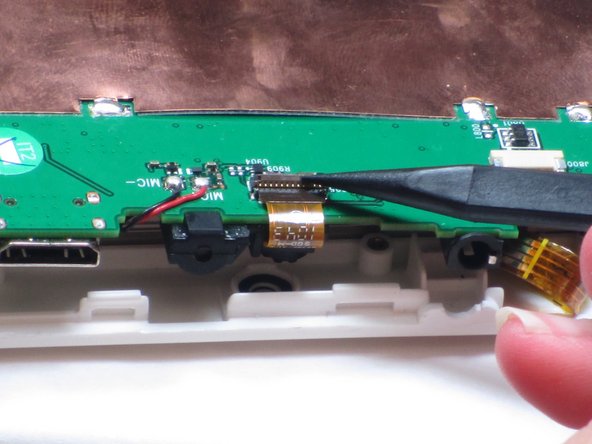
Lift up the motherboard and locate the ribbon cable (burnt orange-colored strip) centered on top of the motherboard.
-
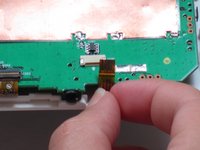
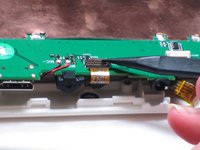
Unplug the ribbon cable using your fingers to pull up on the flap.
-
-
-
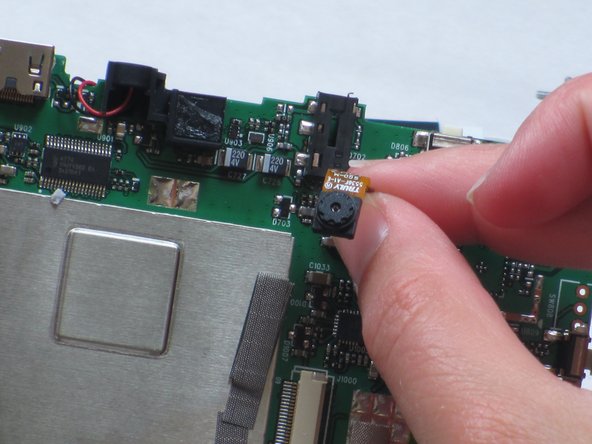
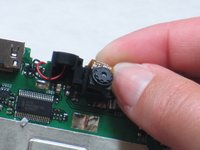
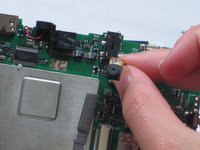
Use a spudger to pry the camera away from the rubber camera mount.
-
Remove the broken camera and use electronic-friendly adhesive to attach a new camera.
-
-





To reassemble your device, follow these instructions in reverse order.
Cancelar: não concluí este guia.
2 outras pessoas executaram este guia.

Equipe

Cal Poly, Team 14-10, Maness Spring 2013 Membro de Cal Poly, Team 14-10, Maness Spring 2013
CPSU-MANESS-S13S14G10
4 Membros
Autoria de 15 guias
