Introdução
The motherboard is the "brains" of the device. If the device has faulty processing power, memory, or faulty input/output ports then the motherboard will need to be replaced. Be sure to follow all prerequisite guide steps in order to ensure correct removal. Many small screws are holding in the motherboard so be sure to not loose any of them. Be sure to refer to the list of required tools.
O que você precisa
-
-
To replace the back cover of the device you must pry it open using the access points. One is located on the top of the device above the camera and the other is on the bottom left hand side.
-
Use the spudger to pry at the access points to open the device.
-
-
-
Once the back cover begins to separate from the body of the device continue working the spudger around the perimeter of the device until the back cover is free.
-
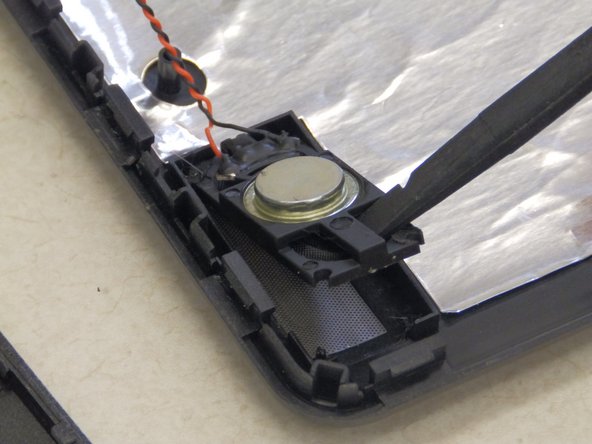
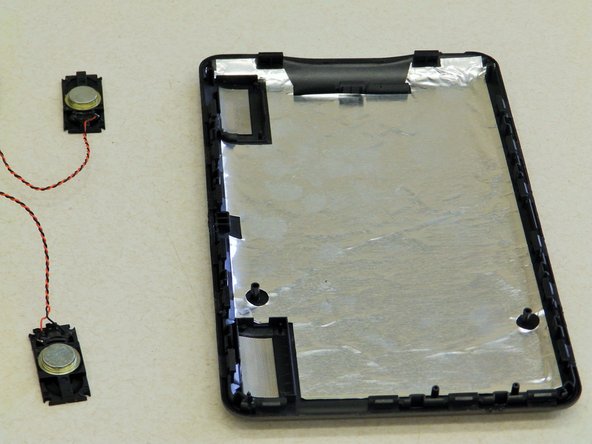
Once the back cover is free from the body of the device, open both sides like a book, placing them flat on the table as shown. Be sure to pay attention to the speaker wires that hold the two pieces together.
-
-
-
-
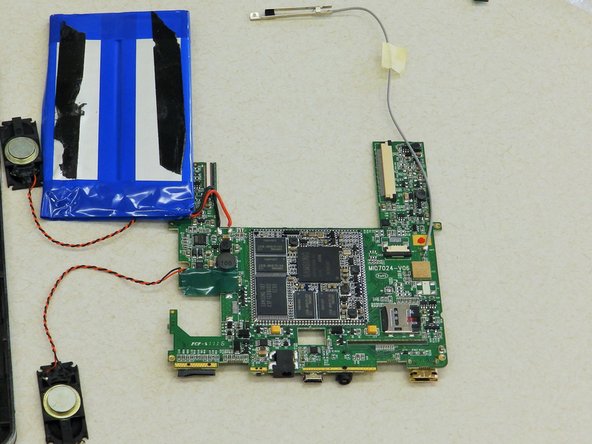
Use a soldering gun to remove the positive and negative wires connecting the battery to the motherboard.
-
-
-
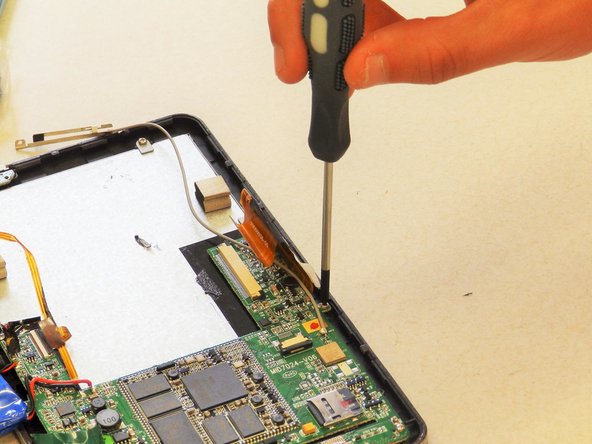
Locate the four 5mm screws holding the motherboard in place and remove them using the Phillips #0 Screwdriver.
-
-
-
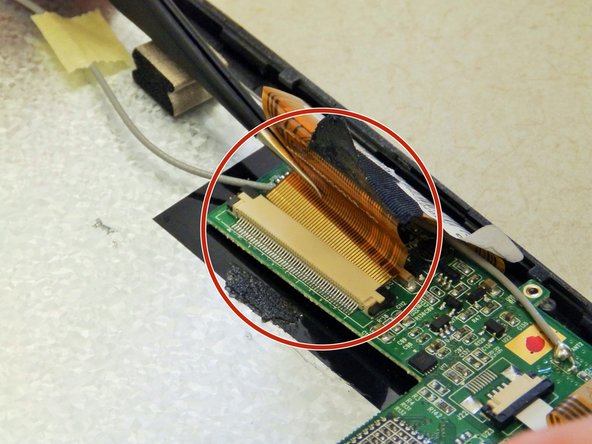
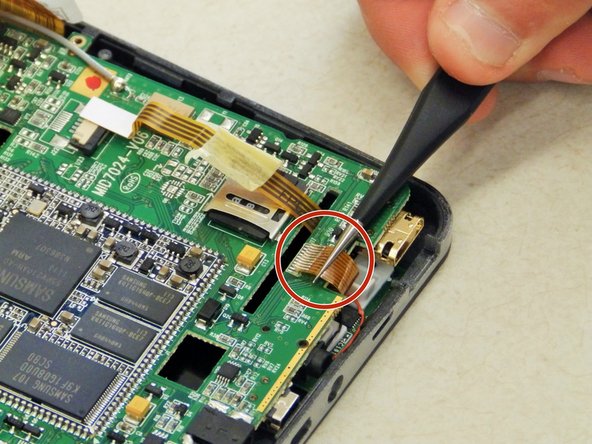
Locate the four ribbon cables shown in the yellow highlighted areas.
-
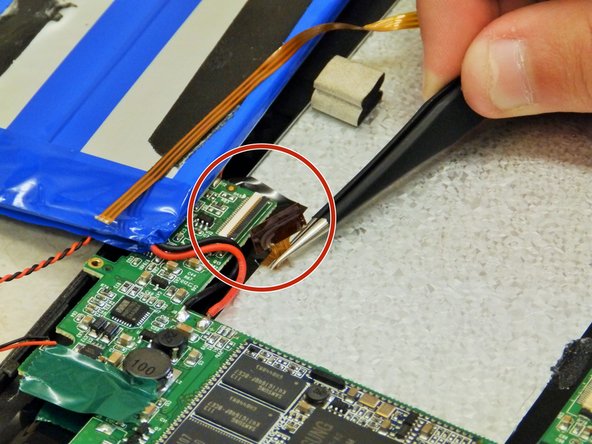
The digitizer is connected by a ZIF (zero insertion force) connector. The two black pieces on each end need to be pressed in simultaneously before the ribbon cable can be removed.
-
While pressing the black pieces, grasp the digitizer ribbon cable (widest one) with the tweezers and pull away from the connector as shown.
-


To reassemble your device, follow these instructions in reverse order.
To reassemble your device, follow these instructions in reverse order.
Equipe

Clemson, Team 6-3, Benson Spring 2016 Membro de Clemson, Team 6-3, Benson Spring 2016
CLEM-BENSON-S16S6G3
Membros da 4
Autoria de 16 guias