Ir para o conteúdo principal
Participe da comunidade de reparos - Criar conta

Chef's Choice M115 Power Switch Replacement

O que você precisa

  1. Chef's Choice M115 Power Switch Replacement, Case: passo 1, imagem 1 %32 Chef's Choice M115 Power Switch Replacement, Case: passo 1, imagem 2 %32
    • Remove the two rubber feet on the motor side of the device.

    • Remove the five Phillips screws from the bottom of the case.

    • These screws are recessed deep in the device, so a long, thin screwdriver is required.

    Pergunte ao FixBot

    Comentar

  2. Chef's Choice M115 Power Switch Replacement: passo 2, imagem 1 %32
    • Remove the two hex-cap screws on the bottom using a pair of pliers.

    Pergunte ao FixBot

    Comentar

  3. Chef's Choice M115 Power Switch Replacement: passo 3, imagem 1 %32
    • Carefully flip the device right-side-up while grasping the top and bottom pieces.

    • The white cover should lift off with no resistance. If it does not, ensure all screws were removed in previous step.

    Pergunte ao FixBot

    Comentar

  4. Chef's Choice M115 Power Switch Replacement: passo 4, imagem 1 %32
    • Remove the sharpener guard by gently pulling up on it.

    • If the sharpener guard does not come off easily, ensure all screws were removed in step 1.

    Pergunte ao FixBot

    Comentar

  5. Chef's Choice M115 Power Switch Replacement, Power Switch: passo 5, imagem 1 %32
    • Carefully lift the entire motor assembly out of the case.

    Pergunte ao FixBot

    Comentar

  6. Chef's Choice M115 Power Switch Replacement: passo 6, imagem 1 %32 Chef's Choice M115 Power Switch Replacement: passo 6, imagem 2 %32
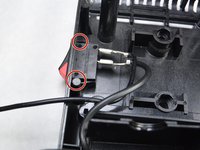
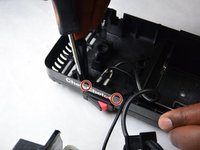
    • Using a screw driver, unclip the edges of the switch by pushing them inwards and nudging the switch out of the plastic casing. You will hear a click when the edges unhook from the casing.

    Pergunte ao FixBot

    Comentar

  7. Chef's Choice M115 Power Switch Replacement: passo 7, imagem 1 %32 Chef's Choice M115 Power Switch Replacement: passo 7, imagem 2 %32
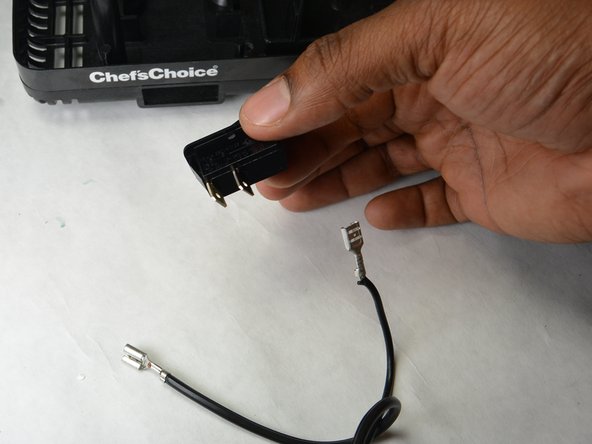
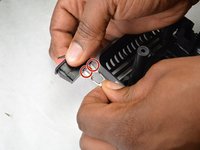
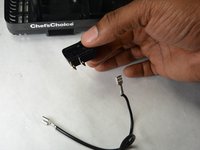
    • Remove the spade connectors from the switch by pulling only on the connector, not the wire.

    • This may require a fair bit of force. Use caution to not damage the device, yourself, or your surroundings.

    Pergunte ao FixBot

    Comentar

Conclusão

To reassemble your device, follow these instructions in reverse order.

Cancelar: não concluí este guia.

2 outras pessoas executaram este guia.

Equipe

IUPUI, Team 3-3, Harley Fall 2015 Membro de IUPUI, Team 3-3, Harley Fall 2015

IUPUI-HARLEY-F15S3G3

5 Membros

Autoria de 14 guias

1Comentário do guia

What kind of switch should I replace the bad switch with? Is there one on Amazon ?

Ryan Frawley - Responder Compartilhar

Comentar

Visualizações:

Últimas 24 horas: 0

Últimos 7 dias: 5

Últimos 30 dias: 26

Ao todo: 671