Introdução
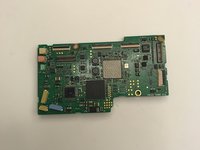
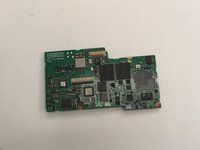
The motherboard of the Canon Powershot Pro1 contains a large percentage of the camera’s circuitry. Damage to the motherboard can result in a variety of issues. This guide can help you replace your damaged motherboard.
Use care when removing the ribbon cables and connectors, and ensure you place connectors into their designated position.
O que você precisa
-
-
-
Locate the battery compartment cover on the right hand side of the camera. The cover features the text: “CF/BATT.OPEN”.
 Pergunte ao FixBot
-
-
-
There is an arrow beside the text. Using your hands, slide the cover in the direction of this arrow.
-
-
-
Pull the cover toward you. After doing so you will see the battery sitting inside the compartment.
-
-
-
-
Press the orange battery lock inside the compartment.
-
Remove the battery.
-
-
-
-
-
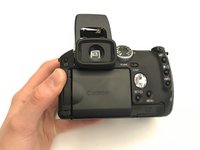
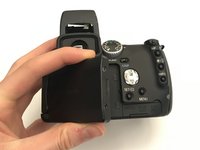
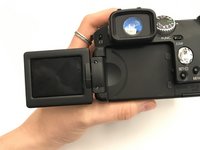
Open the screen to access the underside of the camera.
-
-
-
Using the Phillips #000 screwdriver:
-
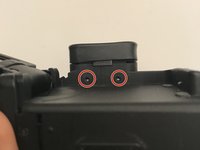
Remove two 1.00 mm screws under the viewfinder.
-
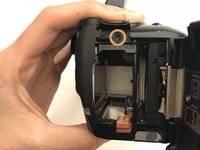
Remove one screw in the battery compartment.
-
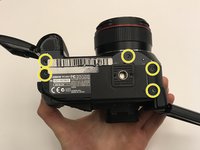
Remove five screws on the bottom of the camera.
-
Remove one screw on the left side of the camera (opposite the battery compartment).
-
-
-
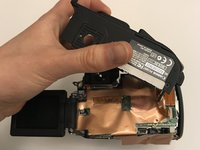
Completely detach the cover from the motherboard.
-
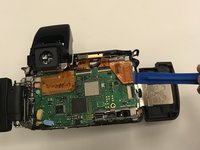
Lift the inside cover to reveal the motherboard.
-
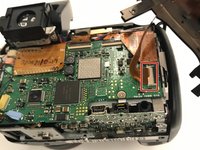
Detach the bottom right ribbon cable from the motherboard.
-
-
Ferramenta utilizada neste passo:Tweezers$4.99
-
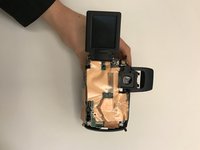
Lift up the gold insulation cover to reveal the motherboard.
-
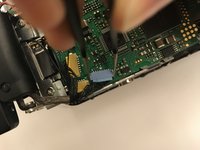
Use tweezers and an iFixit opening tool, detach any wire connectors and ribbon cables from the motherboard.
-
-
-
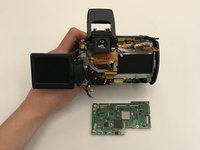
Once detached from all connectors and ribbon cables, remove the motherboard.
-
-










To reassemble your device, follow these instructions in reverse order.
Cancelar: não concluí este guia.
2 outras pessoas executaram este guia.

Equipe

University of Alabama, Team S1-G1, Bedsole Fall 2019 Membro de University of Alabama, Team S1-G1, Bedsole Fall 2019
UA-BEDSOLE-F19S1G1
3 Membros
Autoria de 10 guias
