Essa tradução foi gerada por um programa e ainda não foi revisada por uma pessoa. Falas essa língua? Dá uma olhada.
Introdução
Use este guia para remover um conjunto do flash quebrado de sua Canon PowerShot SD870 IS.
O que você precisa
-
-
-
Remova a alça de pulso, se presente.
-
Remova a bateria de íon de lítio.
 Pergunte ao FixBot
-
-
-
Remova os dois parafusos Phillips #00 de 4 mm na parte inferior da câmera.
-
Remova o parafuso ao lado do suporte para a correia de pulso.
-
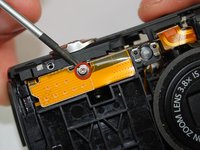
Puxe a tampa "A/V OUT DIGITAL" para cima e remova o parafuso acima da porta USB.
-
-
-
Desencaixe com cuidado a capa da dobradiça do "A/V OUT DIGITAL".
-
-
-
Puxe a tampa frontal da câmera usando uma leve pressão para cima.
-
-
-
Remova os dois parafusos Phillips #00 da extremidade plana da câmera.
-
Remova a placa de cobertura lateral preta em formato de L.
-
Remova a placa de retenção prateada em formato de U.
-
-
-
Deslize a carcaça traseira para fora.
-
-
-
-
-
-
O primeiro parafuso a ser removido está localizado na parte inferior da câmera, no lado esquerdo.
-
Use uma chave Phillips #00 para remover o parafuso prateado de 3,4 mm localizado na parte inferior esquerda.
-
-
-
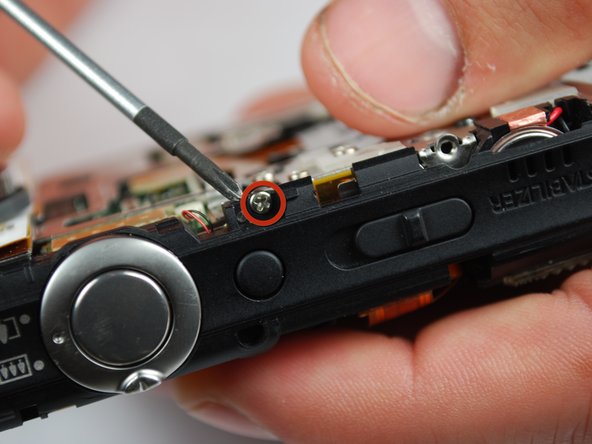
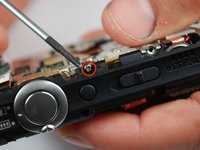
O segundo parafuso que precisa ser removido está localizado na parte superior da câmera.
-
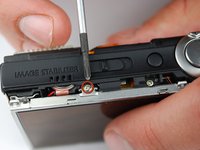
Usando a mesma chave Phillips, remova o último parafuso Phillips prateado de 3,4 mm.
-
Isso soltará uma peça prateada em formato de U que prendia a tela LCD. Remova a peça e coloque-a de lado.
-
-
-
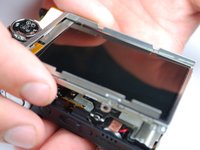
A tela LCD agora deve estar fixada apenas pelo cabo de dados do LCD.
-
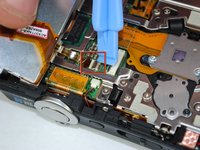
Levante a tela pelo lado direito e use uma chave pequena ou outra ferramenta de abertura para girar a parte preta do conector para cima e destravá-lo.
-
Deslize cuidadosamente o cabo de dados para fora do conector.
-
O LCD ainda deve estar conectado pelo cabo da luz de fundo (backlight).
-
-
-
Para remover o cabo da luz de fundo, use outra pequena ferramenta de abertura para destravar o cabo da luz de fundo.
-
Deslize cuidadosamente o cabo da luz de fundo para fora.
-
A tela LCD agora deve estar totalmente desconectada do corpo da câmera.
-
-
-
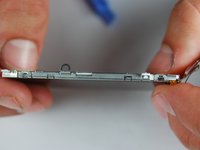
A carcaça da tela LCD é conectada por 4 garras localizadas na parte superior e inferior, nos lados esquerdo e direito.
-
Com cuidado, solte as garras fazendo alavanca suavemente uma por uma.
-
Assim que as garras forem soltas, a parte traseira da carcaça ainda estará conectada à carcaça dianteira pelo cabo da luz de fundo.
-
Descole cuidadosamente o cabo da luz de fundo da carcaça.
-
-
-
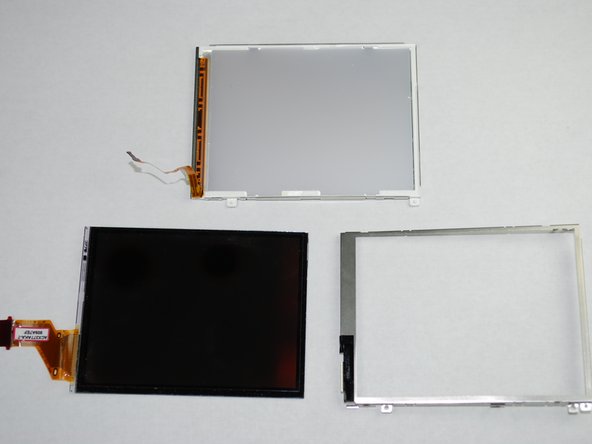
A tela LCD e a carcaça agora devem estar em três peças:
-
Tela LCD
-
Quadro da tela LCD
-
Carcaça traseira da tela LCD
-
A tela LCD pode agora ser removida e consertada/substituída.
-
-
-
-
-
Com a carcaça e a tela LCD removidas, você está pronto para remover o botão de liberação.
-
Comece usando a chave Phillips #00 para remover dois parafusos prateados de 4,0 mm na parte superior e na parte frontal da câmera.
-
-
-
A peça plástica superior que prende o botão de liberação deve estar fixada apenas por um conector de fios vermelho e preto à placa lógica.
-
Remova o conector da placa lógica e retire a carcaça do botão de liberação da câmera.
-
-
-
Com a carcaça de plástico do botão de liberação removida da câmera, use a chave Phillips #00 para remover dois parafusos prateados de 2,3 mm.
-
O botão de liberação agora pode ser removido e consertado ou substituído.
-
-
-
-
-
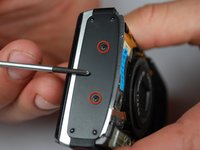
Comece removendo os dois parafusos prateados de 2,0 mm no lado esquerdo da câmera.
-
-
-
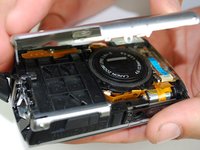
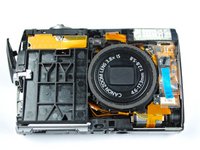
Com a carcaça, a tela LCD e a estrutura do botão de liberação removidas, a unidade de flash quebrada pode ser retirada e substituída.
-
Comece desconectando a unidade de flash/alto-falante pendente do conector no topo da câmera.
-
-
-
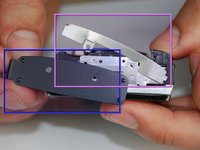
Em seguida, desconecte com cuidado a peça de plástico sobre a fiação do flash/alto-falante, abrindo as garras em ambos os lados.
-
A unidade do flash agora pode ser removida e substituída.
-
-












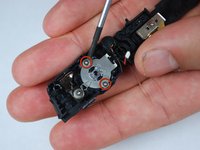
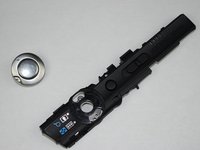


Para a remontagem de seu dispositivo, siga estas instruções na ordem inversa.

Equipe

Cal Poly, Team 10-45, Garner Spring 2010 Membro de Cal Poly, Team 10-45, Garner Spring 2010
CPSU-GARNER-S10S10G45
4 Membros
Autoria de 72 guias
