Ir para o conteúdo principal
Participe da comunidade de reparos - Criar conta

Canon PowerShot A460 Back Casing Replacement

O que você precisa

  1. Canon PowerShot A460 Back Casing Replacement, Battery: passo 1, imagem 1 %32
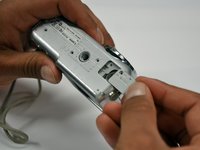
    • Slide the switch on the battery cover labeled "CARD/BATT. OPEN." to the right.

    • While still holding the switch, pull the cover down, allowing it to release and open.

    Pergunte ao FixBot
  2. Canon PowerShot A460 Back Casing Replacement: passo 2, imagem 1 %32
    • Tilt the camera slightly to allow the batteries to fall out.

    Pergunte ao FixBot
  3. Canon PowerShot A460 Back Casing Replacement: passo 3, imagem 1 %32
    • Press on and release the memory card to eject it.

    Pergunte ao FixBot
  4. Canon PowerShot A460 Back Casing Replacement, Front Casing: passo 4, imagem 1 %32
    • Unscrew the 5mm Phillips #00 screw from the bottom of the camera.

    • Make sure to keep the different size screws organized to make reassembling the camera simpler.

    Pergunte ao FixBot
  5. Canon PowerShot A460 Back Casing Replacement: passo 5, imagem 1 %32
    • Unscrew the three 2mm Phillips #00 screws that are located on the bottom of the camera.

    Pergunte ao FixBot
  6. Canon PowerShot A460 Back Casing Replacement: passo 6, imagem 1 %32
    • Remove the 4mm Phillips #00 screw that is located on the left side of the camera, if the display screen is facing you.

    Pergunte ao FixBot
  7. Canon PowerShot A460 Back Casing Replacement: passo 7, imagem 1 %32
    • Take out the 4mm Phillips #00 screw under the rubber flap on the right end of the camera.

    Pergunte ao FixBot
  8. Canon PowerShot A460 Back Casing Replacement: passo 8, imagem 1 %32 Canon PowerShot A460 Back Casing Replacement: passo 8, imagem 2 %32
    • Remove the second battery cover on the bottom of camera.

    • Take the silver battery out of the camera.

    Pergunte ao FixBot
  9. Canon PowerShot A460 Back Casing Replacement: passo 9, imagem 1 %32 Canon PowerShot A460 Back Casing Replacement: passo 9, imagem 2 %32 Canon PowerShot A460 Back Casing Replacement: passo 9, imagem 3 %32
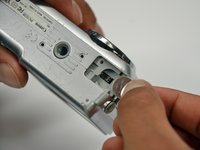
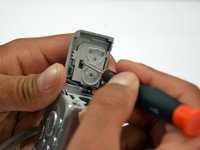
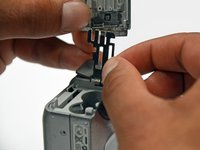
    • Remove the 4mm Phillips #00 screw on the inside of the flap that hides the battery and memory card slots.

    • Remove the light grey, plastic piece.

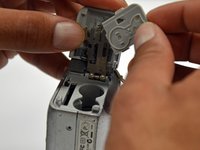
    • Remove the plastic portion of the battery flap cover. The metal piece will remain attached.

    Pergunte ao FixBot
  10. Canon PowerShot A460 Back Casing Replacement: passo 10, imagem 1 %32 Canon PowerShot A460 Back Casing Replacement: passo 10, imagem 2 %32 Canon PowerShot A460 Back Casing Replacement: passo 10, imagem 3 %32
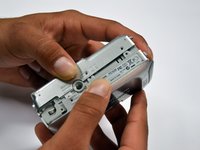
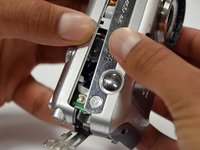
    • Slightly pull on each side of the camera. It should loosen up and come apart.

    • If it does not pull apart right away, use a little more force.

    • Do not give up!

    Pergunte ao FixBot
  11. Canon PowerShot A460 Back Casing Replacement, Back Casing: passo 11, imagem 1 %32
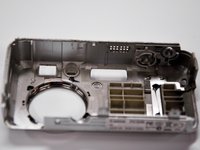
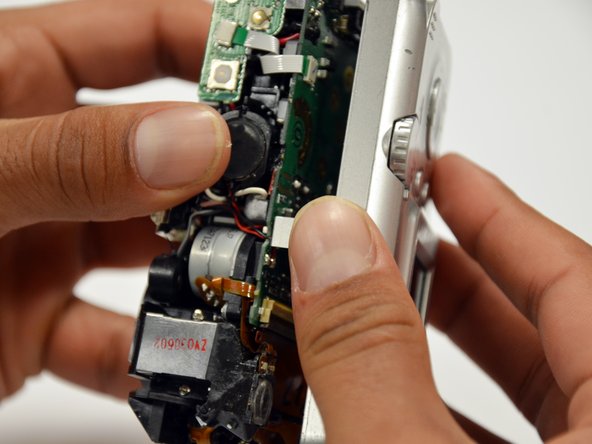
    • Remove the back case of the camera by pulling from the top.

    • Be careful when pulling off the case. There is a delicate gold ribbon connecting the bottom of the camera to the back case.

    Pergunte ao FixBot
Conclusão

To reassemble your device, follow these instructions in reverse order.

Equipe

Cal Poly, Team 19-42, Regan Winter 2013 Membro de Cal Poly, Team 19-42, Regan Winter 2013

CPSU-REGAN-W13S19G42

4 Membros

Autoria de 12 guias

0Comentários do guia

Comentar

Visualizações:

Últimas 24 horas: 4

Últimos 7 dias: 21

Últimos 30 dias: 122

Ao todo: 3,917