Introdução
The following guide will demonstrate how to remove the scan bed from the printer as well as how to correctly clean the scan bed.
O que você precisa
-
-
-
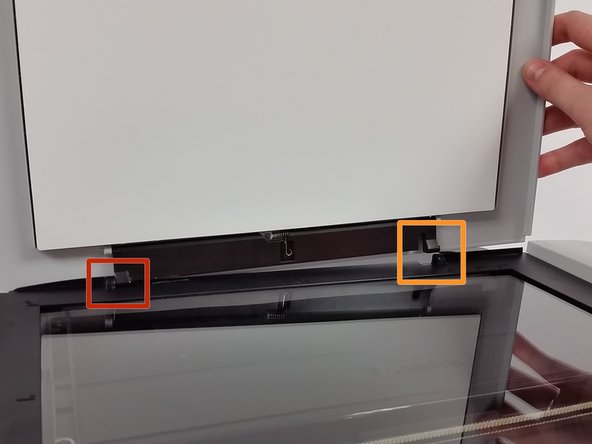
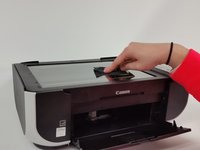
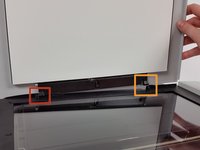
Lift scanning bed cover with one hand, and pry the right hinge inward using a plastic opening tool.
-
The cover will lift up and away from the printer.
 Pergunte ao FixBot
-
-
-
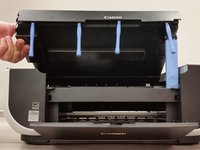
Lift the scan bed into the upright position.
-
Ensure the scanning unit support seats into the scanning unit support slot.
-
The four arrow markers located on the bottom edge of the scan bed mark the four tabs that must be released.
-
-
-
-
Place a plastic opening tool at each of the four marking arrows.
-
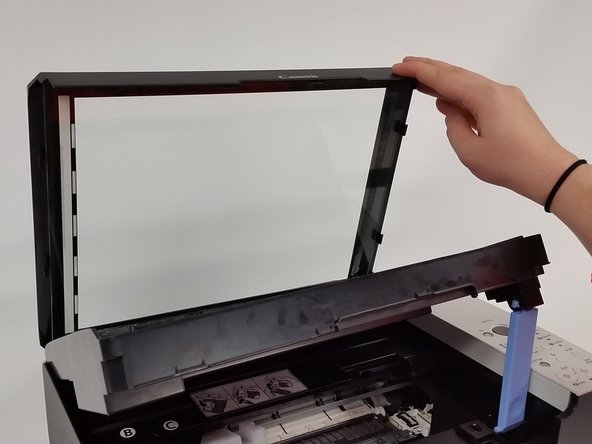
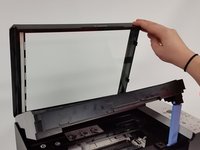
The scan bed will detach from the scan bed unit. Lift scan bed glass upward to access the bottom surface of the glass.
-
-
-
Using the screen and device cleaner and cloth remove any dirt or debris from the bottom surface of the scan glass.
-
-
-
Lower the scan bed glass down on to the scanning unit until the clips reengage.
-
Clean the top surface of the scan bed glass using the screen and device cleaner and cloth.
-
Put the scan bed cover back on by placing the left hinge in first.
-
Then snap the right hinge into place.
-
The printer is now ready to scan or copy.
-
-




To reassemble your device, follow these instructions in reverse order.
Cancelar: não concluí este guia.
2 outras pessoas executaram este guia.

Equipe

Michigan Tech, Team 1-5, Lauer Fall 2014 Membro de Michigan Tech, Team 1-5, Lauer Fall 2014
MTU-LAUER-F14S1G5
3 Membros
Autoria de 27 guias
