Introdução
The LCD Touchscreen operation allows the user to view pictures that were taken as well as scroll through the many options the Canon EOS 70D camera has to offer.
O que você precisa
-
-
-
Hold the camera with the lens pointing down. Press the highlighted button with your finger to release the cover.
-
Pull cover over to expose the battery.
 Pergunte ao FixBot
-
-
-
Press the white button with your finger to release the battery.
-
Once released, the battery will eject out about two inches
-
-
-
-
-
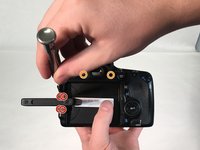
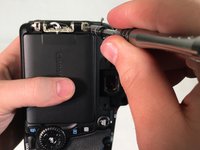
Pull Touchscreen out and rotate 90 degrees. Remove the four 3 mm Phillips #000 head screws that are now exposed at the hinge.
-
Remove the two 5 mm Phillips #000 head screws that near the viewfinder.
-
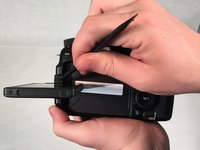
Use a spudger and pry apart the two plastic hinge-covers surrounding the screen hinge.
-
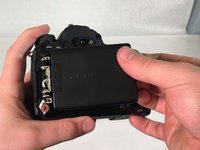
Rotate the screen forward 90 degrees and push it back into its housing against the camera.
-
-
-
-
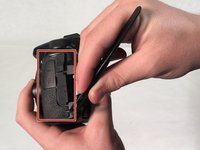
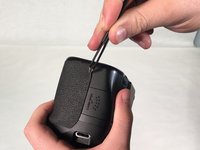
Use a spudger to peel rubber matting on left hand side to expose camera backplate mounting screws.
-
Remove three 4 mm Phillip #000 head screws that mount the backplate to the left side of camera.
-
-
Ferramenta utilizada neste passo:Tweezers$4.99
-
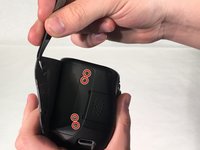
Use tweezers to pry rubber matting on right hand side to expose backplate mounting screws.
-
Remove four 4 mm Phillips #000 head screws that mount the backplate to the right side of camera.
-
-
-
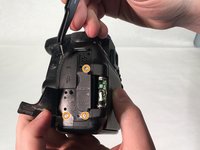
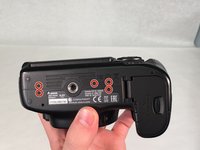
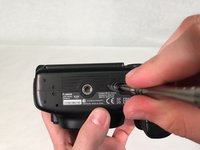
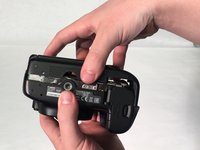
Turn camera upside down. Remove five 5 mm Phillips #000 head screws securing the backplate to the bottom of the camera.
-
Grab the backplate and gently pull away from camera.
-
-
-
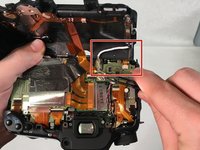
Carefully pry open backplate from camera to expose LCD connector (white wire). LCD connector is attached with a metal bar to the motherboard.
-
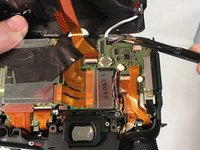
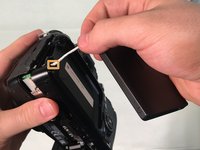
Use tweezers to gently pry metal bar connector from camera motherboard.
-
-
-
Remove two 4 mm Phillips #000 head screws that mount the LCD touchscreen to the hinge on the camera.
-
-
-
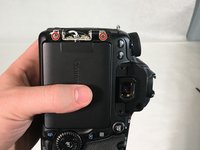
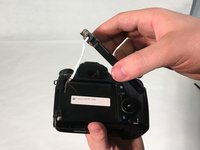
Grip the screen with your hand and gently pull white connecting wire through hole in backplate.
-
Once the connector reaches the hole, twist the connector and pull completely through hole.
-
-














To reassemble your device, follow these instructions in reverse order.
Cancelar: não concluí este guia.
10 outras pessoas executaram este guia.

Equipe

University of Memphis, Team S2-G5, Kim Spring 2018 Membro de University of Memphis, Team S2-G5, Kim Spring 2018
UM-KIM-S18S2G5
3 Membros
Autoria de 15 guias
6Comentários do guia
Would this also apply to the 80D, given they’re so similar? Also, is it still possible to stick the rubber bits back down so that they are exactly the same as before?
No, the 80D is completely different
How far is the 80D different? I would love to see a teardown somewhere… ^^
Where can I purchase the LCD screen assembly?
I know this post is over two years old but I purchased mine from Aliexpress
