Ir para o conteúdo principal
Participe da comunidade de reparos - Criar conta

Brother PT-D200 LCD Screen Replacement

O que você precisa

  1. Brother PT-D200 LCD Screen Replacement, Battery: passo 1, imagem 1 %32
    • Flip the device over and press down on the indication arrows located at the top center of the back cover and pull it open.

    Pergunte ao FixBot
  2. Brother PT-D200 LCD Screen Replacement: passo 2, imagem 1 %32
    • Remove the six AAA batteries.

    Pergunte ao FixBot
  3. Brother PT-D200 LCD Screen Replacement, Back of Device: passo 3, imagem 1 %32
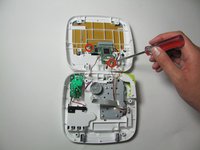
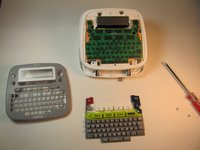
    • Use the Helping Hand 1/4" screwdriver to unscrew the six 3/16" corner screws.

    Pergunte ao FixBot
  4. Brother PT-D200 LCD Screen Replacement: passo 4, imagem 1 %32
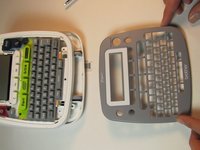
    • Close the back cover and then flip the device over and separate the top half from the bottom half as shown.

    • Be gentle when lifting the top of the device, there is a ribbon cable attaching the two halves together.

    Pergunte ao FixBot
  5. Brother PT-D200 LCD Screen Replacement, Circuit Board Cables: passo 5, imagem 1 %32
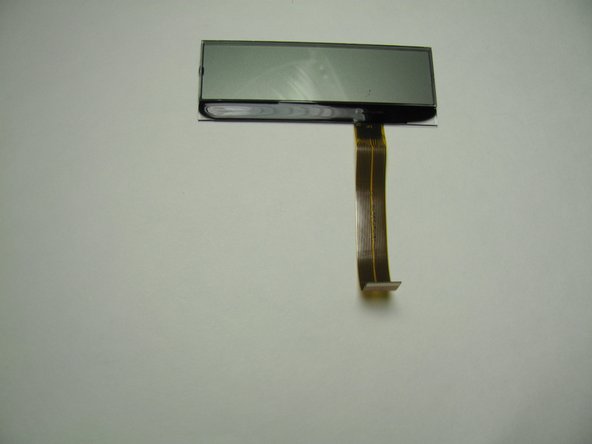
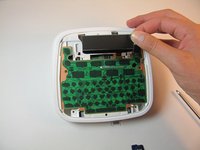
    • Gently pull out the ribbon cable from the circuit board.

    • The ribbon cable is very fragile.

    Pergunte ao FixBot
  6. Brother PT-D200 LCD Screen Replacement: passo 6, imagem 1 %32
    • Remove two-pin plastic connector from the circuit board.

    • Gently pull the two-pin connector from the circuit board to avoid damaging the board.

    Pergunte ao FixBot
  7. Brother PT-D200 LCD Screen Replacement, Circuit Board: passo 7, imagem 1 %32 Brother PT-D200 LCD Screen Replacement, Circuit Board: passo 7, imagem 2 %32
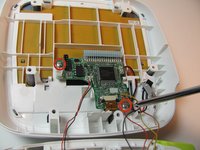
    • Remove the two 3/16" screws from the circuit board using the Helping Hand 1/4" screwdriver.

    Pergunte ao FixBot
  8. Brother PT-D200 LCD Screen Replacement: passo 8, imagem 1 %32
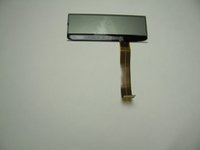
    • Release the two black clips that hold the LCD cable ribbon in place. To release, pull the clips towards the ribbon.

    Pergunte ao FixBot
  9. Brother PT-D200 LCD Screen Replacement: passo 9, imagem 1 %32
    • Disconnect the LCD ribbon cable from the circuit board.

    Pergunte ao FixBot
  10. Brother PT-D200 LCD Screen Replacement, Face Plate: passo 10, imagem 1 %32
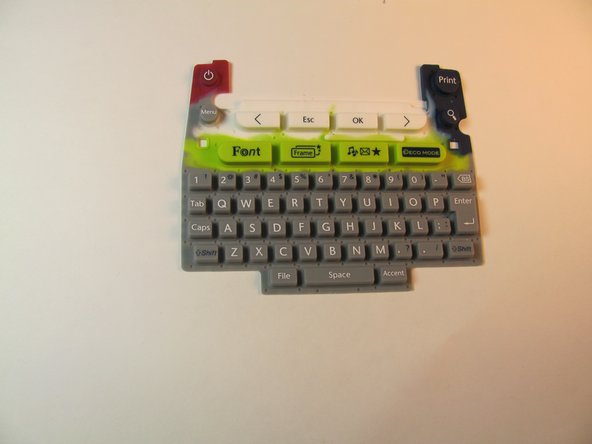
    • On the top portion of the device there are four grey clips locking the faceplate in place. The two top clips are circled in the image. The two others are located in the other corners of the device.

    Pergunte ao FixBot
  11. Brother PT-D200 LCD Screen Replacement: passo 11, imagem 1 %32 Brother PT-D200 LCD Screen Replacement: passo 11, imagem 2 %32
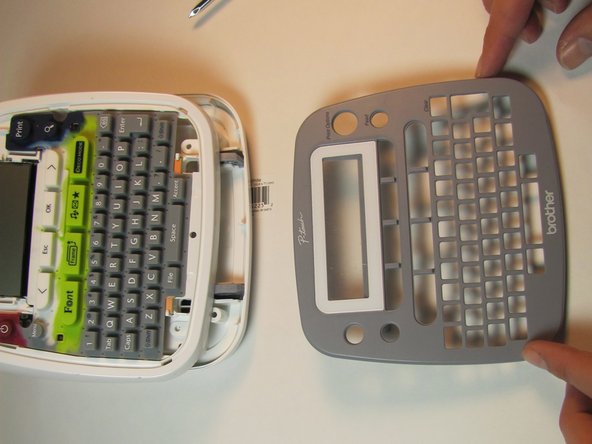
    • Pull the clips inward two at a time, first the top then the bottom, to snap the face plate off.

    Pergunte ao FixBot
  12. Brother PT-D200 LCD Screen Replacement, Keyboard: passo 12, imagem 1 %32 Brother PT-D200 LCD Screen Replacement, Keyboard: passo 12, imagem 2 %32
    • Peel off the rubber keyboard of the device.

    Pergunte ao FixBot
  13. Brother PT-D200 LCD Screen Replacement, LCD Screen: passo 13, imagem 1 %32 Brother PT-D200 LCD Screen Replacement, LCD Screen: passo 13, imagem 2 %32
    • Lift the LCD screen out of place.

    Pergunte ao FixBot
Conclusão

To reassemble your device, follow these instructions in reverse order.

Jeston Mitchell

Membro desde: 01/24/14

308 Reputação

Autoria de 3 guias

Equipe

Cal Poly, Team 13-16, Regan Winter 2014 Membro de Cal Poly, Team 13-16, Regan Winter 2014

CPSU-REGAN-W14S13G16

3 Membros

Autoria de 6 guias

0Comentários do guia

Comentar

Visualizações:

Últimas 24 horas: 2

Últimos 7 dias: 14

Últimos 30 dias: 91

Ao todo: 2,433