Ir para o conteúdo principal
Participe da comunidade de reparos - Criar conta

Brother PT-110 Printer Motor Replacement

O que você precisa

    1. Brother PT-110 Printer Motor Replacement, Batteries: passo 1, imagem 1 %32 Brother PT-110 Printer Motor Replacement, Batteries: passo 1, imagem 2 %32
      • Push on the side of the cover, and remove it.

      Pergunte ao FixBot
      Comentar

    2. Brother PT-110 Printer Motor Replacement: passo 2, imagem 1 %32
      • Remove the batteries.

      Pergunte ao FixBot
      Comentar

    1. Brother PT-110 Printer Motor Replacement, Back Plate: passo 3, imagem 1 %32 Brother PT-110 Printer Motor Replacement, Back Plate: passo 3, imagem 2 %32
      • Unscrew the two 9 mm Phillips #1 screws from the top and bottom.

      • Total: 2 x Screws

      Pergunte ao FixBot
      Comentar

    2. Brother PT-110 Printer Motor Replacement: passo 4, imagem 1 %32
      • First: To separate the top cover from the body, insert a spudger between the two halves.

      • Gently twist the spudger until the two halves separate. Do this in multiple spots around the perimeter of the cover to distribute the pressure.

      • DO NOT PULL HALVES APART. There are wired connections inside that must be disconnected before halves can be fully separated.

      Pergunte ao FixBot

      Comentar

    3. Brother PT-110 Printer Motor Replacement: passo 5, imagem 1 %32
      • Gently separate the two covers, ensuring wires are not taut.

      Pergunte ao FixBot

      Comentar

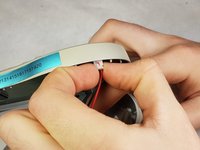
    4. Brother PT-110 Printer Motor Replacement: passo 6, imagem 1 %32
      • Gently grasp the ribbon wire and top cover, then gently pull the ribbon wire out of its connection.

      Pergunte ao FixBot

      Comentar

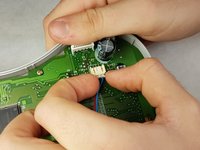
    5. Brother PT-110 Printer Motor Replacement: passo 7, imagem 1 %32 Brother PT-110 Printer Motor Replacement: passo 7, imagem 2 %32
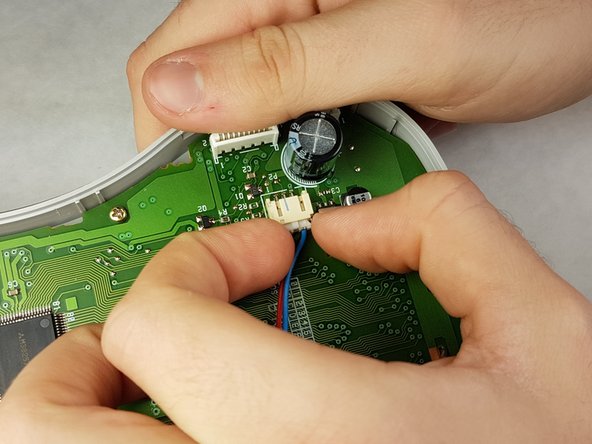
      • Carefully pinch the top of the connector.

      • Pull perpendicular to the device until the wire is disconnected.

      • It may require more force than expected to disconnect the wires.

      Pergunte ao FixBot

      Comentar

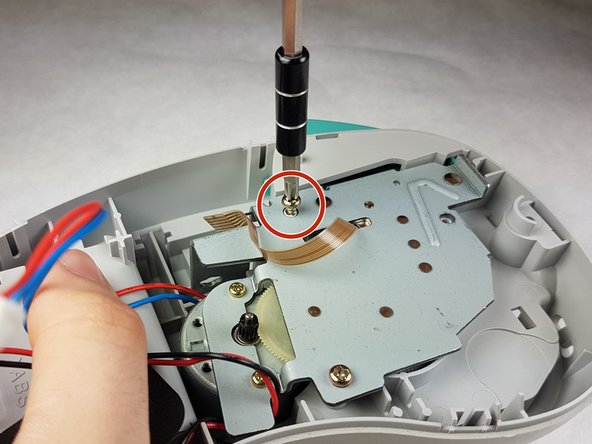
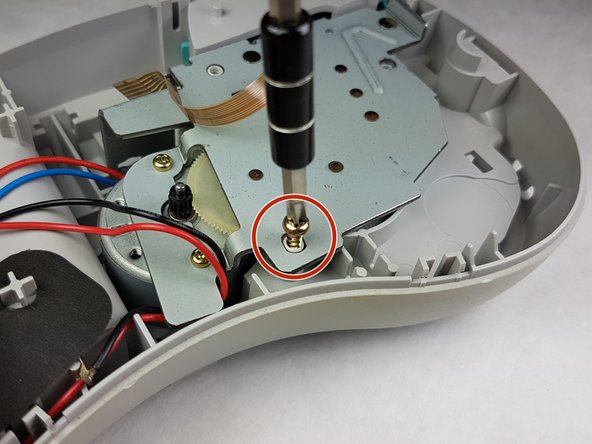
    6. Brother PT-110 Printer Motor Replacement: passo 8, imagem 1 %32 Brother PT-110 Printer Motor Replacement: passo 8, imagem 2 %32 Brother PT-110 Printer Motor Replacement: passo 8, imagem 3 %32
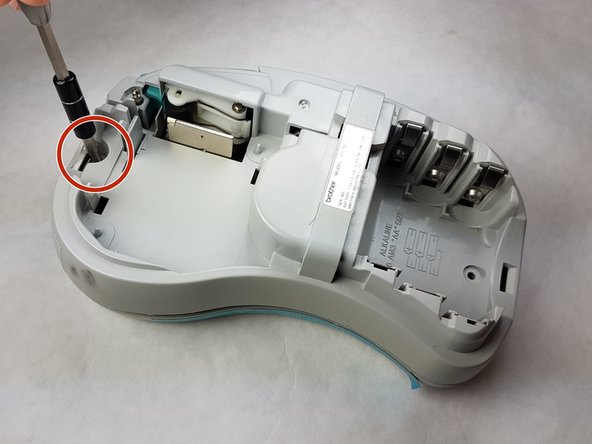
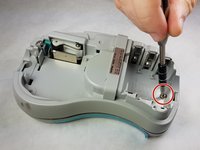
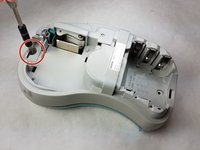
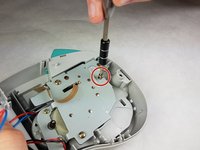
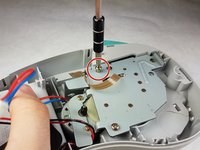
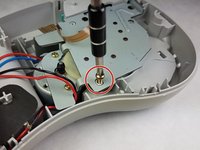
      • Unscrew the three 9 mm Phillips #1 screws shown.

      • Total: 3 x Screws

      Pergunte ao FixBot

      Comentar

    1. Brother PT-110 Printer Motor Replacement, Printer Motor: passo 9, imagem 1 %32
      • Remove the motor housing.

      Pergunte ao FixBot

      Comentar

    2. Brother PT-110 Printer Motor Replacement: passo 10, imagem 1 %32 Brother PT-110 Printer Motor Replacement: passo 10, imagem 2 %32
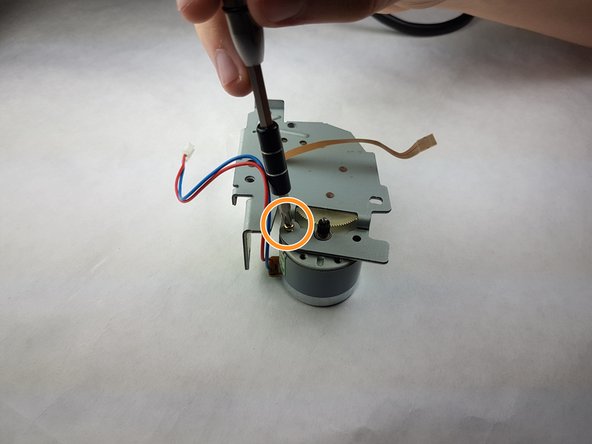
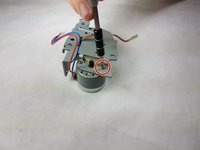
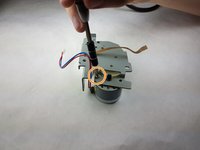
      • Unscrew the two 3 mm Phillips #1 screws from the motor housing.

      • Total: 2 x Screws

      Pergunte ao FixBot

      Comentar

    3. Brother PT-110 Printer Motor Replacement: passo 11, imagem 1 %32
      • Remove the motor.

      Pergunte ao FixBot

      Comentar

Conclusão

To reassemble your device, follow these instructions in reverse order.

Cancelar: não concluí este guia.

Equipe

IUPUI, Team 1-1, Harley Fall 2016 Membro de IUPUI, Team 1-1, Harley Fall 2016

IUPUI-HARLEY-F16S1G1

3 Membros

Autoria de 21 guias

0Comentários do guia

Comentar

Visualizações:

Últimas 24 horas: 0

Últimos 7 dias: 5

Últimos 30 dias: 28

Ao todo: 1,149