Ir para o conteúdo principal
Participe da comunidade de reparos - Criar conta

Brightsign 4k LED Display Replacement

O que você precisa

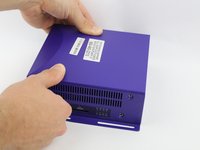
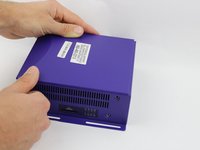
  1. Brightsign 4k LED Display Replacement, Outer Shell: passo 1, imagem 1 %32 Brightsign 4k LED Display Replacement, Outer Shell: passo 1, imagem 2 %32 Brightsign 4k LED Display Replacement, Outer Shell: passo 1, imagem 3 %32
    • Remove three 8mm screws from the left side of the device.

    • Remove four 8mm screws from the right side of the device.

    Pergunte ao FixBot
  2. Brightsign 4k LED Display Replacement: passo 2, imagem 1 %32 Brightsign 4k LED Display Replacement: passo 2, imagem 2 %32 Brightsign 4k LED Display Replacement: passo 2, imagem 3 %32
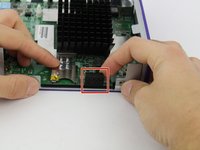
    • Apply pressure on the SD card to pop it out of the port.

    • Remove the card by pulling it out.

    Pergunte ao FixBot
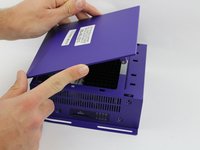
  3. Brightsign 4k LED Display Replacement: passo 3, imagem 1 %32 Brightsign 4k LED Display Replacement: passo 3, imagem 2 %32 Brightsign 4k LED Display Replacement: passo 3, imagem 3 %32
    • Press down on the top cover of the device and slid it towards you until you see a slight gap created.

    • Lift the top cover off.

    Pergunte ao FixBot
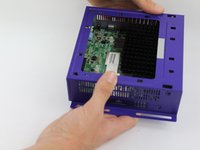
  4. Brightsign 4k LED Display Replacement: passo 4, imagem 1 %32 Brightsign 4k LED Display Replacement: passo 4, imagem 2 %32 Brightsign 4k LED Display Replacement: passo 4, imagem 3 %32
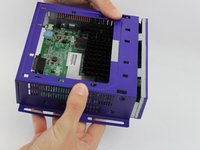
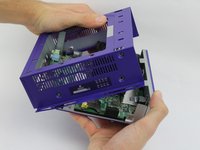
    • Slide the body case back away from the bottom.

    • Pull up the body case to remove it from the bottom.

    Pergunte ao FixBot
  5. Brightsign 4k LED Display Replacement, Motherboard Removal: passo 5, imagem 1 %32 Brightsign 4k LED Display Replacement, Motherboard Removal: passo 5, imagem 2 %32
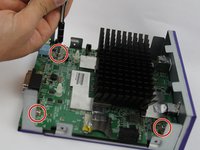
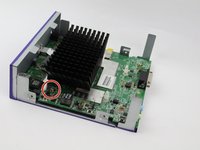
    • Remove the four 8mm screws at each corner of the motherboard with a JIS #0 screwdriver.

    Pergunte ao FixBot
  6. Brightsign 4k LED Display Replacement: passo 6, imagem 1 %32 Brightsign 4k LED Display Replacement: passo 6, imagem 2 %32
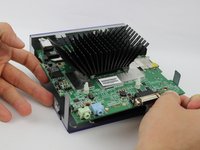
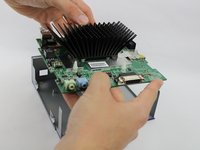
    • Lift the motherboard out of the casing.

    Pergunte ao FixBot
  7. Brightsign 4k LED Display Replacement, LED Display: passo 7, imagem 1 %32 Brightsign 4k LED Display Replacement, LED Display: passo 7, imagem 2 %32
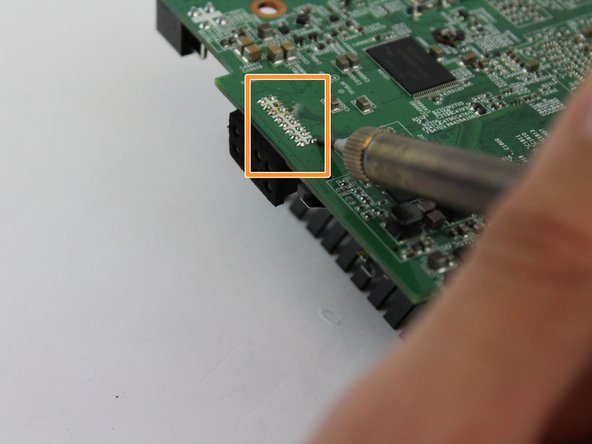
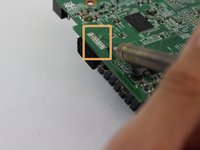
    • Turn the motherboard over and locate the solders holding the LED Display in place.

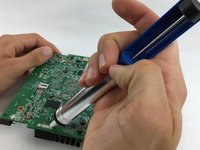
    • Use the soldering iron to desolder the sixteen solder joints and remove the melted solder with the pump shown in Step 8.

    • The soldering iron can become extremely hot, handle with caution.

    Pergunte ao FixBot
  8. Brightsign 4k LED Display Replacement: passo 8, imagem 1 %32 Brightsign 4k LED Display Replacement: passo 8, imagem 2 %32 Brightsign 4k LED Display Replacement: passo 8, imagem 3 %32
    Ferramenta utilizada neste passo:
    Desoldering Pump
    $3.99
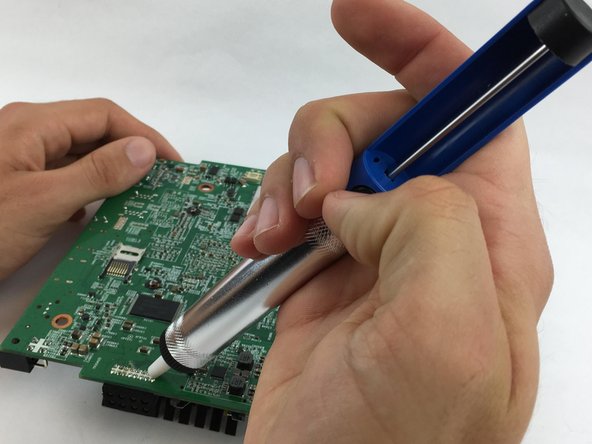
    • Apply the desoldering pump to remove the melted part from the motherboard (press the button to release it).

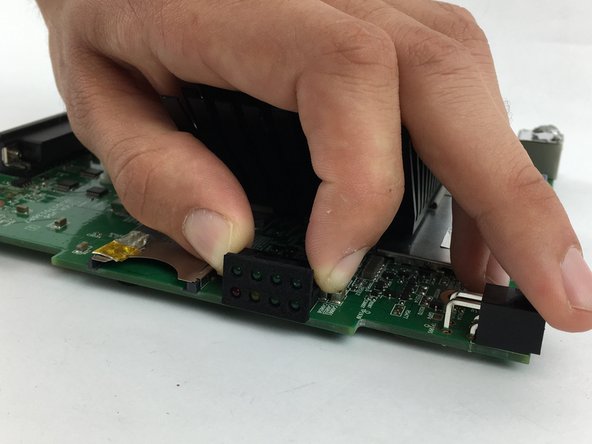
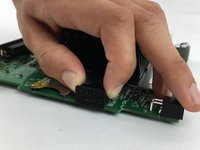
    • After the solders have been removed, gently pull the LED Display from the motherboard.

    Pergunte ao FixBot
Conclusão

To reassemble your device, follow these instructions in reverse order.

Nhi Pham

Membro desde: 02/15/18

169 Reputação

Autoria de 2 guias

Equipe

USF Tampa, Team S17-G6, Boczar Spring 2018 Membro de USF Tampa, Team S17-G6, Boczar Spring 2018

USFT-BOCZAR-S18S17G6

4 Membros

Autoria de 6 guias

0Comentários do guia

Comentar

Visualizações:

Últimas 24 horas: 0

Últimos 7 dias: 6

Últimos 30 dias: 57

Ao todo: 499