Ir para o conteúdo principal
Participe da comunidade de reparos - Criar conta

Blackberry Torch 9810 Cursor Key Replacement

O que você precisa

  1. Blackberry Torch 9810 Cursor Key Replacement, Phone cover: passo 1, imagem 1 %32 Blackberry Torch 9810 Cursor Key Replacement, Phone cover: passo 1, imagem 2 %32
    • Remove the back cover of the phone

    Pergunte ao FixBot

    Comentar

  2. Blackberry Torch 9810 Cursor Key Replacement, Battery: passo 2, imagem 1 %32
    • Remove the battery

    Pergunte ao FixBot
    Comentar

  3. Blackberry Torch 9810 Cursor Key Replacement, Remove screws: passo 3, imagem 1 %32
    • Unscrew the four screws using the T6 screw driver.

    • If you remove the screw in red, you void the warranty!

    Pergunte ao FixBot
    Comentar

  4. Blackberry Torch 9810 Cursor Key Replacement, Wiggle Wiggle: passo 4, imagem 1 %32 Blackberry Torch 9810 Cursor Key Replacement, Wiggle Wiggle: passo 4, imagem 2 %32
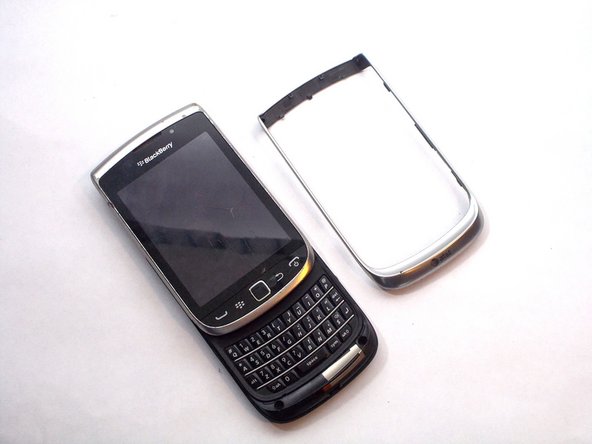
    • Slide the screen up.

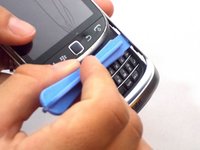
    • Remove front silver trim by using a plastic opening tools and wiggle it off.

    • This is difficult to remove, but it should come off if you do it with caution.

    Pergunte ao FixBot
    Comentar

  5. Blackberry Torch 9810 Cursor Key Replacement, More screws that need to go: passo 5, imagem 1 %32
    • Once you remove the rim cover, you should find two more screws on the top. Unscrew them with a T-6 screw driver.

    Pergunte ao FixBot
    Comentar

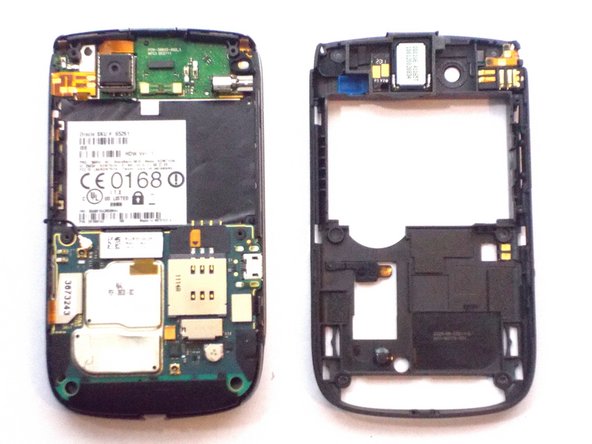
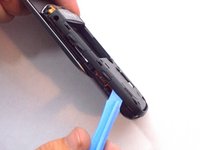
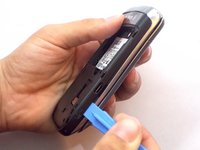
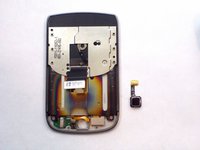
  6. Blackberry Torch 9810 Cursor Key Replacement, Remove the Back: passo 6, imagem 1 %32 Blackberry Torch 9810 Cursor Key Replacement, Remove the Back: passo 6, imagem 2 %32 Blackberry Torch 9810 Cursor Key Replacement, Remove the Back: passo 6, imagem 3 %32
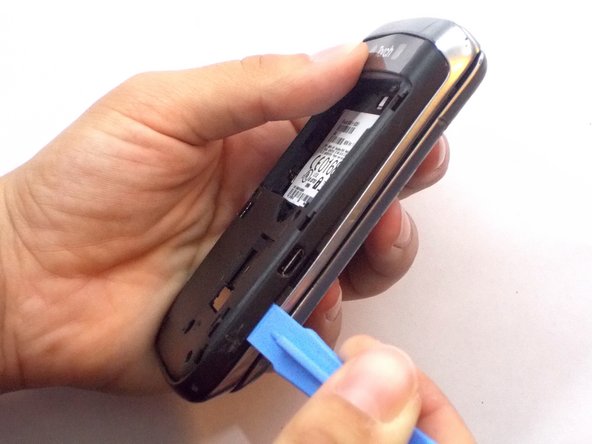
    • Use the plastic opening tools to remove the entire back off the phone.

    Pergunte ao FixBot
    Comentar

  7. Blackberry Torch 9810 Cursor Key Replacement, Remove Ribbon Cables: passo 7, imagem 1 %32
    • Remove the three ribbon cables and the antenna wire by hand.

    • The cable in red is glued to the metal cap. Peel it upwards towards the battery compartment.

    Pergunte ao FixBot

    Comentar

  8. Blackberry Torch 9810 Cursor Key Replacement, Remove Logic Board: passo 8, imagem 1 %32
    • The logic board will easily pull straight out.

    Pergunte ao FixBot

    Comentar

  9. Blackberry Torch 9810 Cursor Key Replacement, Remove Informational Sticker: passo 9, imagem 1 %32
    • Remove the black sticker located above the logic board that contains the phone's serial number

    Pergunte ao FixBot

    Comentar

  10. Blackberry Torch 9810 Cursor Key Replacement, Remove More Screws: passo 10, imagem 1 %32
    • Behind the black sticker you should find six small yellow screws. Remove them with a T4 torx screwdriver.

    Pergunte ao FixBot

    Comentar

  11. Blackberry Torch 9810 Cursor Key Replacement, Separate the phone: passo 11, imagem 1 %32
    • Carefully separate the screen from the body.

    • Make sure to be extra careful with the ribbon!

    Pergunte ao FixBot

    Comentar

  12. Blackberry Torch 9810 Cursor Key Replacement: passo 12, imagem 1 %32
    • Slide the silver plate up and you should find four more screws that need to be removed. Use a T-4 screw driver.

    • They are on a black cover located on the bottom of the phone. The black cover will come off

    Pergunte ao FixBot

    Comentar

  13. Blackberry Torch 9810 Cursor Key Replacement, Carefully Remove a Ribbion: passo 13, imagem 1 %32
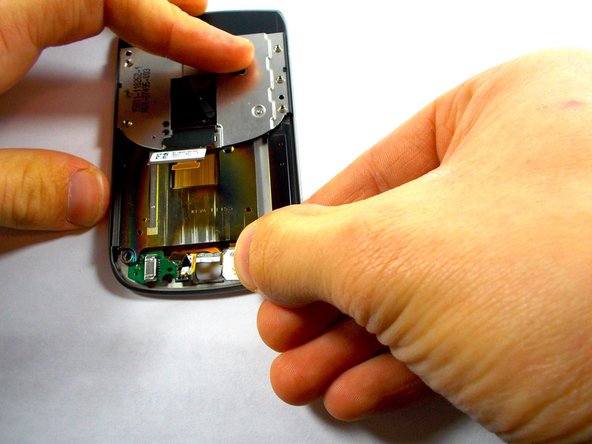
    • There is one last orange ribbon cable that needs to be pulled and behind it is the cursor

    Pergunte ao FixBot

    Comentar

  14. Blackberry Torch 9810 Cursor Key Replacement, Cursor Key: passo 14, imagem 1 %32 Blackberry Torch 9810 Cursor Key Replacement, Cursor Key: passo 14, imagem 2 %32 Blackberry Torch 9810 Cursor Key Replacement, Cursor Key: passo 14, imagem 3 %32
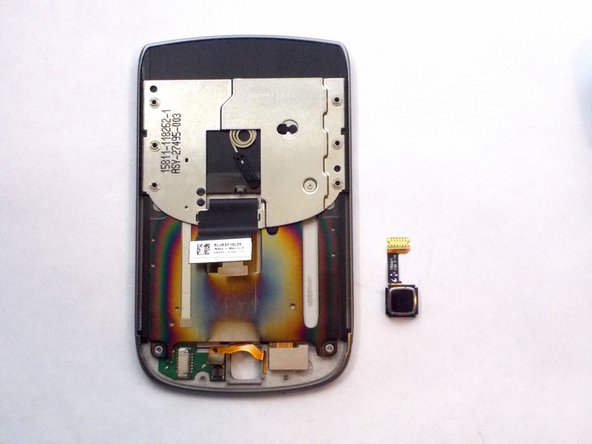
    • Push the cursor upwards and out of the socket.

    • Gently pull out the white box by pulling straight out of the socket to the right. This is your cursor

    Pergunte ao FixBot

    Comentar

Conclusão

To reassemble your device, follow these instructions in reverse order.

Cancelar: não concluí este guia.

2 outras pessoas executaram este guia.

Equipe

0Comentários do guia

Comentar

Visualizações:

Últimas 24 horas: 0

Últimos 7 dias: 4

Últimos 30 dias: 18

Ao todo: 1,791