Ir para o conteúdo principal
Participe da comunidade de reparos - Criar conta

BlackBerry PlayBook Front Panel Replacement

O que você precisa

  1. BlackBerry PlayBook Front Panel Replacement, Remove Back Panel: passo 1, imagem 1 %32 BlackBerry PlayBook Front Panel Replacement, Remove Back Panel: passo 1, imagem 2 %32
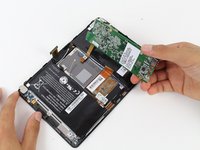
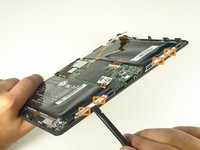
    • Use a plastic opening tool to pry the back panel off by inserting it in between the front and back panel.

    • There are clips that need to be released on all four sides of the device.

    • When replacing the back cover insert the bottom side first ( usb and hdmi ports stick out about 2mm ) inserting them into the covers openings will allow for easier reassembly

    Pergunte ao FixBot
  2. BlackBerry PlayBook Front Panel Replacement, Unscrew Left Speaker: passo 2, imagem 1 %32
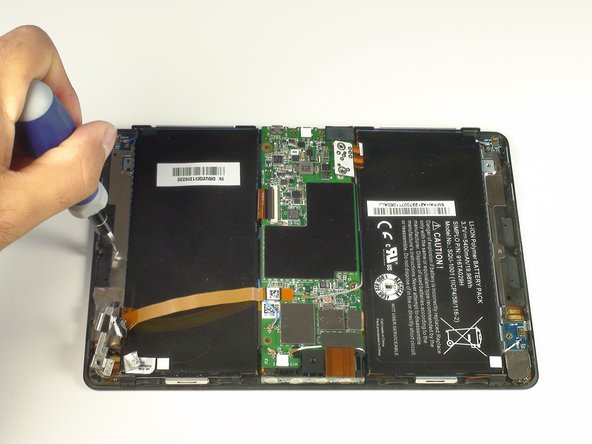
    • Remove 1.55x.33mm Phillips screw from the metal frame.

    • Remove 1.5x4.25mm Phillips screw from speaker bar.

    Pergunte ao FixBot
  3. BlackBerry PlayBook Front Panel Replacement, Remove the Left Speaker Stickers: passo 3, imagem 1 %32 BlackBerry PlayBook Front Panel Replacement, Remove the Left Speaker Stickers: passo 3, imagem 2 %32
    • Peel off the stickers holding the left speaker in place with a tweezer or by using your fingers

    Pergunte ao FixBot
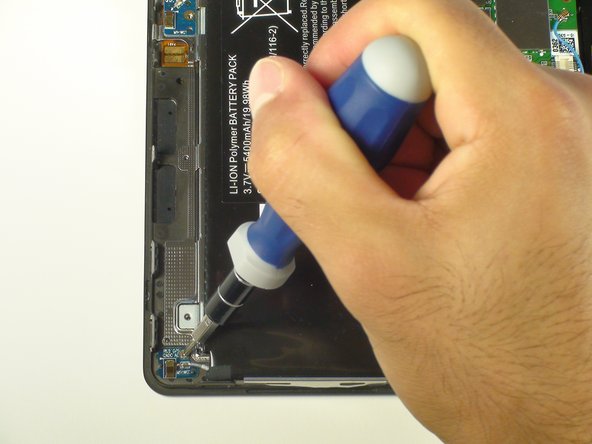
  4. BlackBerry PlayBook Front Panel Replacement, Remove Left Speaker: passo 4, imagem 1 %32 BlackBerry PlayBook Front Panel Replacement, Remove Left Speaker: passo 4, imagem 2 %32
    • Slide the left speaker bar out from its metal bracket.

    Pergunte ao FixBot
  5. BlackBerry PlayBook Front Panel Replacement, Unscrew Right Speaker: passo 5, imagem 1 %32
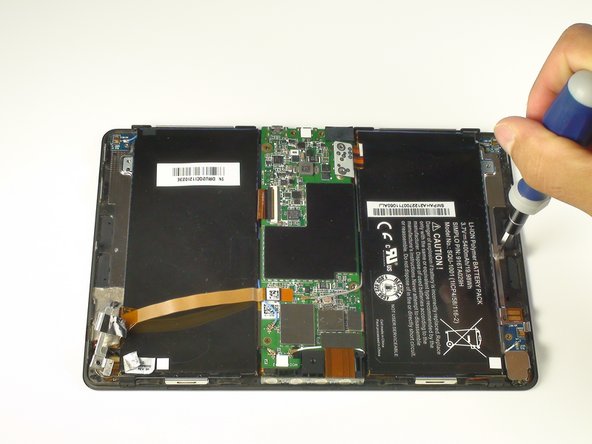
    • Remove both 1.5x4.25mm Phillips screws from the right speaker bar by using the Phillips Screwdriver.

    Pergunte ao FixBot
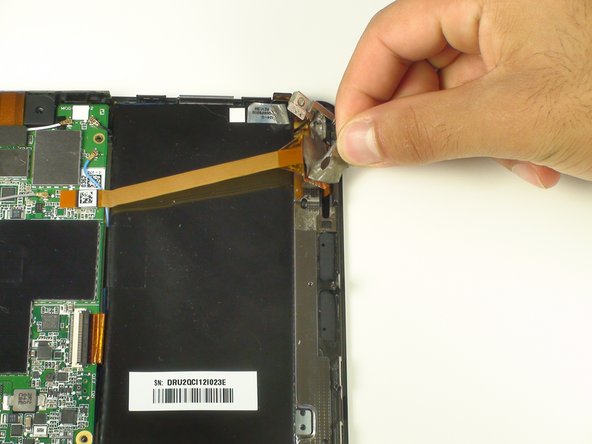
  6. BlackBerry PlayBook Front Panel Replacement, Remove Right Speaker: passo 6, imagem 1 %32 BlackBerry PlayBook Front Panel Replacement, Remove Right Speaker: passo 6, imagem 2 %32
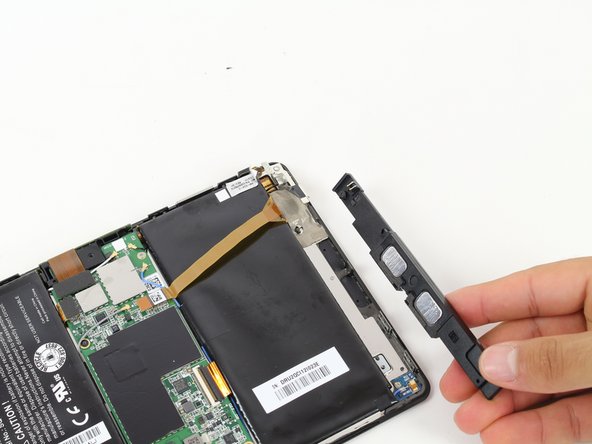
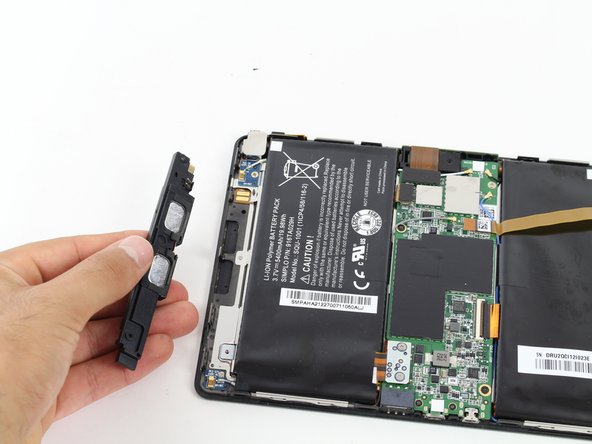
    • Lift the right speaker bar to remove it.

    Pergunte ao FixBot
  7. BlackBerry PlayBook Front Panel Replacement, Motherboard: passo 7, imagem 1 %32 BlackBerry PlayBook Front Panel Replacement, Motherboard: passo 7, imagem 2 %32
    Ferramenta utilizada neste passo:
    Tweezers
    $4.99
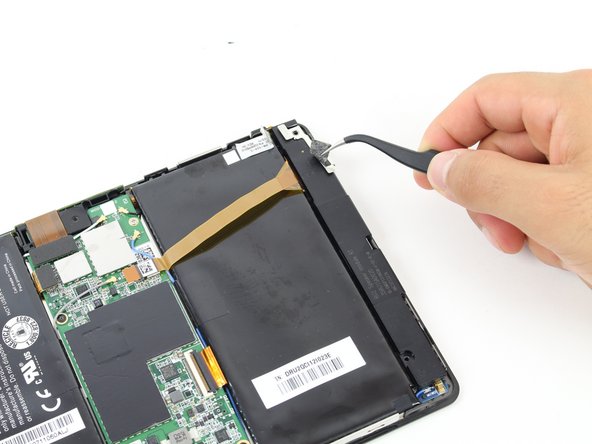
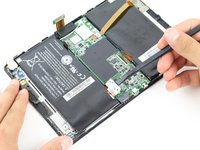
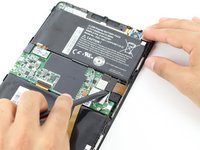
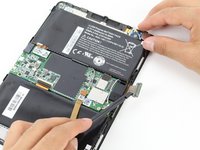
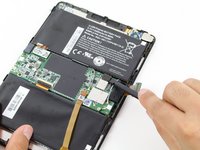
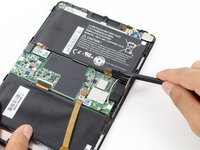
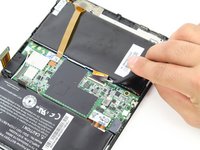
    • Remove the battery connector using either your fingers or a pair of tweezers.

    Pergunte ao FixBot
  8. BlackBerry PlayBook Front Panel Replacement: passo 8, imagem 1 %32 BlackBerry PlayBook Front Panel Replacement: passo 8, imagem 2 %32
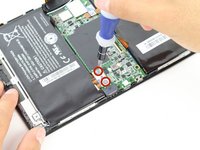
    • Unscrew two 1.17x2.9mm Phillips screws from the white connector port.

    • Lift the battery connector away from the motherboard using a spudger.

    Pergunte ao FixBot
  9. BlackBerry PlayBook Front Panel Replacement: passo 9, imagem 1 %32 BlackBerry PlayBook Front Panel Replacement: passo 9, imagem 2 %32
    Pergunte ao FixBot
  10. BlackBerry PlayBook Front Panel Replacement: passo 10, imagem 1 %32 BlackBerry PlayBook Front Panel Replacement: passo 10, imagem 2 %32
    Pergunte ao FixBot
  11. BlackBerry PlayBook Front Panel Replacement: passo 11, imagem 1 %32 BlackBerry PlayBook Front Panel Replacement: passo 11, imagem 2 %32 BlackBerry PlayBook Front Panel Replacement: passo 11, imagem 3 %32
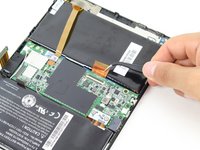
    • Remove the clipped ZIF data connector coming from underneath the motherboard.

    • Lift up the black plastic clip with a spudger.

    • Pull the connector out gently using tweezers.

    • Be careful to ensure that the black plastic clip has been lifted away from the connector ribbon before pulling on the connector. The clip should be loose and easy to wiggle. Removing the connector before it is unclipped can cause damage.

    Pergunte ao FixBot
  12. BlackBerry PlayBook Front Panel Replacement, Unscrew Motherboard: passo 12, imagem 1 %32
    • Remove the following five screws from the motherboard.

    • Three 1.5x2.5mm Phillips screws

    • Two 1.55x2.38mm Phillips screws

    Pergunte ao FixBot
  13. BlackBerry PlayBook Front Panel Replacement, Remove Wire Leads: passo 13, imagem 1 %32
    Pergunte ao FixBot
  14. BlackBerry PlayBook Front Panel Replacement, Remove Motherboard: passo 14, imagem 1 %32 BlackBerry PlayBook Front Panel Replacement, Remove Motherboard: passo 14, imagem 2 %32
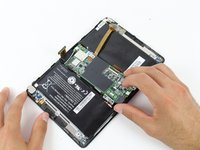
    • Gently lift the motherboard away from the device. If there is any resistance, check the previous steps to ensure that all connections have been removed.

    Pergunte ao FixBot
  15. BlackBerry PlayBook Front Panel Replacement, Unscrew Mid-Frame: passo 15, imagem 1 %32 BlackBerry PlayBook Front Panel Replacement, Unscrew Mid-Frame: passo 15, imagem 2 %32 BlackBerry PlayBook Front Panel Replacement, Unscrew Mid-Frame: passo 15, imagem 3 %32
    • Remove both screws attaching the metal mid-frame to the front panel.

    • Two Phillips screws

    Pergunte ao FixBot
  16. BlackBerry PlayBook Front Panel Replacement, Unscrew Boards from Mid-Frame: passo 16, imagem 1 %32 BlackBerry PlayBook Front Panel Replacement, Unscrew Boards from Mid-Frame: passo 16, imagem 2 %32
    • Unscrew the small blue boards in each corner with the same Phillips screwdriver.

    Pergunte ao FixBot
  17. BlackBerry PlayBook Front Panel Replacement, Peel Off Sticker: passo 17, imagem 1 %32 BlackBerry PlayBook Front Panel Replacement, Peel Off Sticker: passo 17, imagem 2 %32
    • Remove the sticker holding the touchscreen controller in place to free it from the mid-frame.

    Pergunte ao FixBot
  18. BlackBerry PlayBook Front Panel Replacement, Unclip Mid-Frame: passo 18, imagem 1 %32 BlackBerry PlayBook Front Panel Replacement, Unclip Mid-Frame: passo 18, imagem 2 %32 BlackBerry PlayBook Front Panel Replacement, Unclip Mid-Frame: passo 18, imagem 3 %32
    • Unclip all attachments along the sides of the tablet.

    • Two large clips on the top of the device.

    • Four medium clips on the bottom of the device.

    • One small clip on the side of the device, near the headphone jack.

    • This last clip is particularly difficult and might require a sharper tool to remove.

    Pergunte ao FixBot
  19. BlackBerry PlayBook Front Panel Replacement, Lift Mid-Frame: passo 19, imagem 1 %32
    • Gently lift the metal mid-frame away from the front panel.

    • A connector runs through a hole in the mid-frame under the area where the motherboard used to rest. While lifting, ensure that this connector is properly fed through the hole.

    Pergunte ao FixBot
  20. BlackBerry PlayBook Front Panel Replacement, Unscrew Display: passo 20, imagem 1 %32
    • Remove the one remaining Phillips screw holding the display in place.

    Pergunte ao FixBot
  21. BlackBerry PlayBook Front Panel Replacement, Remove Display: passo 21, imagem 1 %32 BlackBerry PlayBook Front Panel Replacement, Remove Display: passo 21, imagem 2 %32
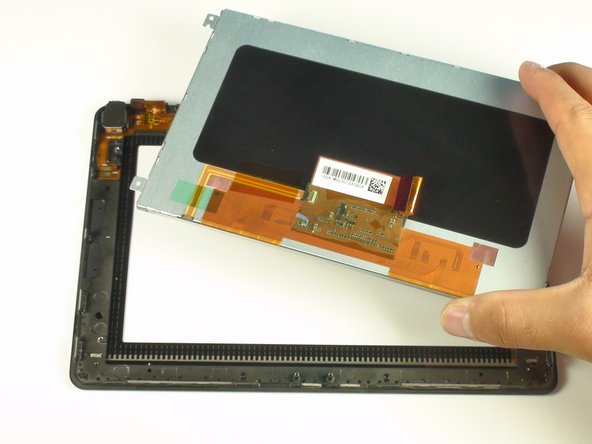
    • Gently lift the display out of place.

    Pergunte ao FixBot
Conclusão

To reassemble your device, follow these instructions in reverse order.

7 outras pessoas executaram este guia.

Equipe

Cal Poly, Team 14-27, Maness Fall 2014 Membro de Cal Poly, Team 14-27, Maness Fall 2014

CPSU-MANESS-F14S14G27

4 Membros

Autoria de 12 guias

2Comentários do guia

Where can I get a blackberry playbook screen am in Kenya

Emily Opondo - Responder Compartilhar

Did you get the screen? I need it too.

Koyo Iain - Responder Compartilhar
Comentar

Visualizações:

Últimas 24 horas: 0

Últimos 7 dias: 7

Últimos 30 dias: 74

Ao todo: 5,825