Introdução
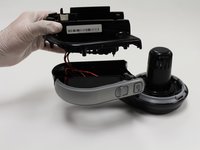
The power switch on the Black and Decker Pivot MAX turns the appliance on when connected to power. If your Black and Decker Pivot MAX will not turn on, is stuck on, or has a finicky power switch, replacing this component is something you should consider.
This guide will take you through the steps of removing and re-assembling key components of the Black and Decker Pivot MAX to allow you to replace the power switch. Tools you will need for this project will be a Phillips head screwdriver and a soldering iron.
O que você precisa
-
-
Press in and hold the release button.
-
Rotate the dust filter chamber counter-clockwise.
-
Remove the dust filter chamber.
-
-
-
-
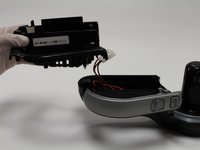
Lift the battery tray after removing the screws
-
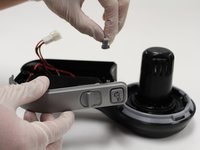
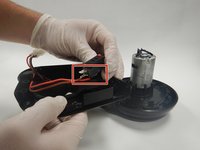
Remove the handle parts from the handle area.
-


To reassemble your device, follow these instructions in reverse order.
To reassemble your device, follow these instructions in reverse order.

Equipe

The Citadel Military College of South Carolina, Team S1-G8, Eggleston Fall 2020 Membro de The Citadel Military College of South Carolina, Team S1-G8, Eggleston Fall 2020
CMCSC-EGGLESTON-F20S1G8
3 Membros
Autoria de 3 guias