Ir para o conteúdo principal
Participe da comunidade de reparos - Criar conta

Belkin NetCam HD Lens Piece Replacement

O que você precisa

  1. Belkin NetCam HD Lens Piece  Replacement, Case: passo 1, imagem 1 %32
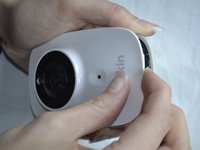
    • Use a wrench to loosen up the stand from the back in order to hold the NetCam more comfortably.

    Pergunte ao FixBot

    Comentar

  2. Belkin NetCam HD Lens Piece  Replacement: passo 2, imagem 1 %32
    • Work a plastic opening tool into the seam and pry the face plate away from the back panel.

    Pergunte ao FixBot

    Comentar

  3. Belkin NetCam HD Lens Piece  Replacement: passo 3, imagem 1 %32 Belkin NetCam HD Lens Piece  Replacement: passo 3, imagem 2 %32
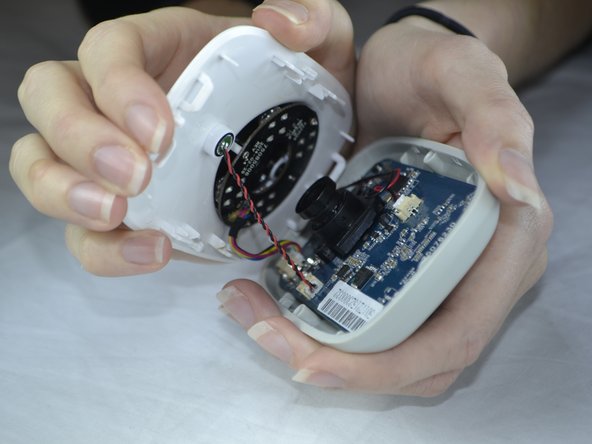
    • Use pressure to separate the covers.

    • When pulling the device apart, separate from the bottom up in order to avoid pulling the wiring at the top apart.

    Pergunte ao FixBot

    Comentar

  4. Belkin NetCam HD Lens Piece  Replacement, Front Casing: passo 4, imagem 1 %32
    • Carefully use your fingers to gently pull out the white attachment from the tan colored part.

    Pergunte ao FixBot

    Comentar

  5. Belkin NetCam HD Lens Piece  Replacement, Speaker: passo 5, imagem 1 %32 Belkin NetCam HD Lens Piece  Replacement, Speaker: passo 5, imagem 2 %32
    • Use a Phillips #0 screwdriver to take out the two 1.2 mm screws on the board.

    Pergunte ao FixBot

    Comentar

  6. Belkin NetCam HD Lens Piece  Replacement: passo 6, imagem 1 %32 Belkin NetCam HD Lens Piece  Replacement: passo 6, imagem 2 %32 Belkin NetCam HD Lens Piece  Replacement: passo 6, imagem 3 %32
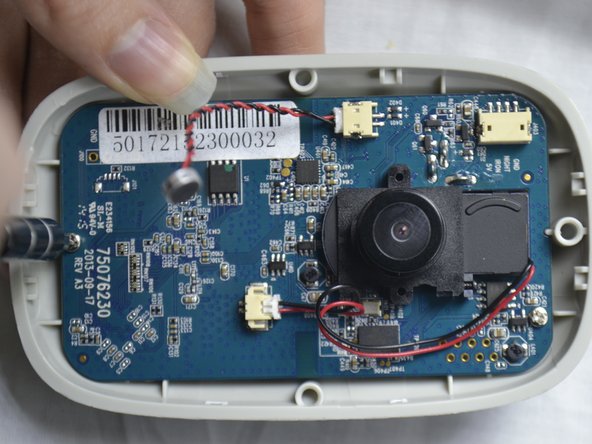
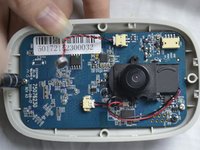
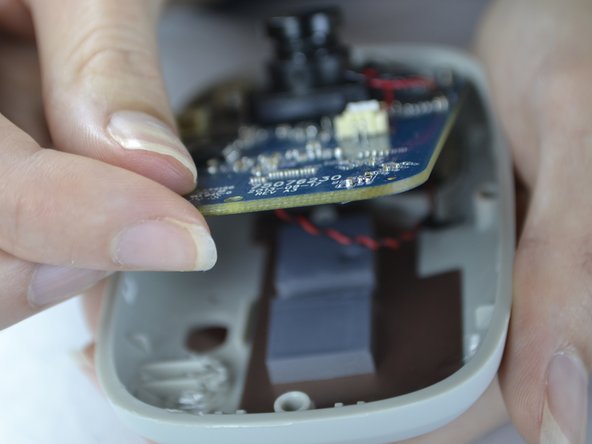
    • With your fingers, pull the circuit board out of the back casing.

    • When pulling the board up be sure to do so carefully so you do not break the cord which is attached on the back side.

    Pergunte ao FixBot

    Comentar

  7. Belkin NetCam HD Lens Piece  Replacement: passo 7, imagem 1 %32 Belkin NetCam HD Lens Piece  Replacement: passo 7, imagem 2 %32
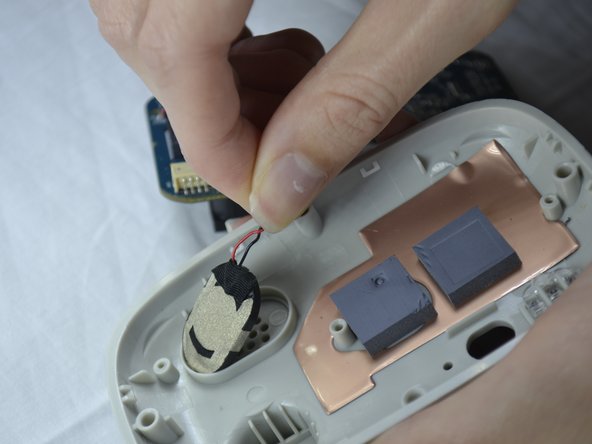
    • Gently pull the speaker out of the holder from the back of the cover.

    Pergunte ao FixBot

    Comentar

  8. Belkin NetCam HD Lens Piece  Replacement: passo 8, imagem 1 %32
    • The speaker wires are attached with the board. It can be unattached gently by pulling out the white attachment from the port.

    Pergunte ao FixBot

    Comentar

  9. Belkin NetCam HD Lens Piece  Replacement, Lens Piece: passo 9, imagem 1 %32 Belkin NetCam HD Lens Piece  Replacement, Lens Piece: passo 9, imagem 2 %32
    • Flip the circuit board to the back side.

    • Fold down the tape with your finger.

    • With the Phillips #0 screwdriver, unscrew the two 1.2 mm screws.

    Pergunte ao FixBot

    Comentar

  10. Belkin NetCam HD Lens Piece  Replacement: passo 10, imagem 1 %32 Belkin NetCam HD Lens Piece  Replacement: passo 10, imagem 2 %32
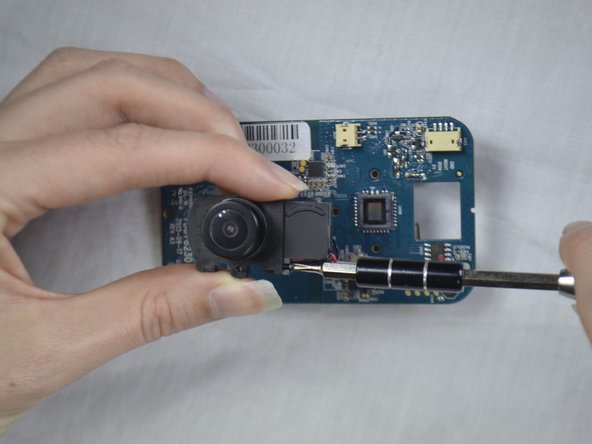
    • Flip the circuit board back to the other side.

    • Unscrew the screw with a Phillips #0 screw driver.

    Pergunte ao FixBot

    Comentar

  11. Belkin NetCam HD Lens Piece  Replacement: passo 11, imagem 1 %32
    • Slide the attached piece from the lens holder device.

    Pergunte ao FixBot

    Comentar

  12. Belkin NetCam HD Lens Piece  Replacement: passo 12, imagem 1 %32 Belkin NetCam HD Lens Piece  Replacement: passo 12, imagem 2 %32
    Ferramenta utilizada neste passo:
    Tweezers
    $4.99
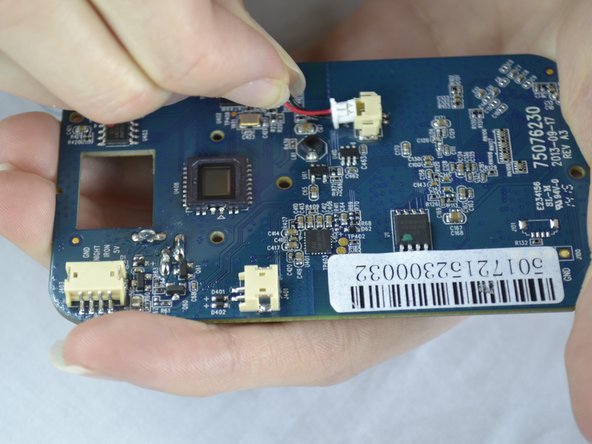
    • Use the tweezers to pull the white attachment out from the port a little.

    • Then, take your fingers and gently pull the white attachment out from the tan port.

    Pergunte ao FixBot

    Comentar

Conclusão

To reassemble your device, follow these instructions in reverse order.

Cancelar: não concluí este guia.

Equipe

USF Tampa, Team 3-5, Sullivan Fall 2016 Membro de USF Tampa, Team 3-5, Sullivan Fall 2016

USFT-SULLIVAN-F16S3G5

4 Membros

Autoria de 14 guias

0Comentários do guia

Comentar

Visualizações:

Últimas 24 horas: 1

Últimos 7 dias: 6

Últimos 30 dias: 35

Ao todo: 1,372