Ir para o conteúdo principal

Beboncool Gamepad for Nintendo Switch Joystick Replacement

O que você precisa

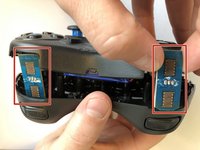
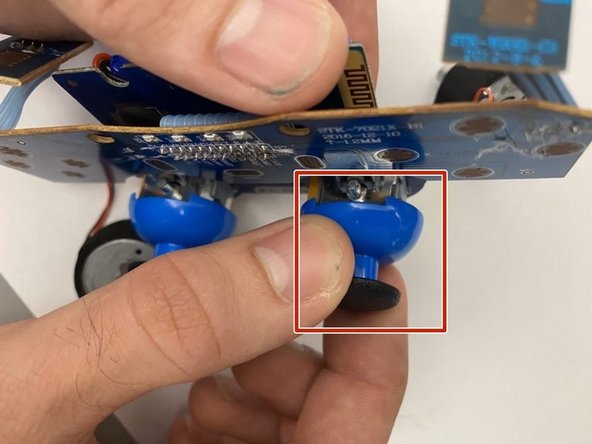
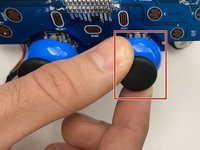
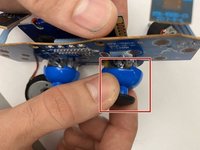
  1. Beboncool Gamepad for Nintendo Switch Joystick Replacement, Beboncool Nintendo Switch Gamepad Disassembly: passo 1, imagem 1 %32 Beboncool Gamepad for Nintendo Switch Joystick Replacement, Beboncool Nintendo Switch Gamepad Disassembly: passo 1, imagem 2 %32 Beboncool Gamepad for Nintendo Switch Joystick Replacement, Beboncool Nintendo Switch Gamepad Disassembly: passo 1, imagem 3 %32
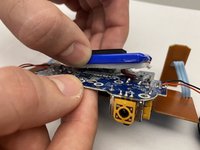
    • Use the plastic opening tool to remove the blue plastic grips from the sides of the controller.

  2. Beboncool Gamepad for Nintendo Switch Joystick Replacement: passo 2, imagem 1 %32 Beboncool Gamepad for Nintendo Switch Joystick Replacement: passo 2, imagem 2 %32
    • Use the Phillips #0 screwdriver to remove the seven 5mm screws from the back of the controller.

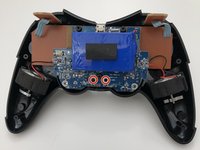
  3. Beboncool Gamepad for Nintendo Switch Joystick Replacement: passo 3, imagem 1 %32 Beboncool Gamepad for Nintendo Switch Joystick Replacement: passo 3, imagem 2 %32 Beboncool Gamepad for Nintendo Switch Joystick Replacement: passo 3, imagem 3 %32
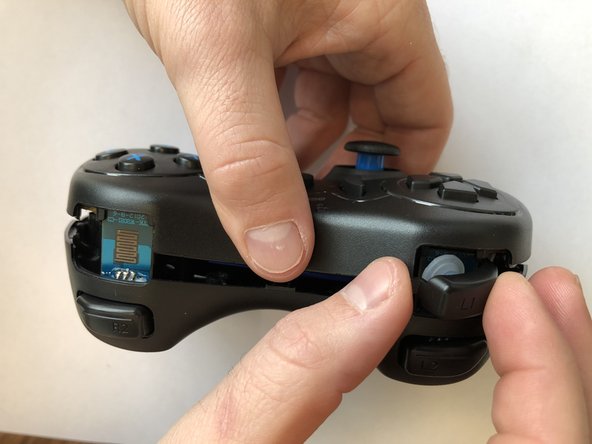
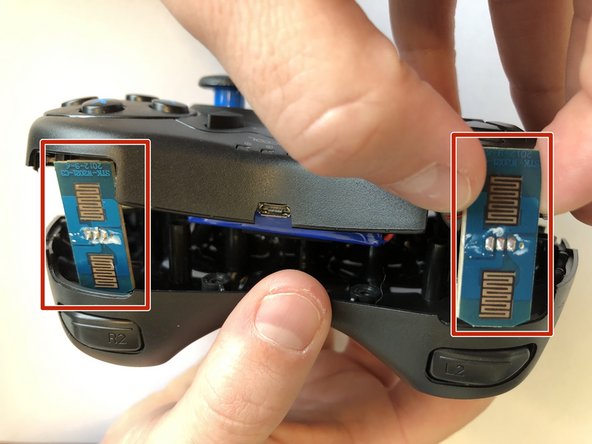
    • Gently separate the two halves of the controller.

    • As the two covers come apart the L1 and R1 button, will fall free from the controller. Be sure not to lose them if they should pop out and fall.

    • Be sure to slide the small circuit boards out of the covers to be able to separate the two halves

  4. Beboncool Gamepad for Nintendo Switch Joystick Replacement: passo 4, imagem 1 %32 Beboncool Gamepad for Nintendo Switch Joystick Replacement: passo 4, imagem 2 %32
    • Use the Phillips #0 screwdriver to remove the two 3.5mm screws holding the circuit board in place.

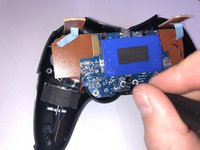
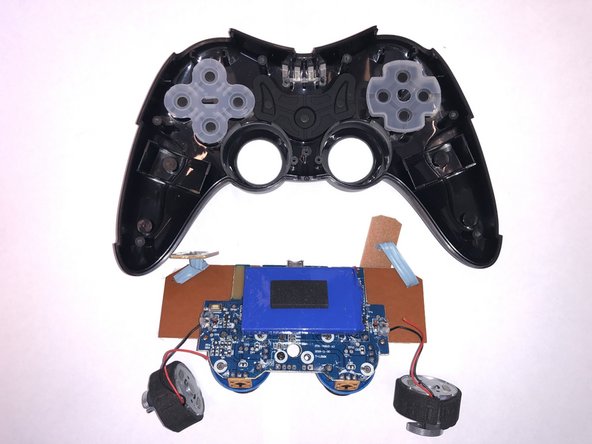
  5. Beboncool Gamepad for Nintendo Switch Joystick Replacement: passo 5, imagem 1 %32 Beboncool Gamepad for Nintendo Switch Joystick Replacement: passo 5, imagem 2 %32 Beboncool Gamepad for Nintendo Switch Joystick Replacement: passo 5, imagem 3 %32
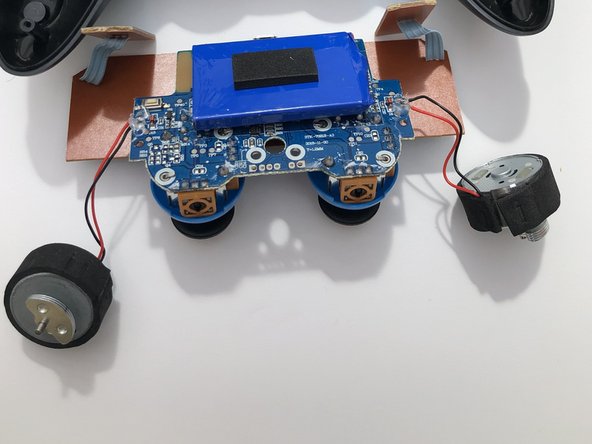
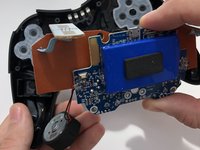
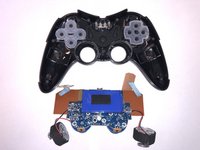
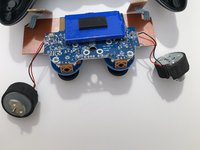
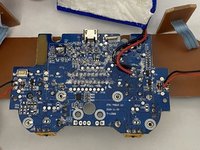
    • Lift the motherboard from the back case with the vibration motors and button boards attached.

  6. Beboncool Gamepad for Nintendo Switch Joystick Replacement, Joystick: passo 6, imagem 1 %32 Beboncool Gamepad for Nintendo Switch Joystick Replacement, Joystick: passo 6, imagem 2 %32
    • Remove the joystick cover from the joystick actuator by firmly pulling the cover away from the actuator.

  7. Beboncool Gamepad for Nintendo Switch Joystick Replacement: passo 7, imagem 1 %32 Beboncool Gamepad for Nintendo Switch Joystick Replacement: passo 7, imagem 2 %32
    • Gently separate the battery pack from the back of the motherboard, leaving it connected to the board through its lead cables.

  8. Beboncool Gamepad for Nintendo Switch Joystick Replacement: passo 8, imagem 1 %32
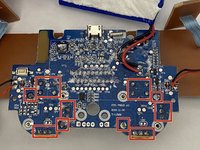
    • Bend each of the retaining tabs located in the the corners of each joystick actuator straight so that they can be removed.

    • If only one of your joysticks is showing issues, just address the pins corresponding to the problematic joystick.

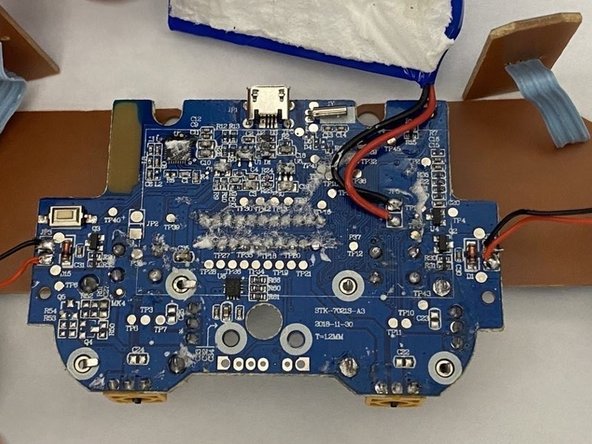
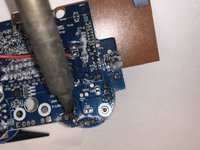
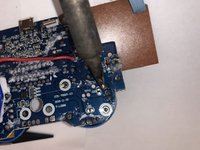
  9. Beboncool Gamepad for Nintendo Switch Joystick Replacement: passo 9, imagem 1 %32 Beboncool Gamepad for Nintendo Switch Joystick Replacement: passo 9, imagem 2 %32 Beboncool Gamepad for Nintendo Switch Joystick Replacement: passo 9, imagem 3 %32
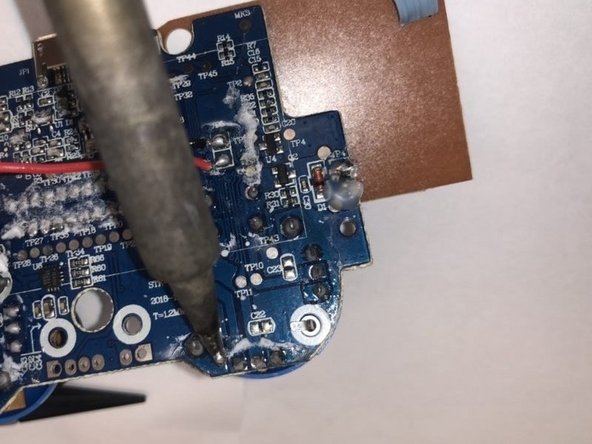
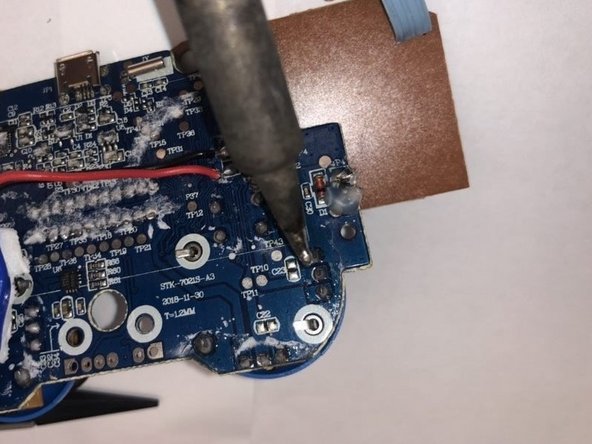
    • Desolder the 12 soldering points connecting the problematic actuator(s) to the motherboard.

    • Remove the actuator from the board.

    • For help with soldering best practices, check out this Soldering and Desoldering Connections Guide.

Conclusão

To reassemble your device, follow these instructions in reverse order.

Um comentário

Me who used my no longer existing nails for the grips lol

TheGuyInTheChair - Responder

Adicione um comentário

Exibir estatísticas:

Últimas 24 horas: 0

Últimos 7 dias: 2

Últimos 30 dias: 8

Duração total: 540