Esta versão pode conter edições incorretas. Mude para o último instantâneo verificado.
O que você precisa
-
Este passo não foi traduzido. Ajude a traduzi-lo
-
If your new battery came with adhesive strips already installed, skip to Step 8.
-
Otherwise, peel off the large blue plastic liner from your new set of adhesive strips, and discard it.
-
-
Este passo não foi traduzido. Ajude a traduzi-lo
-
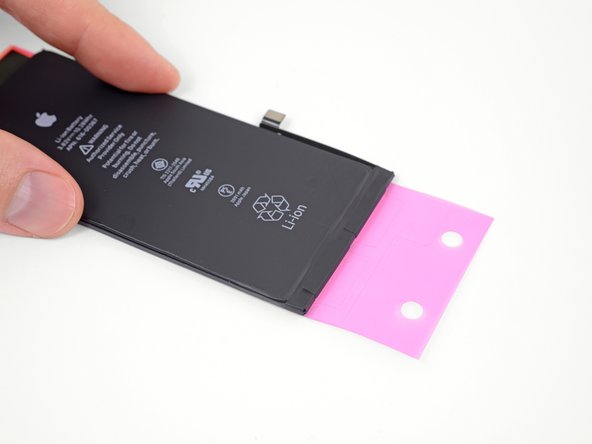
Double-check the orientation of the adhesive strips, and then stick them to the back side of your new battery.
-
Make sure the two shorter strips are nearest the battery cable connector.
-
Center the strips so that the two pairs of black tabs protrude evenly from each side of the battery.
-
-
Este passo não foi traduzido. Ajude a traduzi-lo
-
Use your fingers or a cloth to press the strips firmly into place on the battery.
-
-
Este passo não foi traduzido. Ajude a traduzi-lo
-
Flip the battery over, then peel away and discard the two blue plastic liners covering the ends of the adhesive strips.
-
-
Este passo não foi traduzido. Ajude a traduzi-lo
-
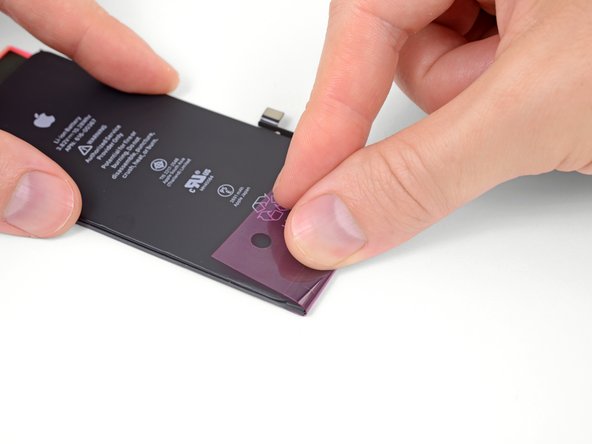
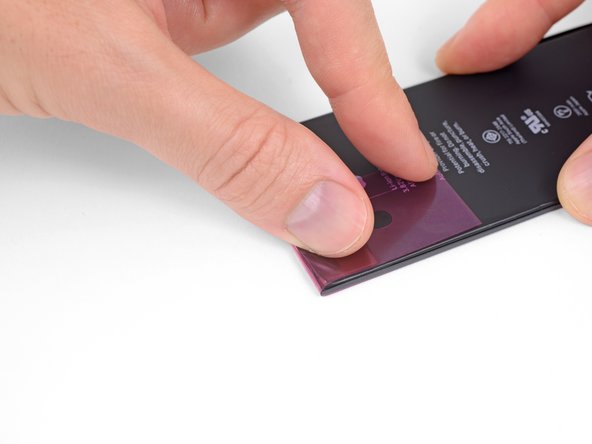
Grab the pink plastic liner at the bottom edge of the battery, and gently pull it taut.
-
Fold the liner over onto the battery and press down.
-
Let go of the liner, and the two black ends of the adhesive strips should remain stuck to the bottom edge of the battery.
-
-
-
Este passo não foi traduzido. Ajude a traduzi-lo
-
Repeat the previous step to adhere the ends of the two remaining strips at the top edge of the battery.
-
-
Este passo não foi traduzido. Ajude a traduzi-lo
-
Peel away and discard the small orange release liner covering the ends of the adhesive strips at the top of the battery.
-
-
Este passo não foi traduzido. Ajude a traduzi-lo
-
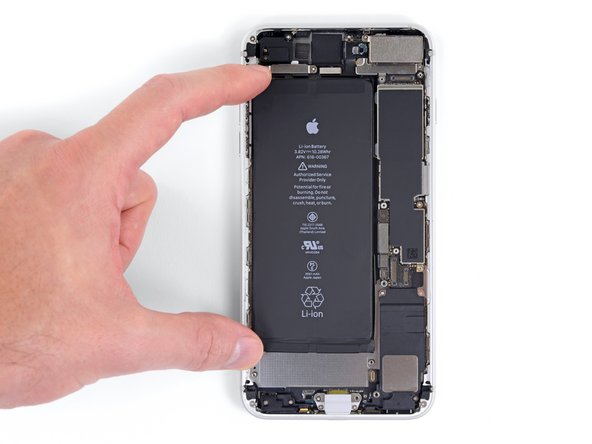
With the large pink release liner still in place, set the battery into your iPhone.
-
-
Este passo não foi traduzido. Ajude a traduzi-lo
-
Line up the battery connector and press it into place.
-
-
Este passo não foi traduzido. Ajude a traduzi-lo
-
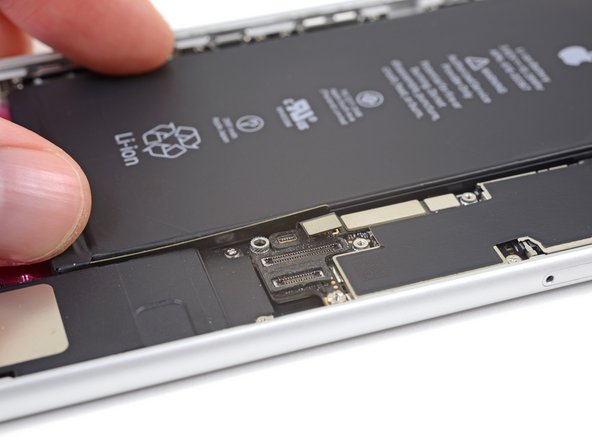
Lifting from the outside edge, tilt the battery onto its side so you can access the final release liner.
-
-
Este passo não foi traduzido. Ajude a traduzi-lo
-
Peel away the final, large, pink release liner and discard it.
-
-
Este passo não foi traduzido. Ajude a traduzi-lo
-
Carefully position the battery and set it into the iPhone.
-
-
Este passo não foi traduzido. Ajude a traduzi-lo
-
Press the top and bottom areas of the battery firmly into place, allowing the adhesive strips to stick to the rear case.
-
-
Este passo não foi traduzido. Ajude a traduzi-lo
-
Be sure to disconnect the battery again before reassembling your iPhone.
-
Cancelar: não concluí este guia.
57 outras pessoas executaram este guia.
3 comentários
No. While the 3M has quality tapes, their product is too thick. Purchase the item here and do the job correctly. You'll be happy that you used the correct adhisive.
First time Do-It-Yourself-er here so I want to ask, do you need to replace/add the adhesive strips (adhesive in general)? If so, why?
It feels like it would be more convenient for the next time you need to replace your battery.
Again, just looking for a little clarification & insight.


