Introdução
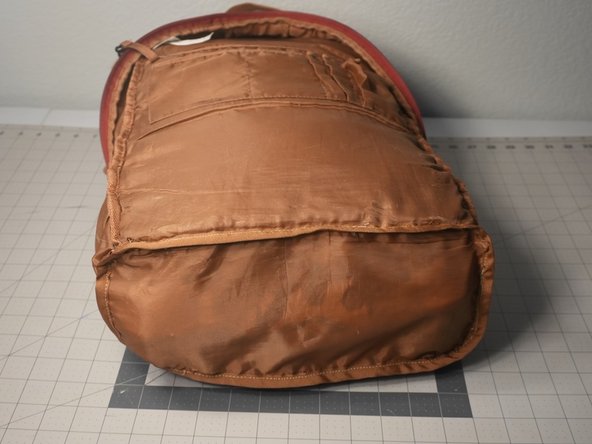
The Ozark Trail Ot Whittier backpack is one of the most durable backpacks for its low price point. However, the sustained pressure of heavy backpack contents can cause a large tear in the base. The incision is usually along the line of the inner laptop compartment. Repairing a torn base is straightforward for those with sewing experience, particularly handbag and line garment experience. This guide outlines how to remove the base panel, cut a new base panel, sew the new panel in, and bind the inner seams. It is recommended that you take caution as an iron will be used in this project.
O que você precisa
-
-
-
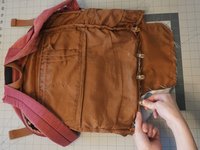
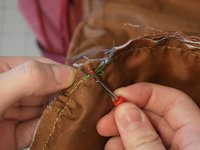
Seam rip the binding along the bottom rectangle of the backpack.
-
Discard the ripped panel of burlap.
-
-
-
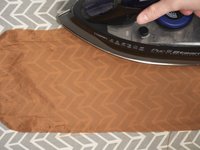
Iron the base panel of the polyester lining fabric.
-
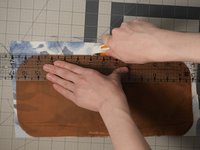
Place the lining fabric on top of the desired fabric.
-
Using a ruler and rotary cutter, cut an identical rectangle.
-
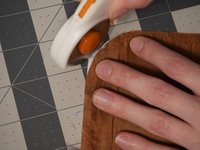
Carefully round the corners of your desired fabric rectangle to match the shape of the liner.
-
-
-
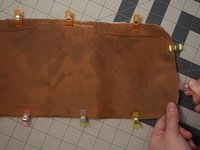
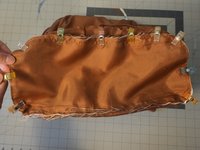
Pin the liner and new fabric panel together, so that the 'right sides' of the fabric are facing outwards.
-
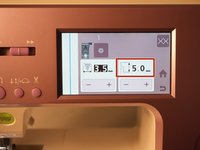
Set your machine to the longest stitch length (usually 5 mm), and the loosest thread tension.
-
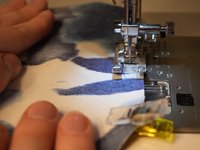
Sew the layers together with a 1/4" seam allowance.
-
-
-
-
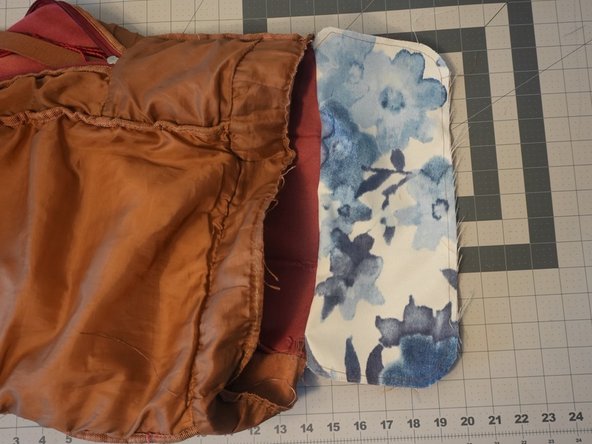
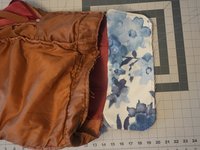
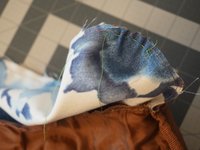
Pin the lining and new fabric base so that it is centered on the thick side of the backpack.
-
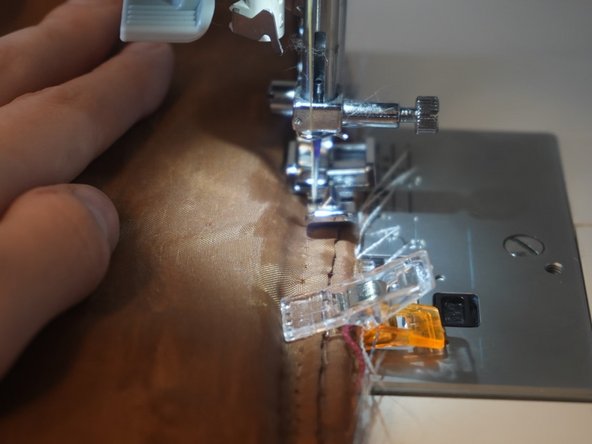
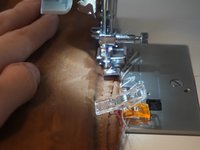
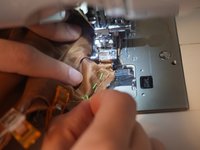
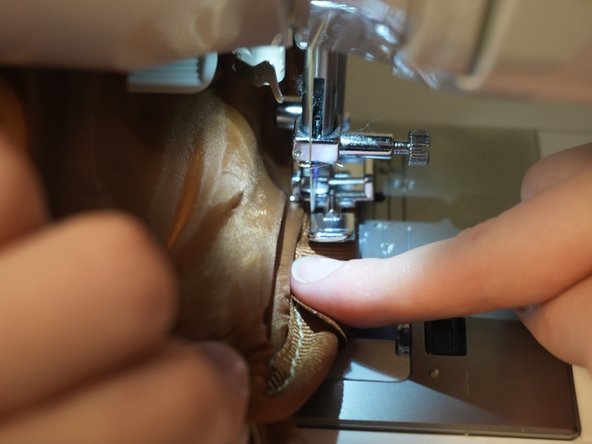
Using a zipper foot, sew the new fabric base and liner to the thick side of the backpack.
-
-
-
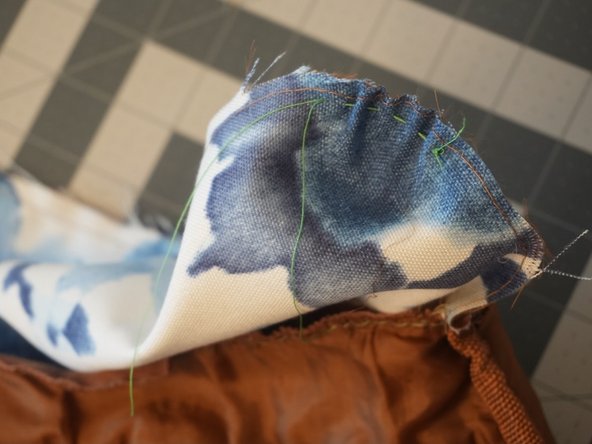
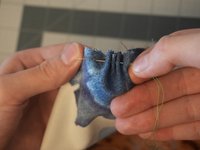
Using a contrasting-colored thread, hand-sew along the corners of the base fabric.
-
Tighten the contrasting threads to bunch up the corners until they fit snug into the corners of the backpack.
-
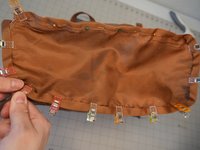
Pin the remaining 3 sides of the base with to the 3 sides of the backpack.
-
-
-
Sew along the remaining three sides.
-
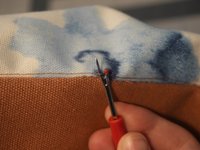
Seam-rip the contrasting color thread.
-
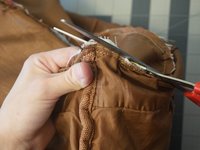
Trim down any fabric that exceeds 1/4" seam allowance, particularly around the corners.
-
-
-
Turn the backpack right side out.
-
Look along the new seam for any of the stitches that hold the lining and base fabric together, and remove them.
-
Pin the binding around the bottom seam, so that it sandwiches the seam allowance.
-
Allow one end of the binding to remain loose.
-
-
-
Starting with the pinned end of the binding, carefully sew about 1/10" away from the end of the binding.
-
When you reach the loose end of the binding, connect the end that you already sewed with the loose end.
-
Sew both ends together.
-


 Pergunte ao FixBot
















Equipe

University of North Texas, Team 2-3, Raign Spring 2023 Membro de University of North Texas, Team 2-3, Raign Spring 2023
UNT-RAIGN-S23S2G3
2 Membros
Autoria de 2 guias
