Essa tradução foi gerada por um programa e ainda não foi revisada por uma pessoa. Falas essa língua? Dá uma olhada.
Introdução
Este guia utilizará uma chave hexagonal de 2,0 mm para abrir a carcaça, além de uma pinça para desconectar e remover a placa-mãe. Isso permitirá que você acesse a bateria localizada na parte inferior da carcaça.
O que você precisa
-
-
-
Coloque o dispositivo de lado, de modo que a antena fique na parte superior.
 Pergunte ao FixBot
-
-
Ferramenta utilizada neste passo:Tweezers$4.99
-
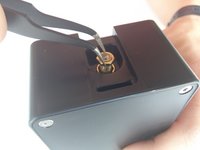
Use a pinça para segurar o pescoço da antena (a parte mais próxima do dispositivo).
-
Use a mão oposta para girar e retirar o corpo da antena.
-
-
-
-
-
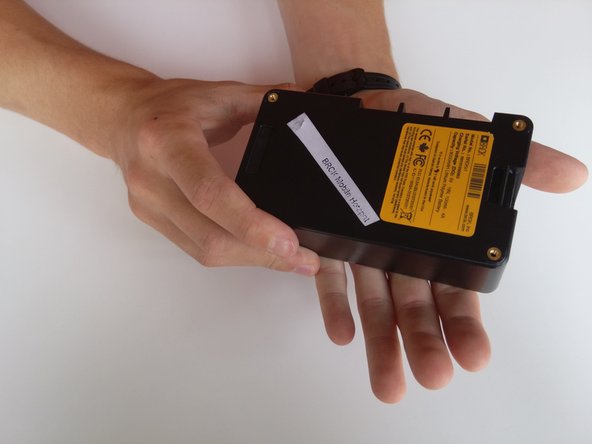
Coloque a face do dispositivo que mostra BRCK voltada para cima.
-
-
-
Remova os quatro parafusos (cabeça sextavada de 4 mm) nos cantos do dispositivo com uma chave (de fenda) Hex 2.0.
-
-
-
-
-
-
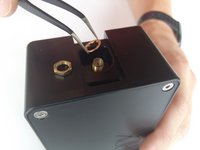
Remova a porca e a arruela do conector de RF, localizadas onde a antena estava conectada.
-
-
-
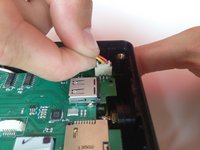
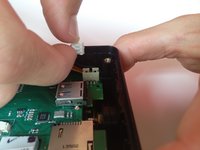
Desconecte o cabeamento vermelho, preto e amarelo puxando-o para cima.
-
-
Ferramenta utilizada neste passo:Tweezers$4.99
-
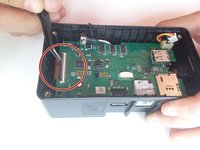
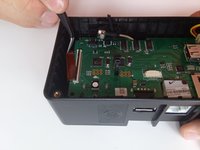
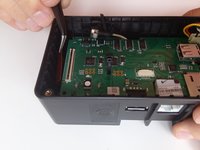
Insira cuidadosamente a pinça sob a aba preta e levante para soltar o clipe.
-
Deslize o cabo flat para fora debaixo do clipe para liberar a placa-mãe.
-
-
-
Remova as proteções externas de borracha levantando-as para fora do lugar.
-
-
-
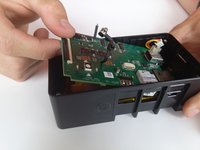
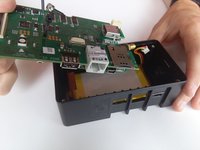
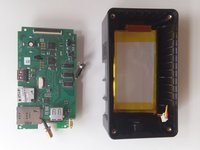
Levante lentamente a placa-mãe para fora do dispositivo, puxando-a pela extremidade próxima à conexão do cabo flexível.
-
Levante e puxe para fora do lugar.
-
-
-
-
-
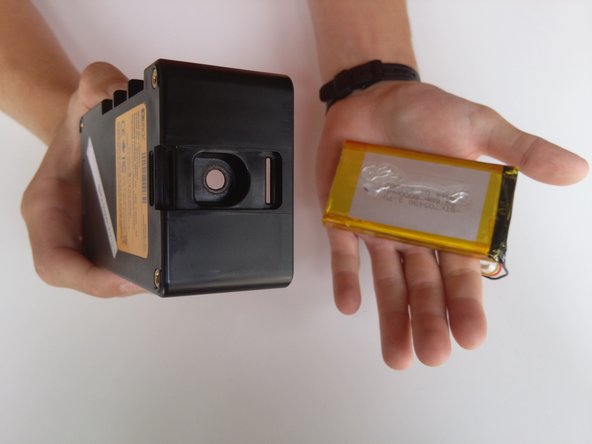
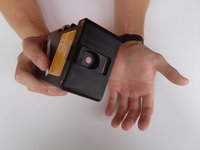
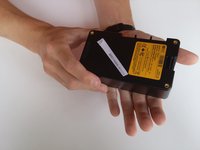
Vire o dispositivo de cabeça para baixo. Segure o dispositivo e dê batidas leves contra a palma da outra mão, variando a força, para remover a bateria da parte dobrável.
-
-









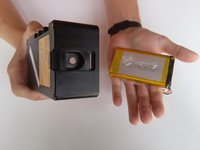
Para a remontagem de seu dispositivo, siga estas instruções na ordem inversa.

Equipe

Cal Poly, Team 12-3, Lancaster Spring 2015 Membro de Cal Poly, Team 12-3, Lancaster Spring 2015
CPSU-LANCASTER-S15S12G3
3 Membros
Autoria de 84 guias
