Ir para o conteúdo principal
Participe da comunidade de reparos - Criar conta

Azpen A701 Screen Replacement

O que você precisa

    1. Azpen A701 Screen Replacement, General Disassembly Prerequisite Guide: passo 1, imagem 1 %32
      • Remove the two 2cm screws on the bottom using the PH0 Phillips head screw driver.

      Pergunte ao FixBot

      Comentar

    2. Azpen A701 Screen Replacement: passo 2, imagem 1 %32 Azpen A701 Screen Replacement: passo 2, imagem 2 %32
      • Pry open the back piece with the plastic spudger.

      • Remove the back piece from the device.

      • The back panel may be difficult to pry off, use gentle force.

      Pergunte ao FixBot

      Comentar

    3. Azpen A701 Screen Replacement: passo 3, imagem 1 %32
      • Disconnect speaker (which is attached by black and red wires) from back piece using plastic spudger.

      Pergunte ao FixBot

      Comentar

    4. Azpen A701 Screen Replacement: passo 4, imagem 1 %32
      • Gently pry the battery off of the device with the plastic spudger.

      • There is a large amount of glue holding the battery to the device.

      • Do not puncture the battery with the plastic spudger.

      Pergunte ao FixBot

      Comentar

    1. Azpen A701 Screen Replacement, Screen: passo 5, imagem 1 %32 Azpen A701 Screen Replacement, Screen: passo 5, imagem 2 %32 Azpen A701 Screen Replacement, Screen: passo 5, imagem 3 %32
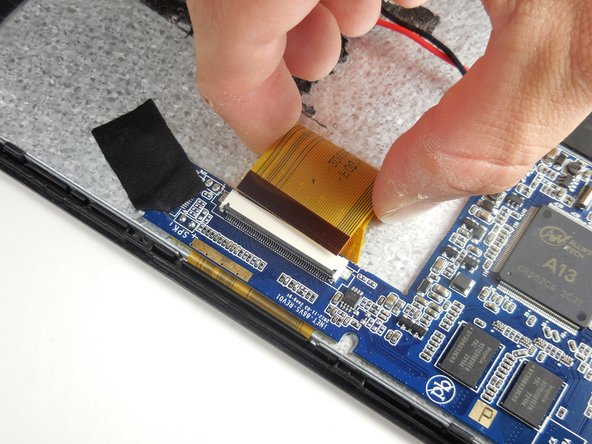
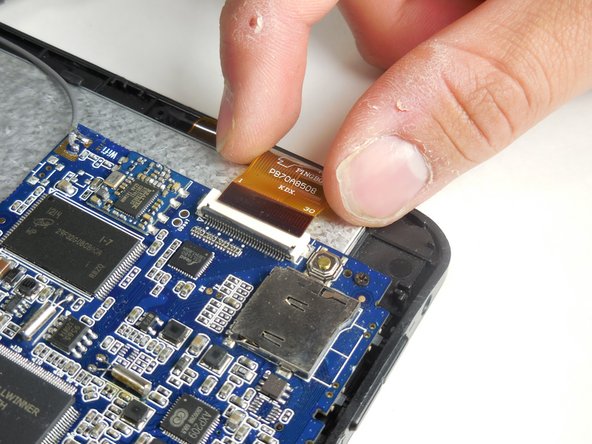
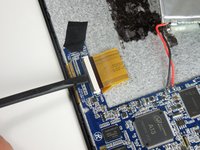
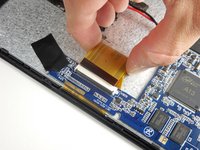
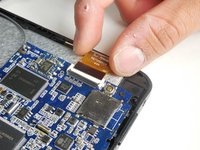
      • Disconnect the two largest (of the three) ZIF cables by prying open the flap with a plastic spudger to gently remove them.

      Pergunte ao FixBot

      Comentar

    2. Azpen A701 Screen Replacement: passo 6, imagem 1 %32
      • Peel off the black tape from the corner of the motherboard (indicated by the blue surface of the device).

      Pergunte ao FixBot

      Comentar

    3. Azpen A701 Screen Replacement: passo 7, imagem 1 %32 Azpen A701 Screen Replacement: passo 7, imagem 2 %32 Azpen A701 Screen Replacement: passo 7, imagem 3 %32
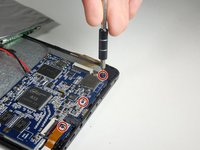
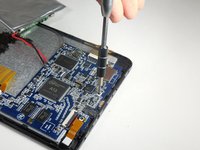
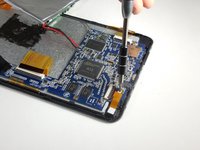
      • Use a Phillips #000 screwdriver to remove the three screws that connect the motherboard to the front panel.

      • When removing the motherboard, be cautious of the gray wire connected from the motherboard to the actual device.

      Pergunte ao FixBot

      Comentar

    4. Azpen A701 Screen Replacement: passo 8, imagem 1 %32
      • Remove the motherboard and the battery and set aside.

      Pergunte ao FixBot

      Comentar

    5. Azpen A701 Screen Replacement: passo 9, imagem 1 %32 Azpen A701 Screen Replacement: passo 9, imagem 2 %32 Azpen A701 Screen Replacement: passo 9, imagem 3 %32
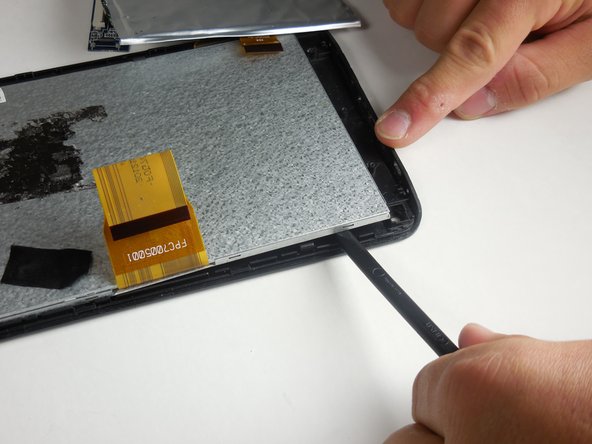
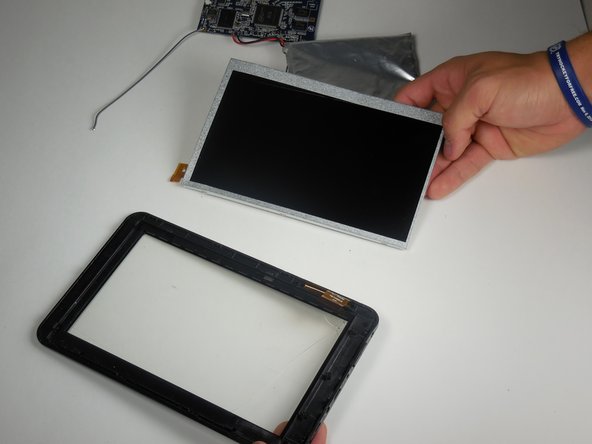
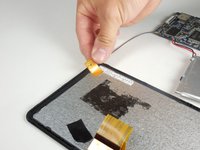
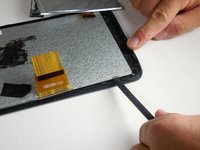
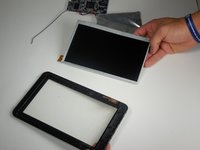
      • Remove the small orange tape attached with a gray wire from the top corner of the device. This is the antenna.

      • Use a plastic spudger around the silver lining within the device to pry the screen off.

      • The metal screen assembly is two pieces. When removing the screen, make sure to pry off both pieces at once.

      Pergunte ao FixBot

      Comentar

    6. Azpen A701 Screen Replacement: passo 10, imagem 1 %32
      • Replace the broken screen and reverse the steps to re-assemble the device.

      Pergunte ao FixBot

      Comentar

Conclusão

To reassemble your device, follow these instructions in reverse order.

Cancelar: não concluí este guia.

Uma outra pessoa concluiu este guia.

Michael

Membro desde: 03/11/15

568 Reputação

Autoria de 4 guias

Equipe

0Comentários do guia

Comentar

Visualizações:

Últimas 24 horas: 2

Últimos 7 dias: 5

Últimos 30 dias: 34

Ao todo: 903