Introdução
The Asus Zenbook UX21e has an extremely easy hard drive to replace. Initially, follow the battery replacement steps. Then proceed to unscrew the single screw holding down the SSD, then subsequently remove the SSD.
When removing the screw, try to remove the tape covering it.
O que você precisa
-
-
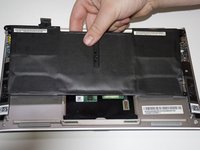
Using a T4 Torx screwdriver, unscrew the ten screws lining the bottom cover. Then, proceed to remove the bottom cover by sliding it out parallel toward the back of the computer.
-
There are two length of screws. Eight screws are 3mm and two are 5mm. The two 5mm screws always go into the two center holes along the back edge.
 Pergunte ao FixBot
-
-
-
Using an iFixit opening tool and your other hand, gently lift the connector up from the tape wrapped around the connector wires and pry the connector from the motherboard.
-
-
-
-
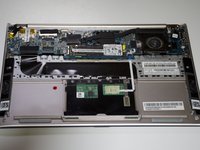
Remove the battery by unscrewing the five 3mm screws using a Phillips #1 screwdriver.
-
-
-
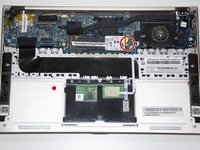
Unscrew the single 3mm screw with a Phillips #1 screwdriver at the rightmost edge of the Hard Drive.
-
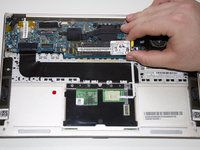
Remove the Hard Drive by sliding it parallel to the motherboard.
-




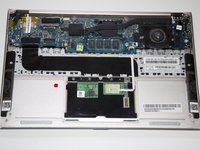
To reassemble your device, follow these instructions in reverse order.

Equipe

Cal Poly, Team S22-G1, Maness Spring 2018 Membro de Cal Poly, Team S22-G1, Maness Spring 2018
CPSU-MANESS-S18S22G1
3 Membros
Autoria de 5 guias
