Ir para o conteúdo principal
Participe da comunidade de reparos - Criar conta

Asus VivoTab Smart Battery Replacement

O que você precisa

    1. Asus VivoTab Smart Battery Replacement, Battery: passo 1, imagem 1 %32 Asus VivoTab Smart Battery Replacement, Battery: passo 1, imagem 2 %32 Asus VivoTab Smart Battery Replacement, Battery: passo 1, imagem 3 %32
      • Power off the device before you begin disassembly.

      • Place the device face down on a flat surface.

      • Remove the back panel with the plastic opening tool by sliding the tool around the edge of the panel.

      Pergunte ao FixBot

      Comentar

    2. Asus VivoTab Smart Battery Replacement: passo 2, imagem 1 %32 Asus VivoTab Smart Battery Replacement: passo 2, imagem 2 %32 Asus VivoTab Smart Battery Replacement: passo 2, imagem 3 %32
      Ferramenta utilizada neste passo:
      Tweezers
      $4.99
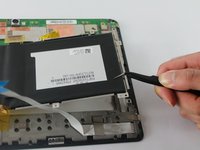
      • Remove the tape covering the 3 ribbons by peeling it off with your hands or with the tweezers.

      • Carefully detach the ribbons from the device's motherboard by pulling outward using tweezers.

      Pergunte ao FixBot

      Comentar

    3. Asus VivoTab Smart Battery Replacement: passo 3, imagem 1 %32 Asus VivoTab Smart Battery Replacement: passo 3, imagem 2 %32 Asus VivoTab Smart Battery Replacement: passo 3, imagem 3 %32
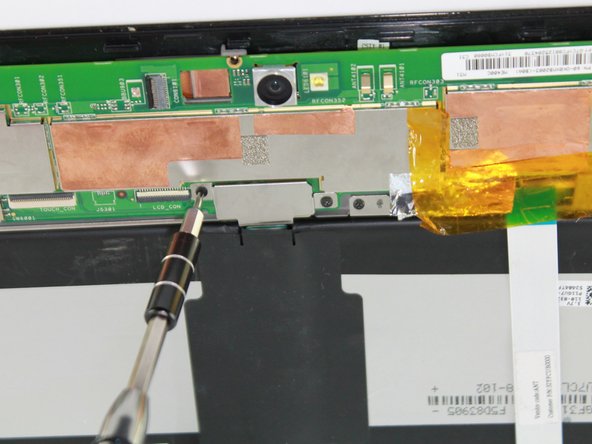
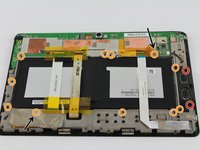
      • The Philips #00 Screwdriver listed in the recommended tools will fit all the screws.

      • Remove the tape covering the areas marked by the black arrows

      • Remove two 3.7 mm Phillips #00 screws

      • Remove eleven 2.7 mm Phillips #00 screws

      Pergunte ao FixBot

      Comentar

    4. Asus VivoTab Smart Battery Replacement: passo 4, imagem 1 %32 Asus VivoTab Smart Battery Replacement: passo 4, imagem 2 %32
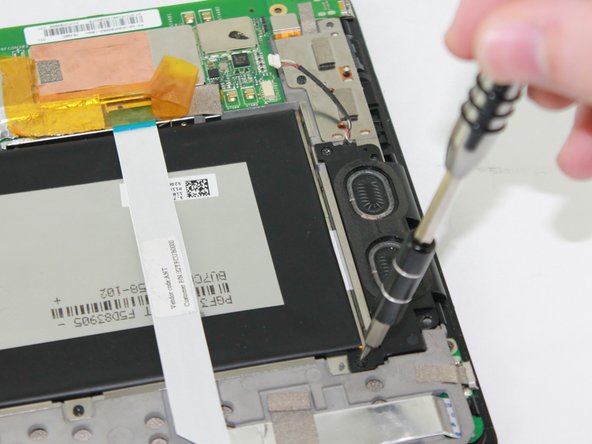
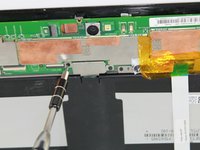
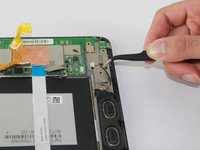
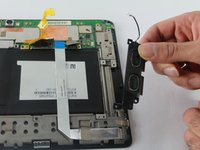
      • Be careful not to damage the speaker wire.

      • Gently unplug the speaker from the motherboard by grabbing the wire near the plastic white plug with tweezers and gently pulling.

      • Lift up on the speaker with your fingers to remove it.

      Pergunte ao FixBot

      Comentar

    5. Asus VivoTab Smart Battery Replacement: passo 5, imagem 1 %32
      • Gently lift the battery pressure plate off of the motherboard.

      Pergunte ao FixBot

      Comentar

    6. Asus VivoTab Smart Battery Replacement: passo 6, imagem 1 %32 Asus VivoTab Smart Battery Replacement: passo 6, imagem 2 %32
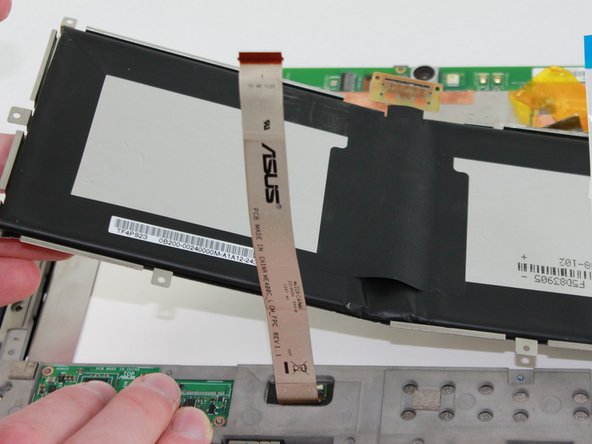
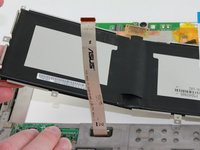
      • Use tweezers to separate the battery tray from the device

      • Lift the battery tray from the device using your hands.

      Pergunte ao FixBot

      Comentar

    7. Asus VivoTab Smart Battery Replacement: passo 7, imagem 1 %32
      • The battery is secured to the tray by a strong adhesive. Take care not to bend the tray when removing the battery.

      • Detach the battery from the tray by pulling the battery up from the tray with your hands.

      • If it is very difficult to lift the battery from the tray, you can use a blow dryer to heat the back side of the tray. This will weaken the adhesive and make it easier to remove.

      Pergunte ao FixBot

      Comentar

Conclusão

To reassemble your device, follow these instructions in reverse order.

Cancelar: não concluí este guia.

4 outras pessoas executaram este guia.

Zach Hatten

Membro desde: 10/06/16

563 Reputação

Autoria de 4 guias

Equipe

USF Tampa, Team 2-4, Sullivan Fall 2016 Membro de USF Tampa, Team 2-4, Sullivan Fall 2016

USFT-SULLIVAN-F16S2G4

4 Membros

Autoria de 30 guias

2Comentários do guia

Hi

So where is the next step ?!

Albert einstein - Responder Compartilhar

Hi

So where is the next step ?!

Please answer to me. This is so

Albert einstein - Responder Compartilhar

Comentar

Visualizações:

Últimas 24 horas: 0

Últimos 7 dias: 10

Últimos 30 dias: 68

Ao todo: 4,019