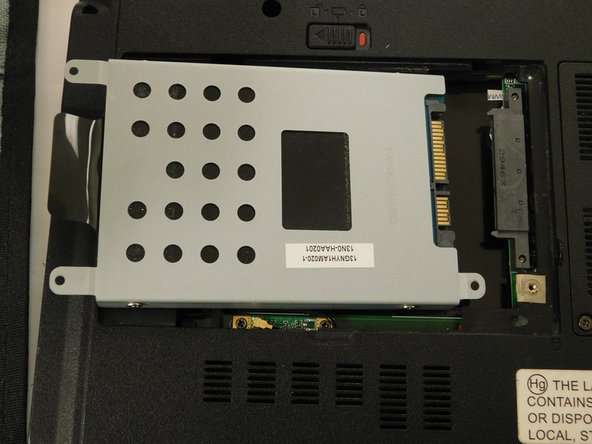
Ir para o conteúdo principal

Asus UL30VT-A1 Hard Drive Replacement

O que você precisa

  1. Asus UL30VT-A1 Hard Drive Replacement, Hard Drive: passo 1, imagem 1 %32
    • Flip your device so that the back of the device is facing you.

  2. Asus UL30VT-A1 Hard Drive Replacement: passo 2, imagem 1 %32 Asus UL30VT-A1 Hard Drive Replacement: passo 2, imagem 2 %32
    • Remove the four screws using your Phillips #0 screwdriver to attain access to your Hard Drive.

    • Remove the panel using a plastic opening tool.

  3. Asus UL30VT-A1 Hard Drive Replacement: passo 3, imagem 1 %32 Asus UL30VT-A1 Hard Drive Replacement: passo 3, imagem 2 %32
    • Gently pull the black strip and the Hard Drive should slide right off. Pull your hard drive to the side not up to avoid damage to the slot.

Conclusão

To reassemble your device, follow these instructions in reverse order.

Uma outra pessoa concluiu este guia.

Miguel Gonzalez

Membro desde: 02/04/19

97 Reputação

Autoria de 1 guia

Equipe

Gateway, Team S1-G2, Saknee Spring 2019 Membro de Gateway, Team S1-G2, Saknee Spring 2019

GCC-SAKNEE-S19S1G2

Membros da 5

Autoria de 3 guias

0 comentários

Adicione um comentário

Exibir estatísticas:

Últimas 24 horas: 0

Últimos 7 dias: 2

Últimos 30 dias: 3

Duração total: 207