Ir para o conteúdo principal
Participe da comunidade de reparos - Criar conta

Asus MeMO Pad 7 ME170C Microphone Replacement

O que você precisa

    1. Asus MeMO Pad 7 ME170C  Microphone  Replacement, Microphone: passo 1, imagem 1 %32 Asus MeMO Pad 7 ME170C  Microphone  Replacement, Microphone: passo 1, imagem 2 %32 Asus MeMO Pad 7 ME170C  Microphone  Replacement, Microphone: passo 1, imagem 3 %32
      • Before beginning to dissemble, power off the device.

      • Excessive force can result in damaged or cracked screen. Be Gentle.

      • Using the Jimmy tool, gently wedge it into the seam of the device.

      • Gently pry the Jimmy tool all around the seam until the back panel is detached.

      Pergunte ao FixBot

      Comentar

    2. Asus MeMO Pad 7 ME170C  Microphone  Replacement: passo 2, imagem 1 %32 Asus MeMO Pad 7 ME170C  Microphone  Replacement: passo 2, imagem 2 %32 Asus MeMO Pad 7 ME170C  Microphone  Replacement: passo 2, imagem 3 %32
      • Inserted in a black port on the motherboard, locate the white cable connector on the left side of the tablet.

      • In a side to side motion, using the smallest opening tool, slide the white cable box completely out of the port towards the bottom of the device.

      Pergunte ao FixBot

      Comentar

    3. Asus MeMO Pad 7 ME170C  Microphone  Replacement: passo 3, imagem 1 %32 Asus MeMO Pad 7 ME170C  Microphone  Replacement: passo 3, imagem 2 %32
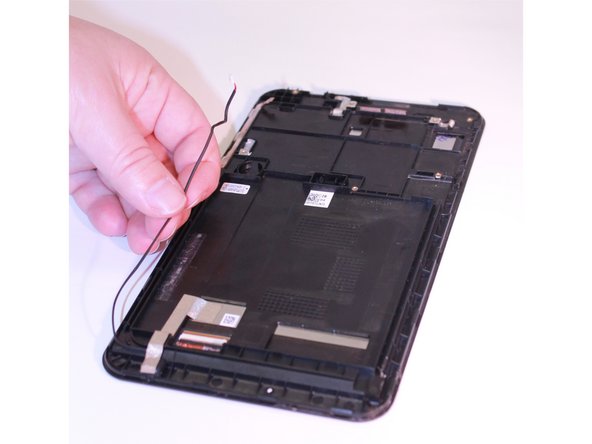
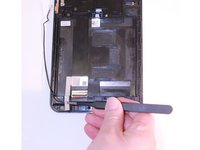
      • Pull the wire out of its tracking panel gently.

      • Note: This wire should be fairly easy to pull out of the panel.

      Pergunte ao FixBot

      Comentar

    4. Asus MeMO Pad 7 ME170C  Microphone  Replacement: passo 4, imagem 1 %32 Asus MeMO Pad 7 ME170C  Microphone  Replacement: passo 4, imagem 2 %32 Asus MeMO Pad 7 ME170C  Microphone  Replacement: passo 4, imagem 3 %32
      Ferramenta utilizada neste passo:
      Tweezers
      $4.99
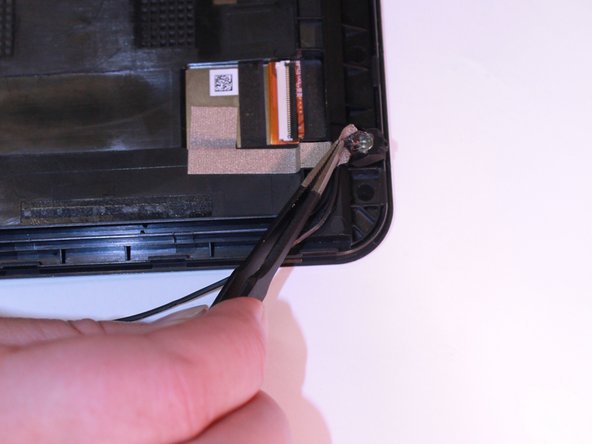
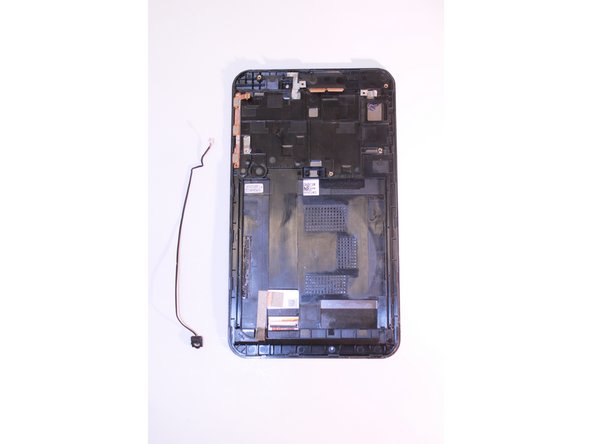
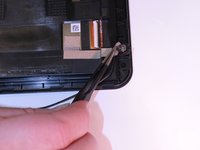
      • Note: The end of the wire is attached to a small taped black box.

      • Using wide nosed tweezers, lift up the tape and remove from black box.

      • Note: Black box will loosen up once the tape is removed.

      • Remove the component completely from the device.

      Pergunte ao FixBot

      Comentar

Conclusão

To reassemble your device, follow these instructions in reverse order.

Cancelar: não concluí este guia.

Uma outra pessoa concluiu este guia.

0Comentários do guia

Comentar

Visualizações:

Últimas 24 horas: 0

Últimos 7 dias: 7

Últimos 30 dias: 18

Ao todo: 1,304