Essa tradução foi gerada por um programa e ainda não foi revisada por uma pessoa. Falas essa língua? Dá uma olhada.
Introdução
O disco rígido (HD) é o local onde todos os seus arquivos são armazenados. Certifique-se de ter um disco rígido compatível ao substituí-lo. Manuseie o disco rígido com muito cuidado, pois qualquer dano ao exterior pode resultar na perda de dados.
O que você precisa
-
-
-
Vire o laptop para baixo e gire-o de modo que a bateria fique voltada para você.
-
Para remover a bateria, coloque um dedo em cada uma das duas linguetas de travamento pretas. Empurre cada lingueta em direção ao centro do laptop para liberar a trava.
-
Deslize a bateria em sua direção e levante-a para fora do laptop.
 Pergunte ao FixBot
-
-
-
-
-
Com o laptop virado para baixo, gire-o de modo que a bateria fique voltada para o lado oposto a você.
-
Remova os seis parafusos Phillips #1 de 1,5 mm do painel traseiro do laptop.
-
-
-
-
Insira um dedo em uma das ranhuras do painel inferior.
-
Levante o painel com cuidado e a tampa traseira do laptop sairá facilmente.
-
-
-
-
-
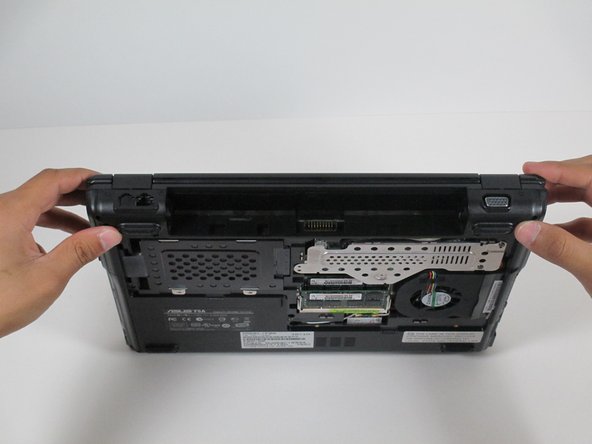
Gire o notebook 90 graus na sua direção, de modo que você esteja olhando para o compartimento vazio da bateria.
-
-
-
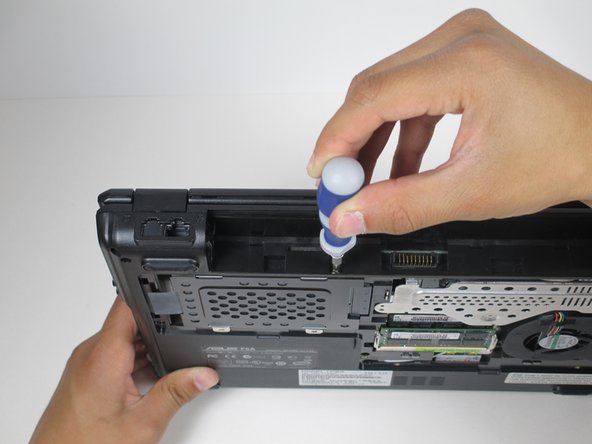
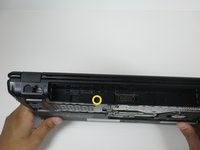
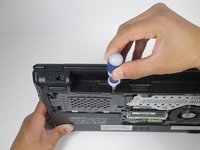
Remova o parafuso Phillips de 2,0 mm localizado abaixo do compartimento da bateria.
-
-
-
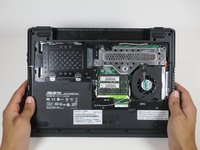
Coloque o laptop virado para cima em uma superfície plana.
-
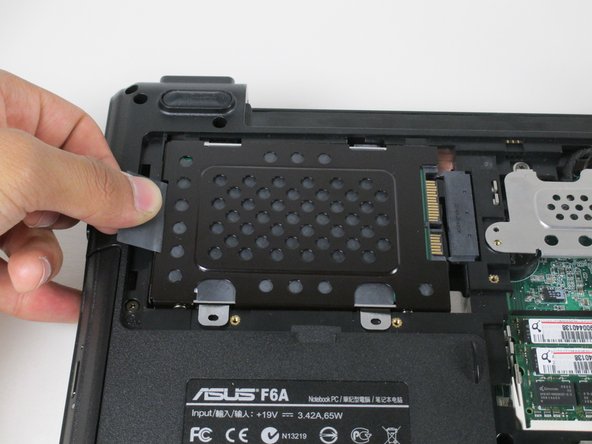
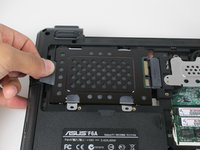
Puxe suavemente para a esquerda a aba preta, localizada no lado esquerdo do disco rígido, até que ele se solte.
-
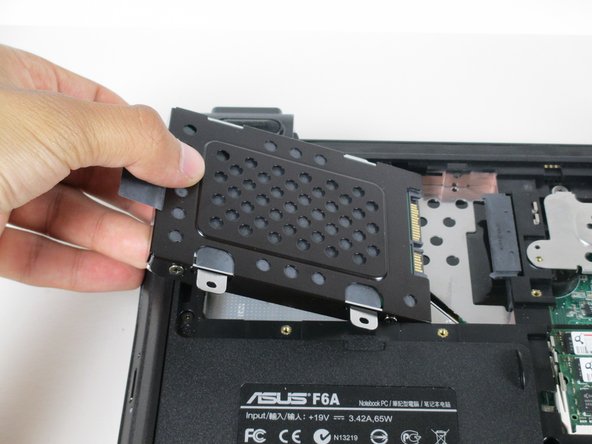
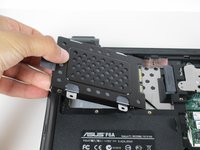
Levante a aba lentamente e puxe o disco rígido para fora do laptop.
-
-




Para a remontagem de seu dispositivo, siga estas instruções na ordem inversa.
Cancelar: não concluí este guia.
Uma outra pessoa concluiu este guia.

Equipe

Cal Poly, Team 10-56, Amido Spring 2014 Membro de Cal Poly, Team 10-56, Amido Spring 2014
CPSU-AMIDO-S14S10G56
4 Membros
Autoria de 108 guias
