Ir para o conteúdo principal
Participe da comunidade de reparos - Criar conta

Asus Eee PC 1008ha Screen Replacement

O que você precisa

  1. Asus Eee PC 1008ha Screen Replacement, Battery: passo 1, imagem 1 %32
    • Using the plastic opening tool, carefully pry the top panel from the base.

    Pergunte ao FixBot

    Comentar

  2. Asus Eee PC 1008ha Screen Replacement: passo 2, imagem 1 %32 Asus Eee PC 1008ha Screen Replacement: passo 2, imagem 2 %32 Asus Eee PC 1008ha Screen Replacement: passo 2, imagem 3 %32
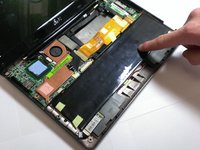
    • Lift the side of the keyboard.

    • Disconnect the attached ribbon located underneath the keyboard.

    • Place your index finger in the hole on the right side of the keyboard tray and lift the tray.

    Pergunte ao FixBot

    Comentar

  3. Asus Eee PC 1008ha Screen Replacement: passo 3, imagem 1 %32 Asus Eee PC 1008ha Screen Replacement: passo 3, imagem 2 %32
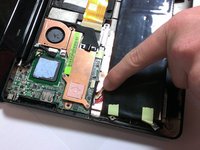
    • Use your fingers to lift the battery and gently disconnect the wires from the base.

    Pergunte ao FixBot

    Comentar

  4. Asus Eee PC 1008ha Screen Replacement, LCD Screen: passo 4, imagem 1 %32 Asus Eee PC 1008ha Screen Replacement, LCD Screen: passo 4, imagem 2 %32
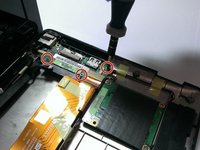
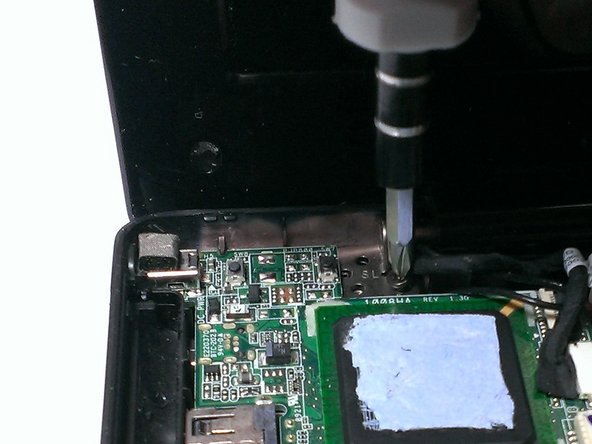
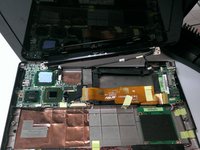
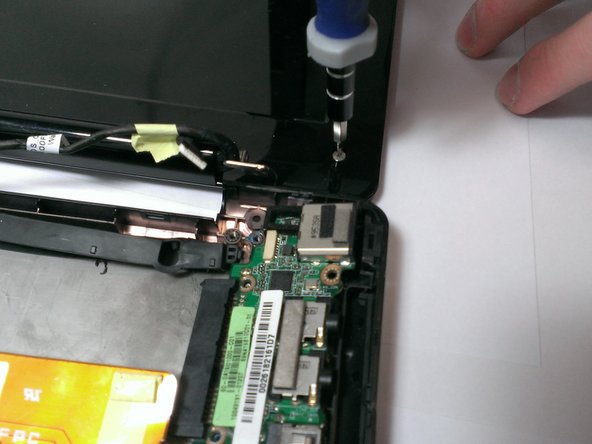
    • Using the Phillips #00 screwdriver, unscrew the 4mm screws from the rightmost circuit board.

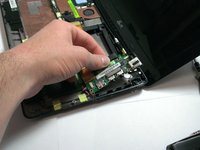
    • Carefully pull the circuit board away from side of device base.

    Pergunte ao FixBot

    Comentar

  5. Asus Eee PC 1008ha Screen Replacement: passo 5, imagem 1 %32 Asus Eee PC 1008ha Screen Replacement: passo 5, imagem 2 %32 Asus Eee PC 1008ha Screen Replacement: passo 5, imagem 3 %32
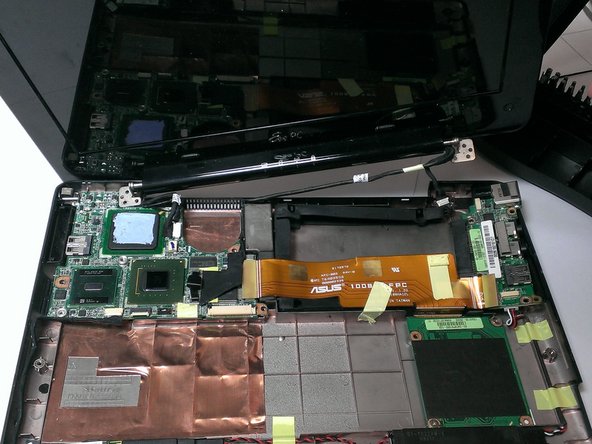
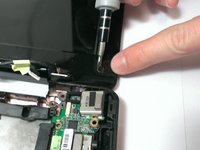
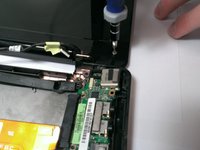
    • Using the Phillips #00 screwdriver, unscrew the 4mm screws attaching screen to base from both sides.

    • Gently lift the screen portion from the base.

    Pergunte ao FixBot

    Comentar

  6. Asus Eee PC 1008ha Screen Replacement: passo 6, imagem 1 %32 Asus Eee PC 1008ha Screen Replacement: passo 6, imagem 2 %32
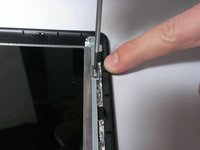
    • Using the Plastic Opening Tool, pry the six small chits from the face of the screen portion.

    • Using the Phillips #00 screwdriver, unscrew the two 2mm and four 4mm screws from underneath the chits.

    Pergunte ao FixBot

    Comentar

  7. Asus Eee PC 1008ha Screen Replacement: passo 7, imagem 1 %32 Asus Eee PC 1008ha Screen Replacement: passo 7, imagem 2 %32
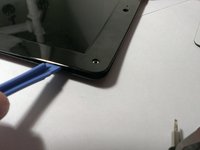
    • Slide the Plastic Opening Tool under the edge of the screen bezel to release the front panel of the screen.

    Pergunte ao FixBot

    Comentar

  8. Asus Eee PC 1008ha Screen Replacement: passo 8, imagem 1 %32 Asus Eee PC 1008ha Screen Replacement: passo 8, imagem 2 %32
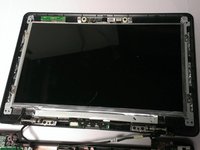
    • Using the Phillips #00 screwdriver, unscrew the 2mm screws from the perimeter of the screen.

    • Use your fingers to hold the screen and carefully lift it from the base.

    Pergunte ao FixBot

    Comentar

  9. Asus Eee PC 1008ha Screen Replacement: passo 9, imagem 1 %32 Asus Eee PC 1008ha Screen Replacement: passo 9, imagem 2 %32
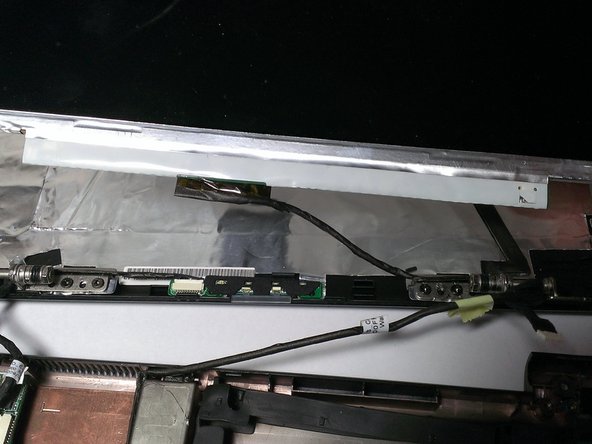
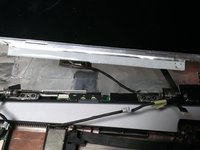
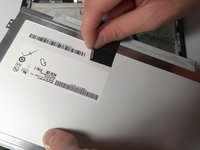
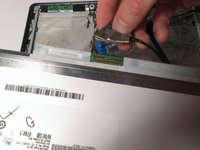
    • Use your fingers to peel back the adhesive tape located on the back of the screen.

    • Disconnect the wire from the screen.

    Pergunte ao FixBot

    Comentar

Conclusão

To reassemble your device, follow these instructions in reverse order.

Cancelar: não concluí este guia.

Uma outra pessoa concluiu este guia.

Michael Dooley

Membro desde: 04/18/13

138 Reputação

Autoria de 3 guias

Equipe

Cal Poly, Team 21-52, Johann Spring 2013 Membro de Cal Poly, Team 21-52, Johann Spring 2013

CPSU-JOHANN-S13S21G52

4 Membros

Autoria de 11 guias

0Comentários do guia

Comentar

Visualizações:

Últimas 24 horas: 0

Últimos 7 dias: 9

Últimos 30 dias: 35

Ao todo: 3,502