Ir para o conteúdo principal

Apple Watch Series 4 Force Touch Gasket Replacement

O que você precisa

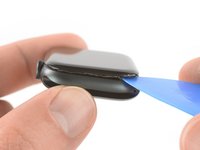
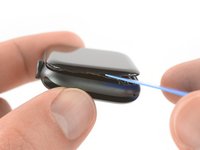
  1. Apple Watch Series 4 Force Touch Gasket Replacement, Display Opening: passo 1, imagem 1 %32 Apple Watch Series 4 Force Touch Gasket Replacement, Display Opening: passo 1, imagem 2 %32
  2. Apple Watch Series 4 Force Touch Gasket Replacement, Safety Requirements: passo 2, imagem 1 %32 Apple Watch Series 4 Force Touch Gasket Replacement, Safety Requirements: passo 2, imagem 2 %32 Apple Watch Series 4 Force Touch Gasket Replacement, Safety Requirements: passo 2, imagem 3 %32
    Ferramenta utilizada nesse passo:
    Safety Glasses
    $3.19
    Comprar
    • Because the gap between the screen and watch body is so thin, a sharp blade is needed to separate the two. Read the following warnings carefully before proceeding.

    • Protect your fingers by keeping them completely clear of the knife. If in doubt, protect your free hand with a heavy glove, such as a leather shop glove or gardening glove.

    • Be careful not to apply too much pressure, as this might cause the knife to slip and cut you, or damage the watch.

    • Wear eye protection. The knife or glass may break, sending pieces flying.

    • Feel free to attach or remove the watch band as needed to provide more control as you make repairs.

  3. Apple Watch Series 4 Force Touch Gasket Replacement: passo 3, imagem 1 %32
    • Prepare an iOpener (or use a hair dryer or heat gun) and heat the face of the watch to loosen the display adhesive.

    • Leave the iOpener on the watch for at least two minutes to fully heat the screen and soften the adhesive holding it to the case.

    • You may need to reheat the iOpener and repeat this procedure several times until the display adhesive gets loose enough.

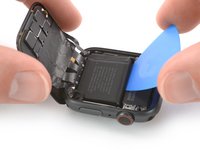
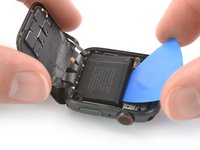
  4. Apple Watch Series 4 Force Touch Gasket Replacement: passo 4, imagem 1 %32 Apple Watch Series 4 Force Touch Gasket Replacement: passo 4, imagem 2 %32 Apple Watch Series 4 Force Touch Gasket Replacement: passo 4, imagem 3 %32
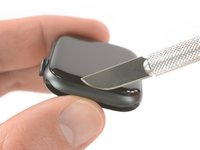
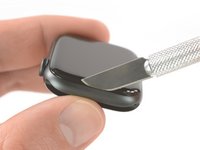
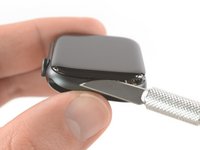
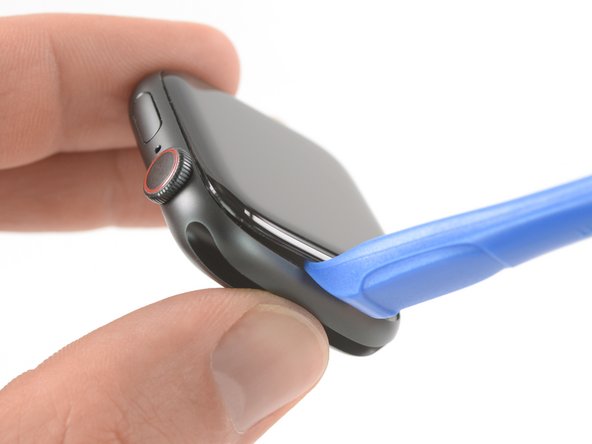
    • Place the edge of a curved blade into the thin gap between the display and the outer case. Start at the short side of the display, closest to the digital crown.

    • Press firmly straight down into the gap.

    • Once inserted, tilt the blade to pry the display open slightly.

    • Do not insert the knife more than 1/16th of an inch (~2 mm) to avoid damaging the Force Touch sensor.

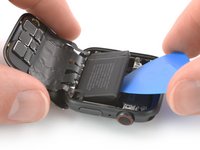
  5. Apple Watch Series 4 Force Touch Gasket Replacement: passo 5, imagem 1 %32 Apple Watch Series 4 Force Touch Gasket Replacement: passo 5, imagem 2 %32
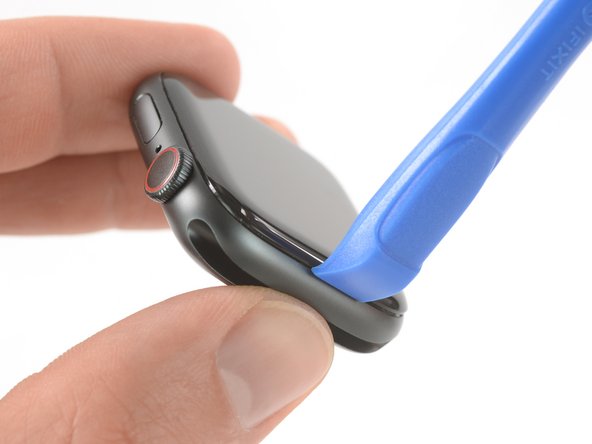
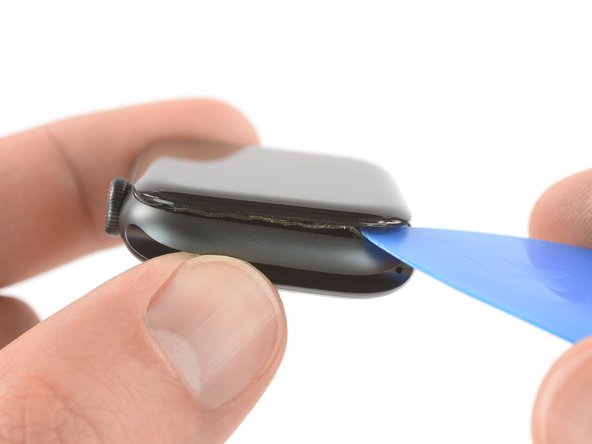
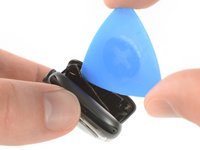
    • Once you've opened a small gap with the curved blade, remove the blade and insert the thinner edge of an opening tool into the gap.

    • Push the opening tool into the gap, using your thumb as a pivot to lift the display open a bit farther.

    • Don't try to fully open or detach the display yet.

  6. Apple Watch Series 4 Force Touch Gasket Replacement: passo 6, imagem 1 %32 Apple Watch Series 4 Force Touch Gasket Replacement: passo 6, imagem 2 %32 Apple Watch Series 4 Force Touch Gasket Replacement: passo 6, imagem 3 %32
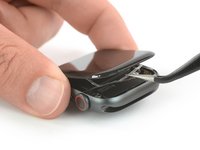
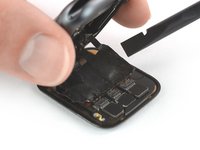
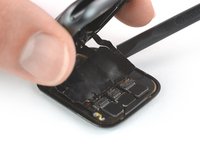
    • It's likely that the Force Touch sensor will stick to the display frame instead to the watch's body. In this case, insert an opening pick under the display and carefully separate the Force Touch gasket from the display.

    • To preserve the Force Touch gasket, pry carefully under the edge of the display. If the Force Touch gasket splits when lifting the display, or if you separate the gasket layers, you'll also need to replace the Force Touch gasket itself.

    • Slide the pick around the display to separate the adhesive between the Force Touch gasket and the display.

    • Don't insert the opening pick deeper than 1/16th of an inch (~2 mm) to avoid damaging other components.

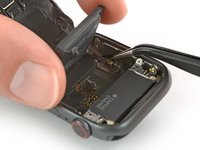
  7. Apple Watch Series 4 Force Touch Gasket Replacement: passo 7, imagem 1 %32 Apple Watch Series 4 Force Touch Gasket Replacement: passo 7, imagem 2 %32 Apple Watch Series 4 Force Touch Gasket Replacement: passo 7, imagem 3 %32
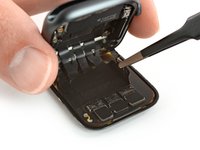
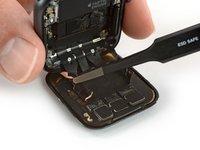
    • To avoid straining the display cables, don't open the display all the way yet.

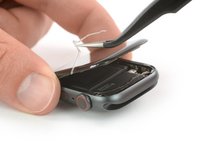
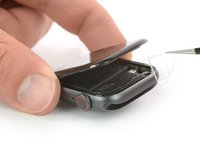
    • Open the display at max. to an 45° angle, and use tweezers to peel off the adhesive between the display and the Force Touch gasket.

    • Thread the adhesive around and behind the display cables to get it off completely. Since the adhesive needs to be replaced anyway, you can cut it if that makes removal easier for you.

    • Make sure to return to this point during the reassembly of your watch and then continue with the Resealing Procedure.

  8. Apple Watch Series 4 Force Touch Gasket Replacement, Battery: passo 8, imagem 1 %32 Apple Watch Series 4 Force Touch Gasket Replacement, Battery: passo 8, imagem 2 %32
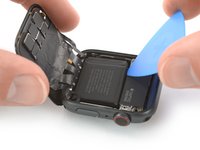
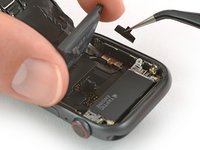
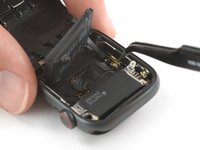
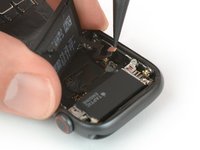
    • Carefully fold the screen to the back until you get enough space to pry out the battery.

    • Avoid tensioning the display cables when folding the screen to the back.

    • Insert an opening pick between the battery and the Taptic Engine.

    • A regular opening pick works fine with the 44mm version of the Apple Watch Series 4. However if you own the 40mm version and don't have enough space you can customize your opening pick with scissors.

  9. Apple Watch Series 4 Force Touch Gasket Replacement: passo 9, imagem 1 %32 Apple Watch Series 4 Force Touch Gasket Replacement: passo 9, imagem 2 %32 Apple Watch Series 4 Force Touch Gasket Replacement: passo 9, imagem 3 %32
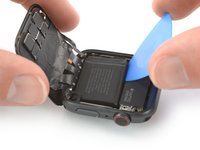
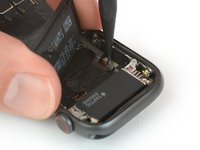
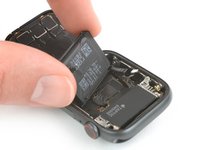
    • Slide the opening pick along the edge of the battery to loosen the adhesive.

    • The adhesive which holds the battery in place is soft. However, if you're struggling to pry out the battery you can place a heated iOpener on the rear side of the watch to loosen the adhesive. Apply the iOpener for at least two minutes.

    • Use constant, steady pressure to slowly pry the battery up, separating it from the adhesive securing it to the system board.

    • Mind the display cables and especially the Force Touch cable which covers the battery in one corner so you don't damage them when levering the battery out.

    • Make sure you don't puncture or deform the battery, as it can catch fire and/or explode if damaged.

    • Don't try to remove the battery all the way yet. It is still connected to the watch assembly.

  10. Apple Watch Series 4 Force Touch Gasket Replacement: passo 10, imagem 1 %32 Apple Watch Series 4 Force Touch Gasket Replacement: passo 10, imagem 2 %32
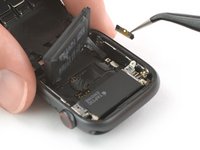
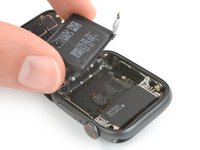
    • Carefully lift the battery and bring it in a 75° angle.

    • Use a pair of tweezers to peel the black sticker off the metal plate which covers the battery connector.

  11. Apple Watch Series 4 Force Touch Gasket Replacement: passo 11, imagem 1 %32
    • Remove the Y000 screw (1.2 mm length).

  12. Apple Watch Series 4 Force Touch Gasket Replacement: passo 12, imagem 1 %32 Apple Watch Series 4 Force Touch Gasket Replacement: passo 12, imagem 2 %32
    • Use a pair of tweezers to remove the metal plate which covers the battery connector.

  13. Apple Watch Series 4 Force Touch Gasket Replacement: passo 13, imagem 1 %32 Apple Watch Series 4 Force Touch Gasket Replacement: passo 13, imagem 2 %32
    • Use the pointed end of a spudger to pry up and disconnect the battery flex cable.

  14. Apple Watch Series 4 Force Touch Gasket Replacement: passo 14, imagem 1 %32 Apple Watch Series 4 Force Touch Gasket Replacement: passo 14, imagem 2 %32
    Ferramenta utilizada nesse passo:
    Tesa 61395 Tape
    $5.99
    Comprar
    • Remove the battery.

    • Be sure to remove the protective liner to expose the adhesive on your new battery before you set it in place.

    • Do not reinstall a damaged or deformed battery, as doing so is a potential safety hazard.

    • If you are reusing your old battery during reassembly, you can reuse the existing adhesive to secure the battery during reassembly. Alternatively, remove the old adhesive with high isopropyl alcohol and a lint free cloth and use a small piece of double-sided tape such as Tesa 61395, or a dab of liquid adhesive such as E6000.

  15. Apple Watch Series 4 Force Touch Gasket Replacement, Screen Removal: passo 15, imagem 1 %32 Apple Watch Series 4 Force Touch Gasket Replacement, Screen Removal: passo 15, imagem 2 %32
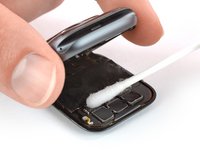
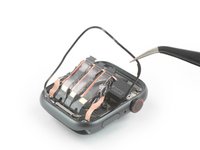
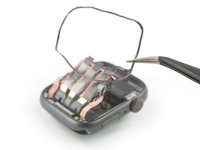
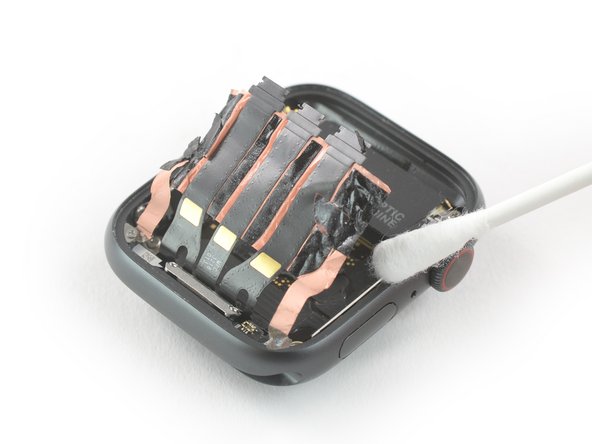
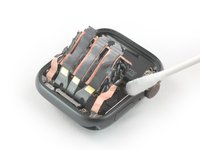
    • The black foil which covers the display connectors is very fragile and likely to rip. To keep the tape intact while peeling it off, it's necessary to use high isopropyl alcohol or an iOpener.

    • Apply a little bit of high isopropyl alcohol (>99%) to a Q-tip and apply it to the black adhesive foil. Let it penetrate the adhesive for about two minutes.

    • Alternatively you can place an a heated iOpener on top of the screen to loosen the adhesive. Apply the iOpener at least for two minutes.

  16. Apple Watch Series 4 Force Touch Gasket Replacement: passo 16, imagem 1 %32
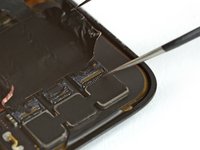
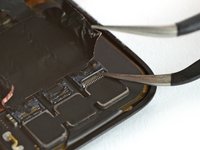
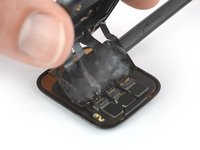
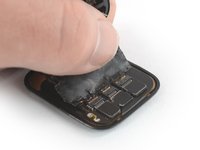
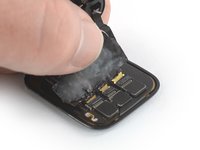
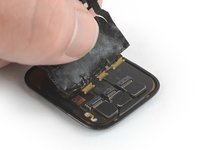
    • Use a pair of tweezers to carefully peel off the tape covering the three display cable connectors.

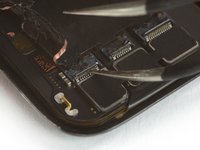
  17. Apple Watch Series 4 Force Touch Gasket Replacement: passo 17, imagem 1 %32 Apple Watch Series 4 Force Touch Gasket Replacement: passo 17, imagem 2 %32 Apple Watch Series 4 Force Touch Gasket Replacement: passo 17, imagem 3 %32
    • Use one arm of a pair of tweezers to carfully open the three ZIF connectors on the rear side of the screen.

  18. Apple Watch Series 4 Force Touch Gasket Replacement: passo 18, imagem 1 %32 Apple Watch Series 4 Force Touch Gasket Replacement: passo 18, imagem 2 %32 Apple Watch Series 4 Force Touch Gasket Replacement: passo 18, imagem 3 %32
    • Use a pair of blunt nose tweezers to peel up the sides of the black foil which adheres the cable to the rear side of the screen.

  19. Apple Watch Series 4 Force Touch Gasket Replacement: passo 19, imagem 1 %32 Apple Watch Series 4 Force Touch Gasket Replacement: passo 19, imagem 2 %32 Apple Watch Series 4 Force Touch Gasket Replacement: passo 19, imagem 3 %32
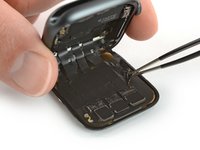
    • Lift the body of the watch up and carefully slide a spudger underneath the display flex cable to loosen remaining adhesive.

  20. Apple Watch Series 4 Force Touch Gasket Replacement: passo 20, imagem 1 %32 Apple Watch Series 4 Force Touch Gasket Replacement: passo 20, imagem 2 %32 Apple Watch Series 4 Force Touch Gasket Replacement: passo 20, imagem 3 %32
    • Carefully pull the display flex cables out of their ZIF connectors.

    • Make sure to hold on to the display flex cable during this procedure and avoid pulling only on the body of the watch. Otherwise the display cable might rip.

    • Separate the watch assembly and the screen.

  21. Apple Watch Series 4 Force Touch Gasket Replacement, Force Touch Gasket: passo 21, imagem 1 %32
    • Remove the Y000 screw (1.2 mm length).

  22. Apple Watch Series 4 Force Touch Gasket Replacement: passo 22, imagem 1 %32 Apple Watch Series 4 Force Touch Gasket Replacement: passo 22, imagem 2 %32
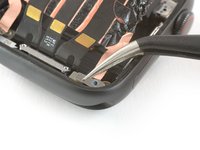
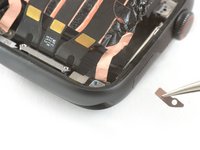
    • Use a pair of tweezers to remove the metal plate which covers the Force Touch gasket connector.

  23. Apple Watch Series 4 Force Touch Gasket Replacement: passo 23, imagem 1 %32 Apple Watch Series 4 Force Touch Gasket Replacement: passo 23, imagem 2 %32
    • Use the pointed end of a spudger to pry the Force Touch gasket connector out of its socket.

  24. Apple Watch Series 4 Force Touch Gasket Replacement: passo 24, imagem 1 %32
    • Place a heated iOpener on the Force Touch connector to loosen the adhesive underneath. Apply the iOpener for at least two minutes.

  25. Apple Watch Series 4 Force Touch Gasket Replacement: passo 25, imagem 1 %32 Apple Watch Series 4 Force Touch Gasket Replacement: passo 25, imagem 2 %32 Apple Watch Series 4 Force Touch Gasket Replacement: passo 25, imagem 3 %32
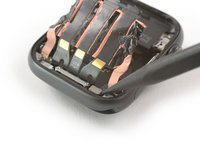
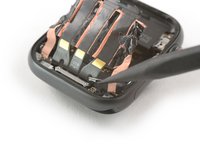
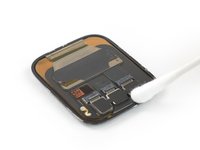
    • Use a pair of tweezers to remove the defective Force Touch gasket.

    • Avoid damaging the display flex cable when threading the Force Touch gasket connector through the gap between the adhesive foil and the display cable.

  26. Apple Watch Series 4 Force Touch Gasket Replacement: passo 26, imagem 1 %32 Apple Watch Series 4 Force Touch Gasket Replacement: passo 26, imagem 2 %32
    Ferramenta utilizada nesse passo:
    Adhesive Cleanup Kit (Set of 12)
    $4.99
    Comprar
    • Apply a little bit of high isopropyl alcohol (>99%) to a Q-tip or use a cleaning pad to gently remove the adhesive leftovers from the Force Touch gasket on the case and on the screen.

  27. Apple Watch Series 4 Force Touch Gasket Replacement: passo 27, imagem 1 %32 Apple Watch Series 4 Force Touch Gasket Replacement: passo 27, imagem 2 %32 Apple Watch Series 4 Force Touch Gasket Replacement: passo 27, imagem 3 %32
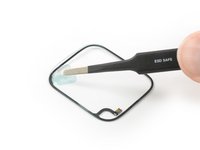
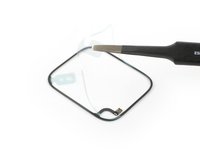
    • Use a pair of tweezers to peel the new Force Touch gasket off the see-through backing film. Make sure you peel off the Force Touch gasket with both protective foils attached to it.

    • Peel off the protective foil from the bottom side of the Force Touch gasket. The bottom side is where the Force Touch connector faces.

  28. Apple Watch Series 4 Force Touch Gasket Replacement: passo 28, imagem 1 %32 Apple Watch Series 4 Force Touch Gasket Replacement: passo 28, imagem 2 %32 Apple Watch Series 4 Force Touch Gasket Replacement: passo 28, imagem 3 %32
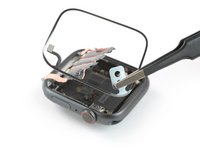
    • Hold the Force Touch gasket diagonally to thread it over the display cable. Make sure to position the Force Touch connector next to the home button.

    • Use the pointed end of a spudger to make final adjustments and press the Force Touch gasket into place.

Conclusão

To reassemble your Apple Watch Series 4 follow these instructions in reverse order to reattach the screen and the battery.

Take your e-waste to an R2 or e-Stewards certified recycler.

Repair didn’t go as planned? Check out our Answers community for troubleshooting help.

12 outras pessoas executaram este guia.

Dominik Schnabelrauch

Membro desde: 11/23/16

201.129 Reputação

Autoria de 682 guias

Equipe

iFixit Membro de iFixit

Staff

Membros da 136

Autoria de 16.579 guias

7 comentários

Do I have to put also new adhesive or adhesive at the force touch is fine ?

cucflek - Responder

I have an Apple Watch SE 40mm that had a very cracked screen after falling on a tiled floor. Gift from my daughters for father's day, ouch!

Reputable service wanted 140.00 to replace the screen. I got cheap and got a kit on Amazon that had a screen with digitizer. Looked at videos on Apple Watch SE screen replacements on YouTube. Some great, & some bad. Watched over and over again the good ones.

Was able to get the screen off using heat gun. Released the latches and gently removed the three ribbon cables. Removed the adhesive strip that was kind of clear in appearance. Saw a light brown strip in the channel around the base of the watch. Thought it was part of the adhesive and pulled it out. Then I thought, sh*^t, was that the Force Touch Gasket! To make matters even worse the two ribbon cables on each side tore. I think they insulate the signals?? Looks like my beloved SE is toast thanks to me being a bone head! Should have sent it in for 140.00!

Andrew Douglas - Responder

Do I need to replace the Force Touch gasket even though it isn‘t used anymore sine WatchOS 7?

I mean while replacing a display glass do I need to keep the Force Touch intact?

Daniel Lux - Responder

Yes because you need to glue and fix the Display. It’s also for the water resistants. :)

Dennis Lehmann -

Is the adhesive supplied with a new Force Touch gasket to be used for subsequent screen removal and replacement? It appears the new Force Touch gasket has some adhesive after removal of the protective foil, is this correct?

Jim Kulyk - Responder

Adicione um comentário

Exibir estatísticas:

Últimas 24 horas: 11

Últimos 7 dias: 75

Últimos 30 dias: 326

Duração total: 14,089