Introdução
NFC stands for near field communication and is what gives the Apple Watch its very important feature, Apple Pay. You would assume that being an important part for an important feature for the Apple Watch, Apple would ensure that the replacement of this device could be easily done if it were to be damaged, right? Well, unfortunately it’s not as when replacing a broken screen from the watch, users would find that that the feature to use Apple Pay is now unavailable. The NFC chip is paired with your actual watch meaning if you were to switch chips, it will cause some paring problems. It also happens to be that the NFC chipped is located on the back of the screen which happens to be one of the many parts that require fixing on Apple Watches. I have seen many keeping Apple Pay by removing the glass digitizer from the watch and refurbishing the OLED screen. However, I doubt many of us have the necessary equipment to do that. Therefore, I decided to find ways to keep Apple Pay without using those overly complicated machines.
Please leave comments on any questions you may have or something you want to point out. I will be happy to respond or make any necessary changes :3
O que você precisa
-
-
Before starting repairs, take your watch off the charger and power it down.
-
If your touchscreen is broken and you can't power off the watch, use this alternate method to power it down.
-
-
Ferramenta utilizada neste passo:Safety Glasses$3.19
-
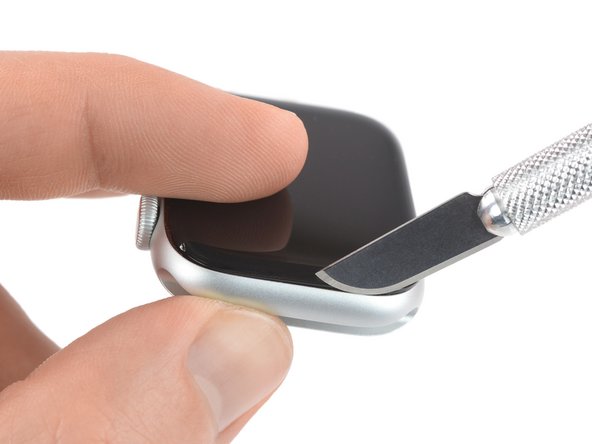
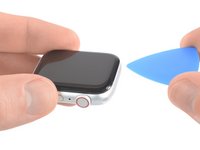
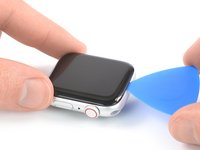
Because the gap between the screen and watch body is so thin, a sharp blade is needed to separate the two. Read the following warnings carefully before proceeding.
-
-
-
Prepare an iOpener (or use a hair dryer or heat gun) and heat the face of the watch to loosen the display adhesive.
-
Leave the iOpener on the watch for at least two minutes to fully heat the screen and soften the adhesive holding it to the case.
-
-
-
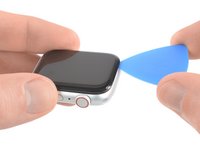
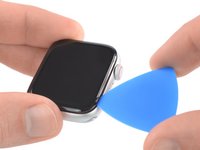
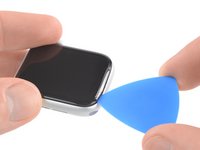
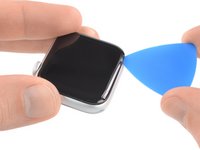
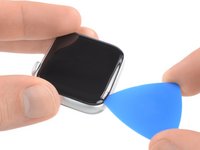
Place the edge of a curved blade into the thin gap between the display and the outer case. Start at the short side of the display, closest to the digital crown.
-
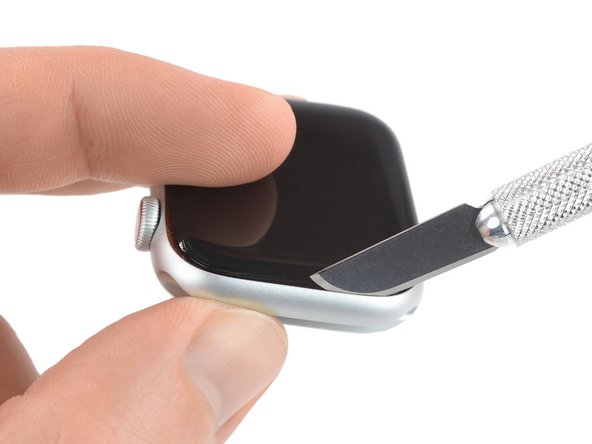
Press firmly straight down into the gap.
-
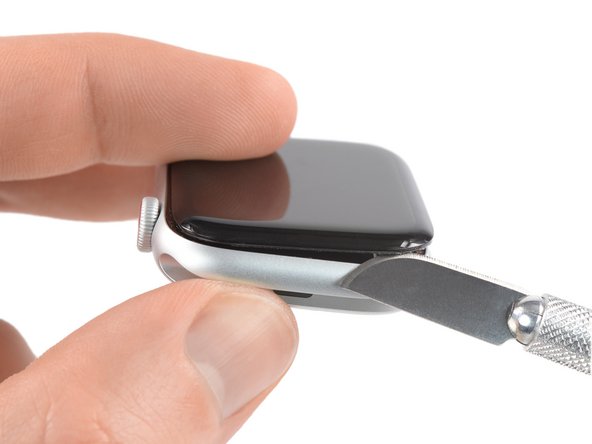
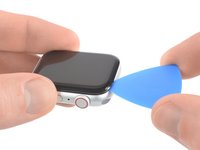
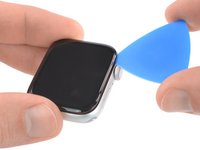
Once inserted, tilt the blade to pry the display open slightly.
-
-
-
-
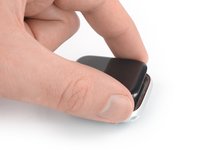
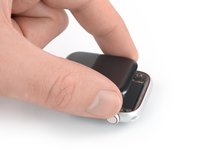
Carefully remove watch screen from current device
-
Don't rush and take your time
-
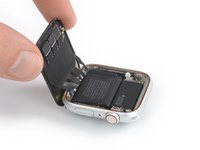
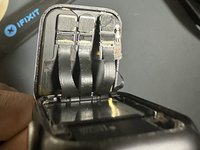
Disconnect 3 ribbon cables connected to screen
-
-
-
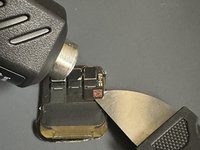
Use a heatgun to heat up chip as it is attached with adhesive.
-
Use a Jimmy or razor blade to slowly lift chip
-
Chip is held by adhesive and two tiny soldered points
-
*Do not add too much heat as you might damage the screen. You just want enough to loosen adhesive.*
-
-
-
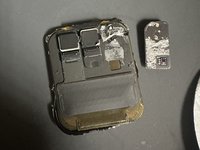
Remove NFC chip from the new screen you will be using. This is where you will reinstall the NFC from your previous screen.
-
-
-
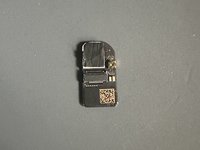
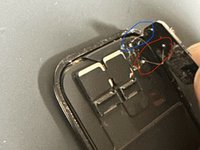
Get the NFC chip from your old screen and solder two 0.02mm jumper cables on each solder connection to its corresponding point.
-
You do not need a lot of solder. Just enough to ensure a secure connection.
-
-
-
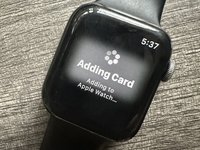
Reconnect ribbon cables from watch back to the screen and turn on your device.
-
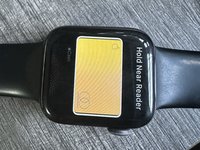
Test watch by using Apple Pay funciton
-
**The watch I used was factory reset. If Apple Pay doesn't function try resetting your device and ensure solder connections are secure.**
-
-
-
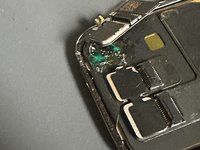
Once you have ensured Apple Pay is functional, add a slight amount of green soldering resin on solder connections to ensure they are secure and don't make contact with other wire.
-
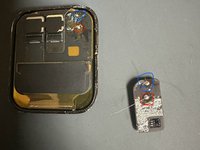
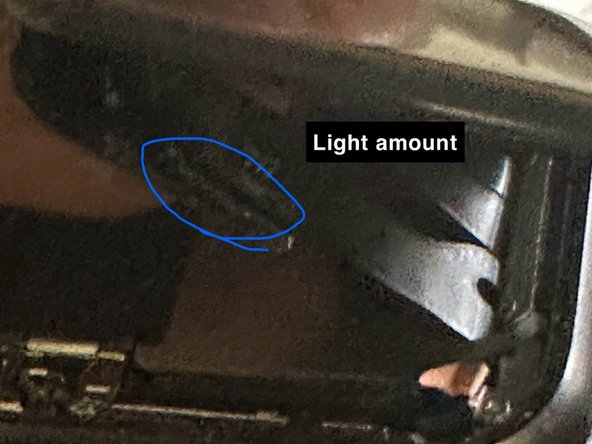
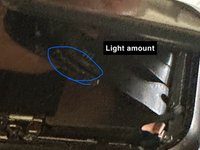
Add some T-7000 adhesive to the area labeled, "light amount" which is where the old adhesive was and glue it back to Apple Watch Screen and wait until the adhesive has dried and the NFC chip stays in place.
-
-
-
Now that the NFC chip is secured, add T-7000 adhesive to the edges of the watch and reinstall the screen.
-


Swapping the NFC wasn't easy. However, I have little to no knowledge in soldering and very little in electronic repair. However, after research and many trial and errors I finally managed to make it work and if me being someone who doesn't have much knowledge can do it then so can you :)
Swapping the NFC wasn't easy. However, I have little to no knowledge in soldering and very little in electronic repair. However, after research and many trial and errors I finally managed to make it work and if me being someone who doesn't have much knowledge can do it then so can you :)
Cancelar: não concluí este guia.
3 outras pessoas executaram este guia.