Introdução
This repair would be necessary if the plastic drive gears within the AmazonBasics stripped, meaning the teeth were either ground down or broke off. A telltale sign of this is if you can hear the motor spinning, but the shredding blades do not move.
O que você precisa
-
-
-
Remove the two 10mm PH1 screws holding the small black panel in place.
-
-
-
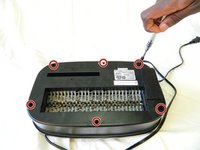
Remove the six 14mm PH1 screws holding the bottom cover in place.
-
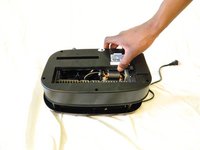
Remove the cover by lifting straight upwards.
-
-
-
-
Remove the blade/motor assembly from the top cover by lifting straight upwards. Do not disconnect any wiring just yet.
-
-
-
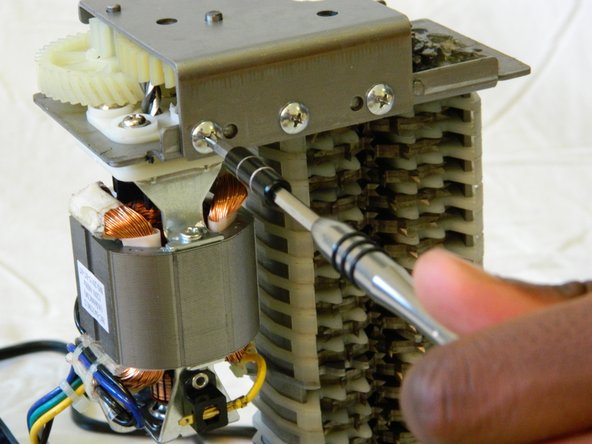
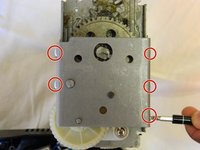
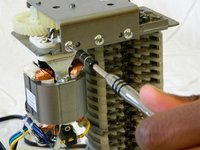
Remove the five 8mm PH2 screws from the bracket holding the gears in place.
-
-
-
Use a metal spudger to pry the bracket from the main shredder assembly.
-
-
-
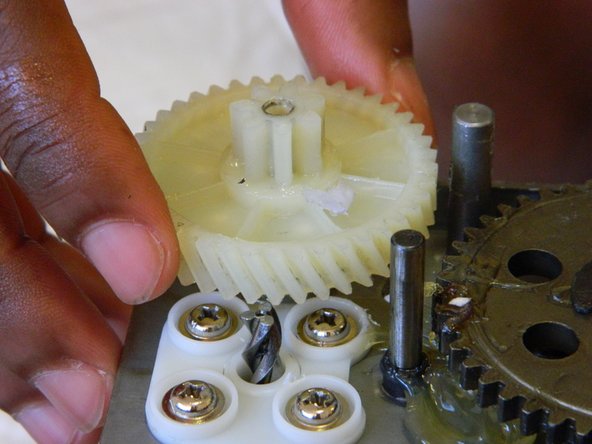
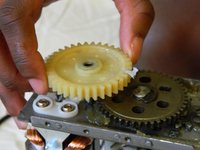
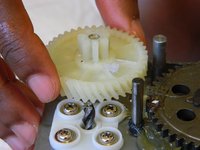
Remove the two plastic drive gears from the shredder assembly by lifting straight upwards.
-

 Pergunte ao FixBot






To reassemble your device, follow these instructions in reverse order.

Equipe

UMass Dartmouth, Team 1-3, Miles Spring 2016 Membro de UMass Dartmouth, Team 1-3, Miles Spring 2016
UMASSD-MILES-S16S1G3
2 Membros
Autoria de 4 guias
5Comentários do guia
Where does one buy these gear parts?
Hi, you can buy the gear here: https://www.ebay.com/itm/116169745117
I need big wheel for Bonsaii C220-A and need a duel gear wheel (1.6 inches and 0.5 inches) Apelila Apelila paper shredder
Send me a message on eBay, https://www.ebay.com/usr/krunkz, I will recreate your damaged gears for free if you can mail them to me.
I would not buy the gears from that link on ebay. I paid 10 dollars for 2 3D printed gears. Both stripped almost immediately. I applied new grease and do not think it was my error, but rather poor quality gear replacements. Not worth the time or money.
