Ir para o conteúdo principal
Participe da comunidade de reparos - Criar conta

Alienware M14xR2 Optical Drive Replacement

O que você precisa

  1. Alienware M14xR2 Optical Drive Replacement, Battery: passo 1, imagem 1 %32
    • Turn the computer off.

    • Disconnect the charging cable from the computer.

    • Failure to unplug the charging cable could result in electric shock and serious injury.

    • Flip the computer upside down.

    Pergunte ao FixBot

    Comentar

  2. Alienware M14xR2 Optical Drive Replacement: passo 2, imagem 1 %32 Alienware M14xR2 Optical Drive Replacement: passo 2, imagem 2 %32 Alienware M14xR2 Optical Drive Replacement: passo 2, imagem 3 %32
    • Loosen the two 6.35 mm size 1 Phillips screws on the back cover.

    • The two screws are spring loaded and will not separate from the cover.

    • Slide the back cover towards you and then lift upwards to remove.

    Pergunte ao FixBot

    Comentar

  3. Alienware M14xR2 Optical Drive Replacement: passo 3, imagem 1 %32
    • Loosen the two 6.35 mm size 1 Philips screws attaching the battery to the laptop.

    • The two screws are clipped into the battery and will not detach.

    Pergunte ao FixBot

    Comentar

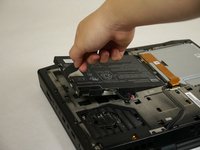
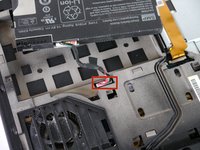
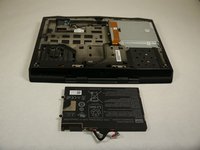
  4. Alienware M14xR2 Optical Drive Replacement: passo 4, imagem 1 %32 Alienware M14xR2 Optical Drive Replacement: passo 4, imagem 2 %32 Alienware M14xR2 Optical Drive Replacement: passo 4, imagem 3 %32
    • Pull up on the black tab on the battery to reveal the connection between the battery and laptop.

    • Pull up on the white connector to disconnect it from the laptop.

    • The battery is now free to remove from the laptop and can be set aside.

    Pergunte ao FixBot

    Comentar

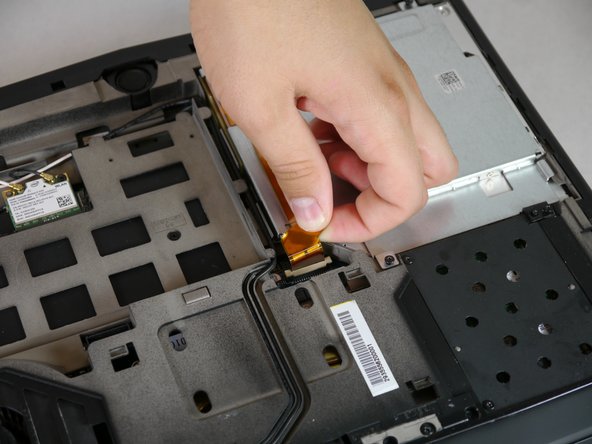
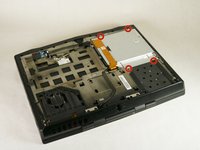
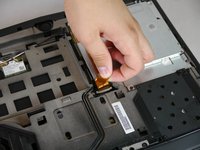
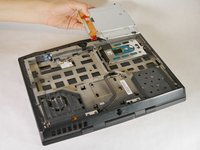
  5. Alienware M14xR2 Optical Drive Replacement, Optical Drive: passo 5, imagem 1 %32 Alienware M14xR2 Optical Drive Replacement, Optical Drive: passo 5, imagem 2 %32 Alienware M14xR2 Optical Drive Replacement, Optical Drive: passo 5, imagem 3 %32
    • Unscrew the four 6.35 mm size 1 screws.

    • Pull up on the end of the orange tab to detach it from the white connector.

    • Lift the optical drive up and out of the laptop and set it aside.

    Pergunte ao FixBot

    Comentar

Conclusão

To reassemble your device, follow these instructions in reverse order.

Cancelar: não concluí este guia.

Uma outra pessoa concluiu este guia.

Jordan Ramsey

Membro desde: 09/30/13

402 Reputação

Autoria de 1 guia

Equipe

Cal Poly, Team 13-4, Forte Fall 2013 Membro de Cal Poly, Team 13-4, Forte Fall 2013

CPSU-FORTE-F13S13G4

5 Membros

Autoria de 6 guias

0Comentários do guia

Comentar

Visualizações:

Últimas 24 horas: 1

Últimos 7 dias: 11

Últimos 30 dias: 45

Ao todo: 3,202