Introdução
Use this guide to replace the Acer Chromebook 15 CB3-532-C47C screen.
The computer screen is responsible for displaying all of the visual output contained in the laptop. A broken or malfunctioning screen can show varying symptoms including signs of damage such as cracks, inconsistent resolution or coloration, black spots, screen flickering, or complete loss of image display. Screen swelling caused by physical damage or temperature fluctuations can also be visible in some faulty screens.
Absence of any image on the screen could be caused by problems with other laptop components, so review the troubleshooting page to rule out other possible causes.
Make sure that you power off and unplug your computer before beginning.
O que você precisa
-
-
Open the laptop and pry off the bezel on the front of the screen using the opening pick or plastic opening tool.
-
-
-
-
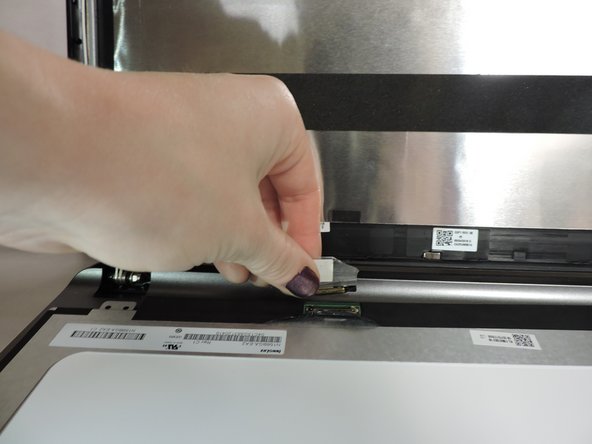
Using the Phillips #1 screwdriver, remove four silver 3 mm screws on the corners of the screen.
-


To reassemble your device, follow these instructions in reverse order.
To reassemble your device, follow these instructions in reverse order.
Cancelar: não concluí este guia.
Uma outra pessoa concluiu este guia.
Equipe

UMass Dartmouth, Team 3-2, Sinclaire Fall 2021 Membro de UMass Dartmouth, Team 3-2, Sinclaire Fall 2021
UMASSD-SINCLAIRE-F21S3G2
Membros da 3
Autoria de 7 guias