Introdução
Use this guide to replace the Acer Chromebook CB3-532-C47C motherboard.
The computer motherboard is the circuit board responsible for linking together all of the components of the computer including the memory, input devices, and output devices. If the motherboard is not in perfect working order then it will cause problems with the entire device. A malfunctioning motherboard may cause the laptop to freeze or shut down suddenly, or not turn on at all. The laptop may also overheat, display the “Blue Screen of Death”, not recognize the hardware, or have a burning smell.
There are other causes of the computer shutting down or not turning on, as discussed in the troubleshooting page.
Back up the hard drive before starting to preserve its data. Power off and unplug your laptop before beginning the replacement.
O que você precisa
-
-
Using the Phillips #1 screwdriver, remove eighteen 7 mm screws from the back panel of the device.
-
-
-
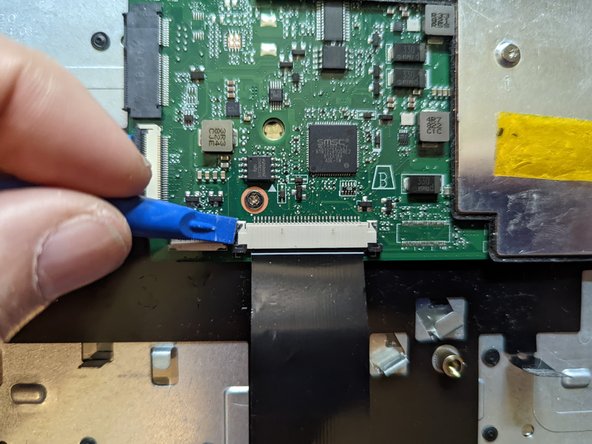
Push on the sides of the connector with a plastic spudger to separate the cable from the motherboard.
-
-
-
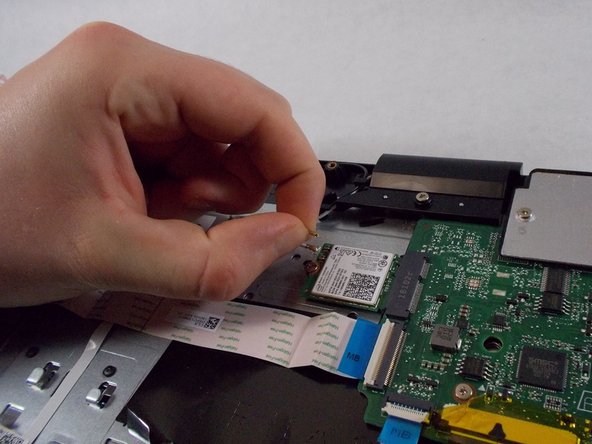
Firmly pull the end of the black wire attached to the Wi-Fi card upwards and remove it from the device.
-
Repeat with the white wire.
-
-
-
-
Using the Phillips #0 screwdriver, remove the single 6 mm screw securing the Wi-Fi card.
-
Pull the Wi-Fi card straight out of the motherboard and remove it from the device.
-
-
-
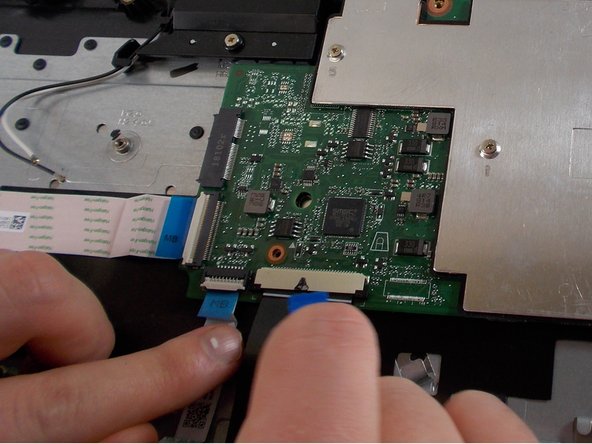
Pull the black ribbon attached to the speakers out of the motherboard.
-
-
-
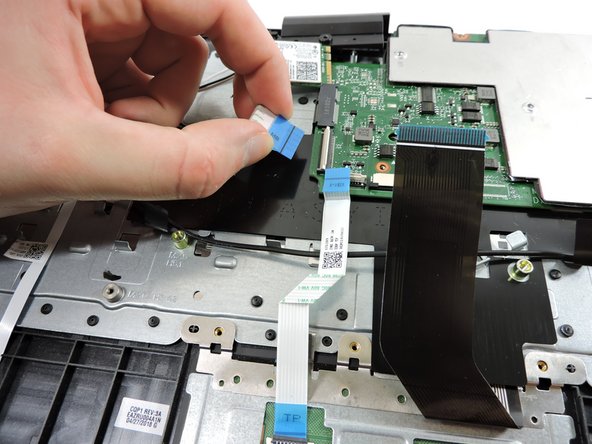
Peel the yellow tape off the black keyboard ribbon cable on the motherboard.
-
Use a spudger to slide the black tabs on either side of the connector forward slightly.
-
Pull the black ribbon straight towards you to remove it from the motherboard.
-
-
-
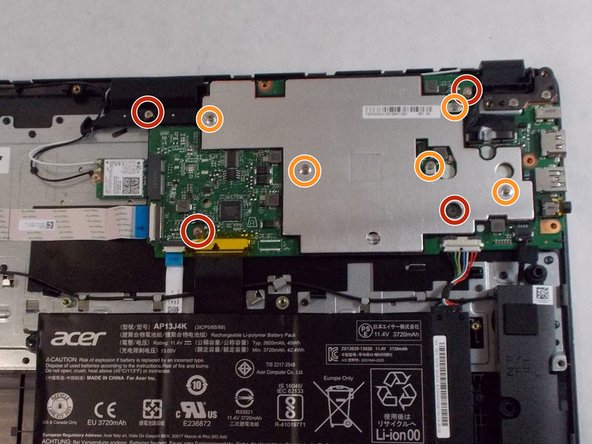
Remove the metal plate over the motherboard.
-
Remove the motherboard.
-


To reassemble your device, follow these instructions in reverse order.
To reassemble your device, follow these instructions in reverse order.
Cancelar: não concluí este guia.
Uma outra pessoa concluiu este guia.
Equipe

UMass Dartmouth, Team 3-2, Sinclaire Fall 2021 Membro de UMass Dartmouth, Team 3-2, Sinclaire Fall 2021
UMASSD-SINCLAIRE-F21S3G2
Membros da 3
Autoria de 7 guias