Ir para o conteúdo principal
Participe da comunidade de reparos - Criar conta

Acer Aspire One 722 Screen Replacement

O que você precisa

  1. Acer Aspire One 722 Screen Replacement, Battery: passo 1, imagem 1 %32
    • Power down the netbook by pressing the power button on the top left corner.

    Pergunte ao FixBot

    Comentar

  2. Acer Aspire One 722 Screen Replacement: passo 2, imagem 1 %32
    • Close the netbook and flip it over so that the back is facing up.

    Pergunte ao FixBot

    Comentar

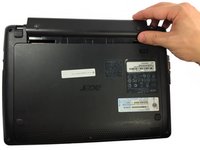
  3. Acer Aspire One 722 Screen Replacement: passo 3, imagem 1 %32
    • Slide the button below the battery to the right while simultaneously pulling the battery out.

    Pergunte ao FixBot

    Comentar

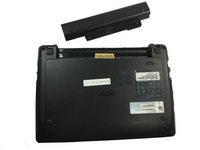
  4. Acer Aspire One 722 Screen Replacement: passo 4, imagem 1 %32 Acer Aspire One 722 Screen Replacement: passo 4, imagem 2 %32
    • If necessary, remove the old battery and replace it with a new one.

    Pergunte ao FixBot

    Comentar

  5. Acer Aspire One 722 Screen Replacement: passo 5, imagem 1 %32
    • Check the thin grooves on the side of the battery entry and line the replacement battery up to the grooves.

    Pergunte ao FixBot

    Comentar

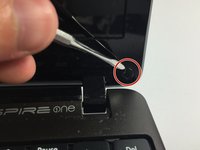
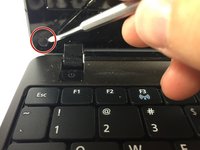
  6. Acer Aspire One 722 Screen Replacement, Screen: passo 6, imagem 1 %32 Acer Aspire One 722 Screen Replacement, Screen: passo 6, imagem 2 %32
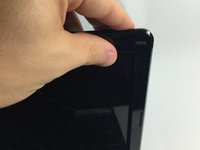
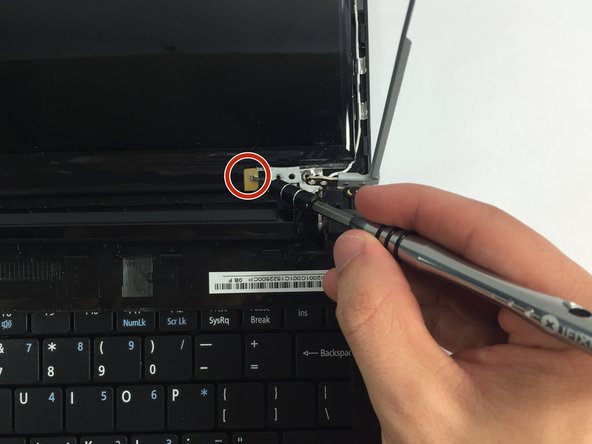
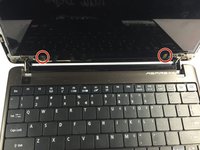
    • Remove the black rubber clips from the bottom right and left of the netbook screen.

    Pergunte ao FixBot

    Comentar

  7. Acer Aspire One 722 Screen Replacement: passo 7, imagem 1 %32 Acer Aspire One 722 Screen Replacement: passo 7, imagem 2 %32
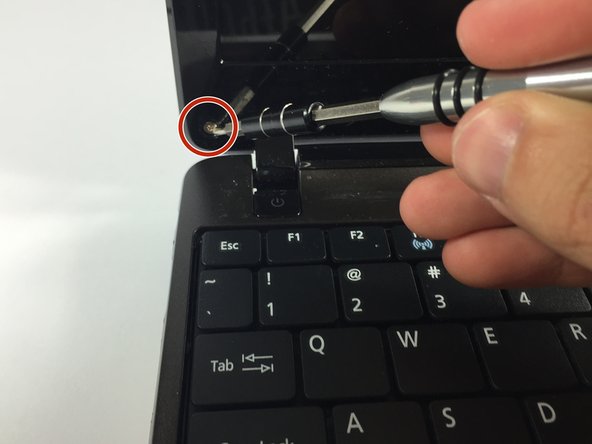
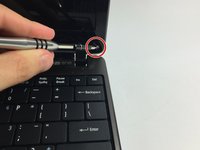
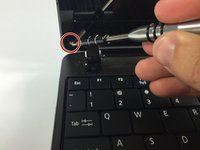
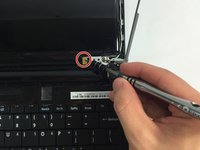
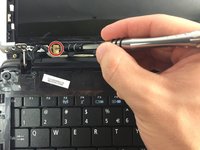
    • Remove the screws under the black caps.

    Pergunte ao FixBot

    Comentar

  8. Acer Aspire One 722 Screen Replacement: passo 8, imagem 1 %32 Acer Aspire One 722 Screen Replacement: passo 8, imagem 2 %32 Acer Aspire One 722 Screen Replacement: passo 8, imagem 3 %32
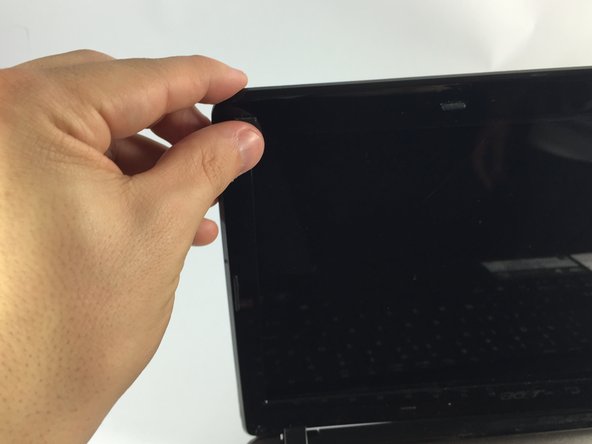
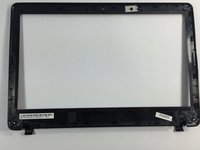
    • Slowly separate the screen casing from the screen.

    • Potential for device damage: Be careful when detaching the screen casing from the screen. If not done slowly, it can break.

    Pergunte ao FixBot

    Comentar

  9. Acer Aspire One 722 Screen Replacement: passo 9, imagem 1 %32 Acer Aspire One 722 Screen Replacement: passo 9, imagem 2 %32 Acer Aspire One 722 Screen Replacement: passo 9, imagem 3 %32
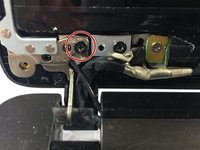
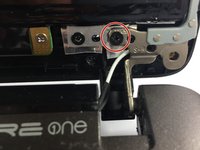
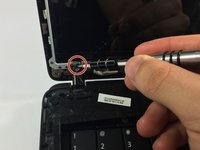
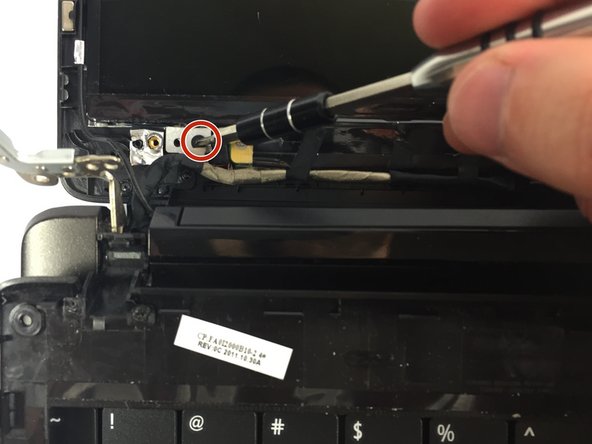
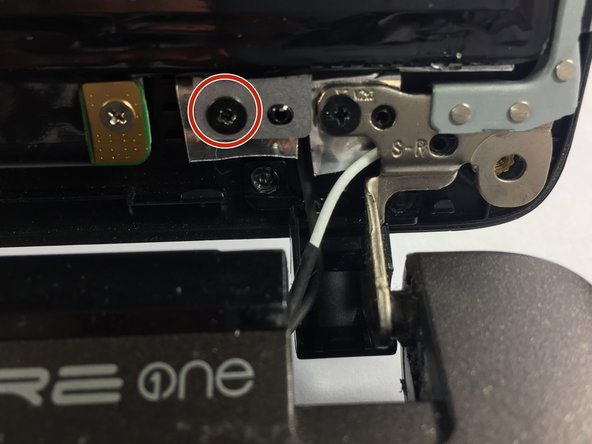
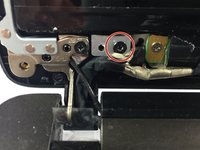
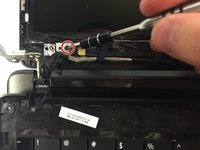
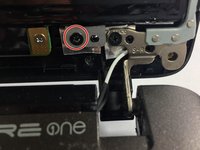
    • Remove the screws located on the four corners of the screen.

    Pergunte ao FixBot

    Comentar

  10. Acer Aspire One 722 Screen Replacement: passo 10, imagem 1 %32 Acer Aspire One 722 Screen Replacement: passo 10, imagem 2 %32 Acer Aspire One 722 Screen Replacement: passo 10, imagem 3 %32
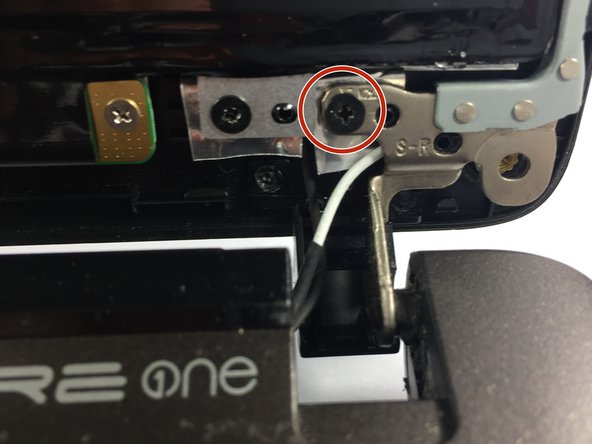
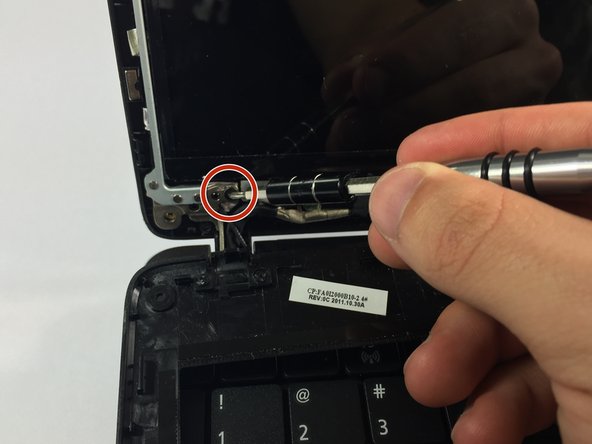
    • Remove the two bottom screws.

    • Taking out these screws will allow you to remove the screen from its attachment.

    Pergunte ao FixBot

    Comentar

  11. Acer Aspire One 722 Screen Replacement: passo 11, imagem 1 %32 Acer Aspire One 722 Screen Replacement: passo 11, imagem 2 %32 Acer Aspire One 722 Screen Replacement: passo 11, imagem 3 %32
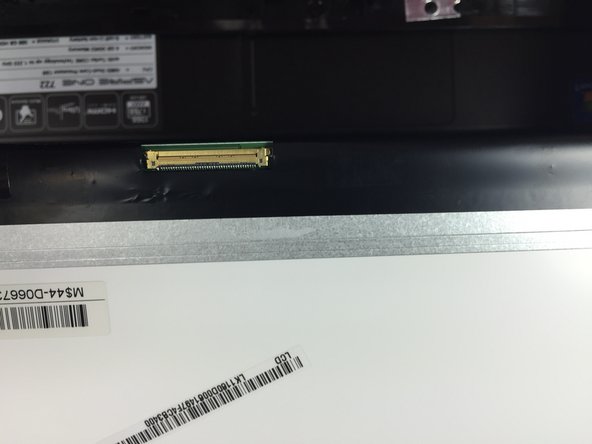
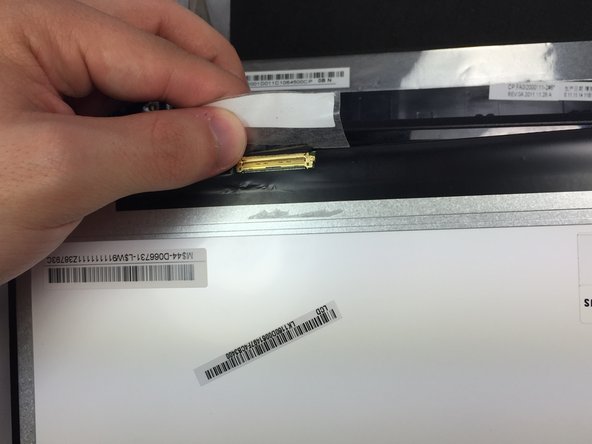
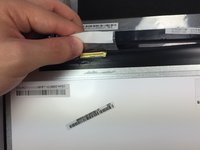
    • On the bottom left of the screen there is a cord attached. Remove the tape that is attached to the screen.

    Pergunte ao FixBot

    Comentar

  12. Acer Aspire One 722 Screen Replacement: passo 12, imagem 1 %32 Acer Aspire One 722 Screen Replacement: passo 12, imagem 2 %32 Acer Aspire One 722 Screen Replacement: passo 12, imagem 3 %32
    • On the green board, remove the two screws.

    • Remove the board.

    Pergunte ao FixBot

    Comentar

Conclusão

To reassemble your device, follow these instructions in reverse order.

Cancelar: não concluí este guia.

4 outras pessoas executaram este guia.

Equipe

UMass Dartmouth, Team 5-6, Gulbrandsen Fall 2015 Membro de UMass Dartmouth, Team 5-6, Gulbrandsen Fall 2015

UMASSD-GULBRANDSEN-F15S5G6

3 Membros

Autoria de 10 guias

0Comentários do guia

Comentar

Visualizações:

Últimas 24 horas: 2

Últimos 7 dias: 9

Últimos 30 dias: 35

Ao todo: 3,775