Introdução
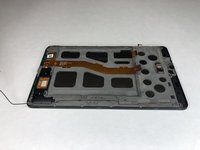
This guide will help you remove the screen from your device. The removal may be necessary if your screen is not responding or performing correctly. This repair guide is moderately difficult, requires three different tools, and should take approximately 30 minutes of your time. The removal of the screen also requires the removal of more sensitive parts of the device, including the motherboard, which should be removed carefully in order to prevent damage to the device.
O que você precisa
-
-
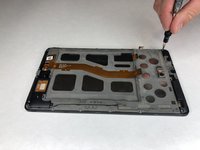
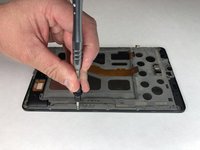
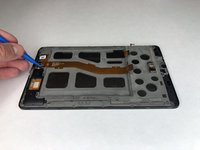
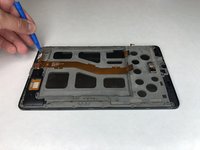
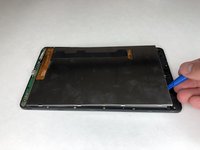
To separate the screen from the back panel, run the plastic opening tool along the outer edge of the device.
 Pergunte ao FixBot
-
-
-
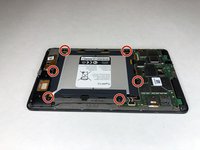
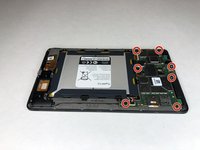
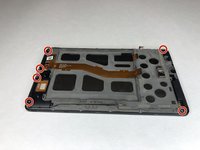
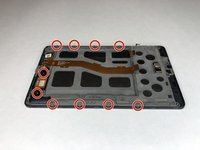
Use a Phillips #00 screwdriver to remove the six 2.5 mm screws located around the perimeter of the battery.
-
-
-
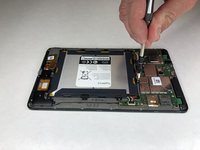
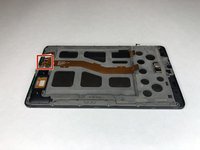
Use the plastic opening tool to disconnect the black battery connector.
-
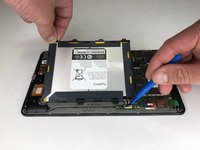
Gently lift the battery out of the device.
-
-
-
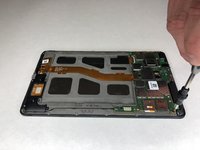
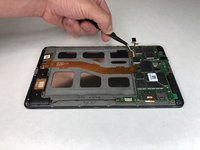
Using a Phillips #00 screwdriver, remove the seven 1 mm screws on the green perimeter of the motherboard.
-
-
-
Use the plastic opening tool to disconnect the large gold strip underneath the metal plate from the motherboard.
-
-
-
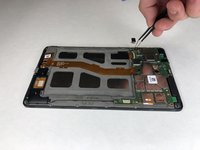
Use the plastic opening tool to disconnect the front and back cameras from motherboard.
-
-
-
Ferramenta utilizada neste passo:Tweezers$3.99
-
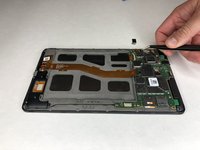
Use angled tweezers to pry up the black tab.
-
Use the angled tweezers to pull out the gold connector.
-
-
-
Use the plastic opening tool to disconnect the black connectors on each side of the motherboard.
-
-
-
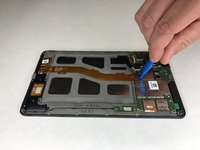
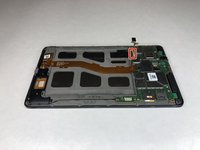
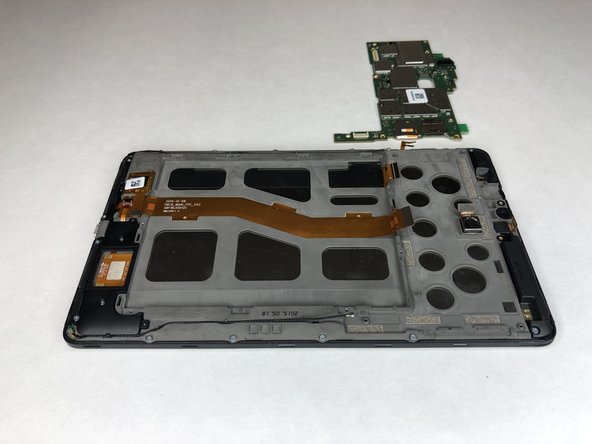
Use the plastic opening tool to lift the motherboard out of place.
-
-
Ferramenta utilizada neste passo:Tweezers$3.99
-
Use the angled tweezers to lift the camera out.
-
-
-
Use the Phillips #00 screwdriver to remove the six 3 mm screws holding the black plastic corner pieces in place.
-
Gently lift the black corner pieces out of the device.
-
-
Ferramenta utilizada neste passo:Tweezers$3.99
-
Use the angled tweezers to remove the black cables on each side of the device from their groove.
-
-
-
Use the plastic opening tool to disconnect the black cable connectors from each side of the device.
-
-
-
Use the plastic opening tool to disconnect the remaining three gold connectors at the bottom of the device.
-
-
-
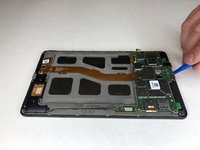
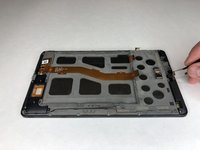
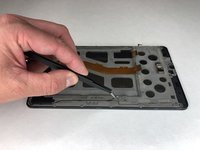
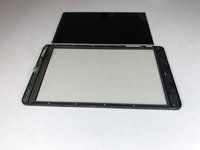
Use the plastic opening tool to pry the screen out of the device.
-


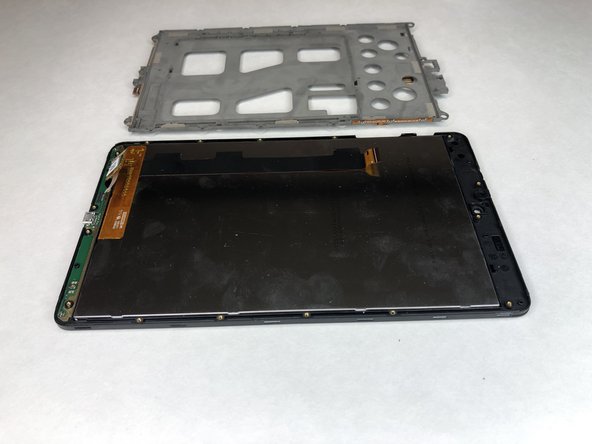
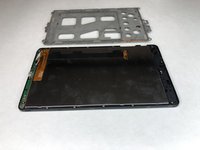


To reassemble your device, follow these instructions in reverse order.
Cancelar: não concluí este guia.
Uma outra pessoa concluiu este guia.
Equipe

University of Alabama, Team S1-G3, Bedsole Spring 2019 Membro de University of Alabama, Team S1-G3, Bedsole Spring 2019
UA-BEDSOLE-S19S1G3
4 Membros
Autoria de 6 guias