Ir para o conteúdo principal

ATT CL2940 Buttons and/or Keypad Replacement

O que você precisa

  1. ATT CL2940 Buttons and/or Keypad Replacement, Back Panel: passo 1, imagem 1 %32 ATT CL2940 Buttons and/or Keypad Replacement, Back Panel: passo 1, imagem 2 %32 ATT CL2940 Buttons and/or Keypad Replacement, Back Panel: passo 1, imagem 3 %32
    • Remove five 9.5 mm Phillips #1 screws from the back panel of the phone.

  2. ATT CL2940 Buttons and/or Keypad Replacement: passo 2, imagem 1 %32 ATT CL2940 Buttons and/or Keypad Replacement: passo 2, imagem 2 %32 ATT CL2940 Buttons and/or Keypad Replacement: passo 2, imagem 3 %32
    • Slide the metal spudger into the crack and continue around to the front panel of the phone.

    • Be careful not to break the clips that hold the back panel to the front panel.

  3. ATT CL2940 Buttons and/or Keypad Replacement: passo 3, imagem 1 %32
    • When setting the back panel down, be careful to not rip any of the wires off of the internal components.

  4. ATT CL2940 Buttons and/or Keypad Replacement, Buttons and/or Keypad: passo 4, imagem 1 %32 ATT CL2940 Buttons and/or Keypad Replacement, Buttons and/or Keypad: passo 4, imagem 2 %32
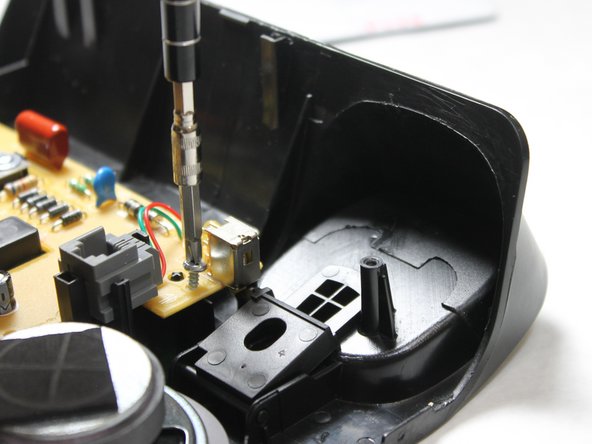
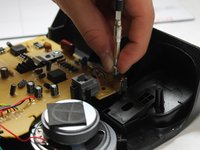
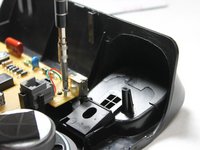
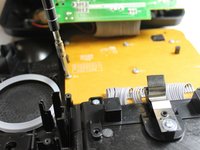
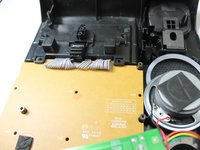
    • Unscrew five 5.6 mm screws on top level, yellow motherboard.

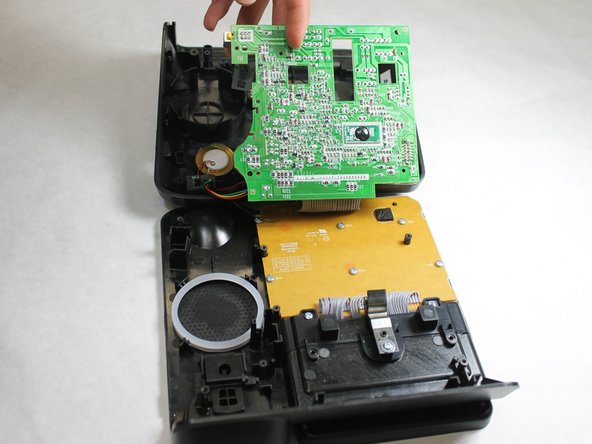
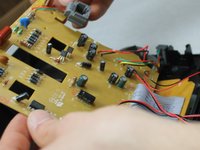
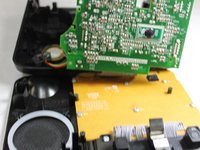
  5. ATT CL2940 Buttons and/or Keypad Replacement: passo 5, imagem 1 %32 ATT CL2940 Buttons and/or Keypad Replacement: passo 5, imagem 2 %32 ATT CL2940 Buttons and/or Keypad Replacement: passo 5, imagem 3 %32
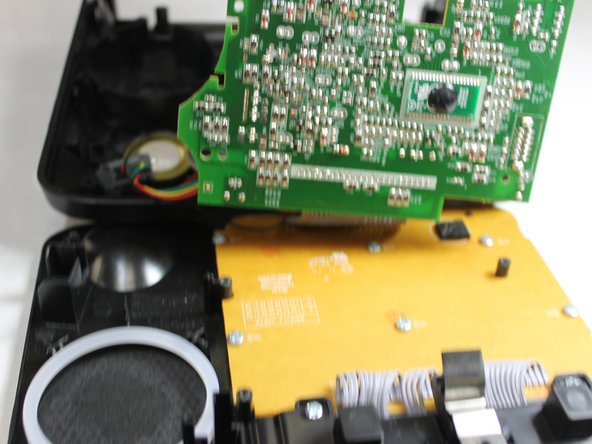
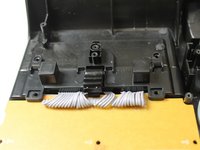
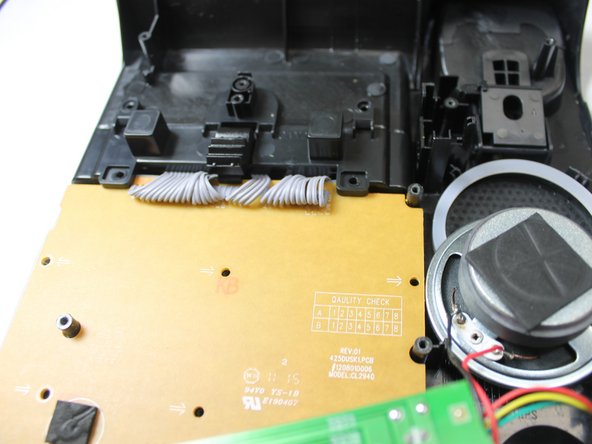
    • Lift the top level Motherboard in order to get to the lower level Motherboard.

  6. ATT CL2940 Buttons and/or Keypad Replacement: passo 6, imagem 1 %32 ATT CL2940 Buttons and/or Keypad Replacement: passo 6, imagem 2 %32
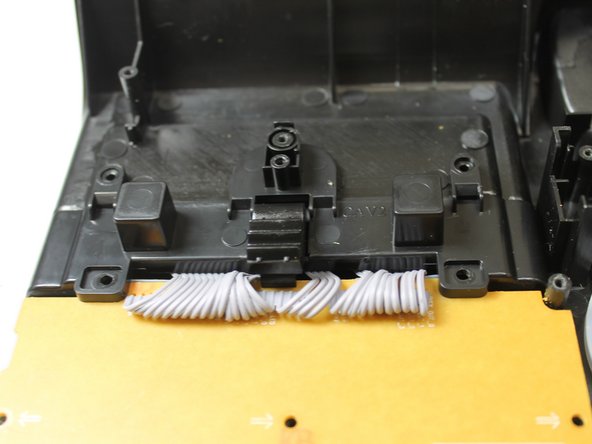
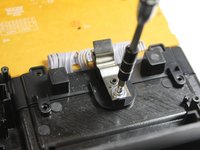
    • Unscrew the 5.6 mm screw on the clip behind the Screen as shown.

  7. ATT CL2940 Buttons and/or Keypad Replacement: passo 7, imagem 1 %32 ATT CL2940 Buttons and/or Keypad Replacement: passo 7, imagem 2 %32
    • Unscrew five 5.6 mm screws on the lower level Motherboard.

    • Keep the screws for the upper and lower level motherboard separated.

  8. ATT CL2940 Buttons and/or Keypad Replacement: passo 8, imagem 1 %32 ATT CL2940 Buttons and/or Keypad Replacement: passo 8, imagem 2 %32
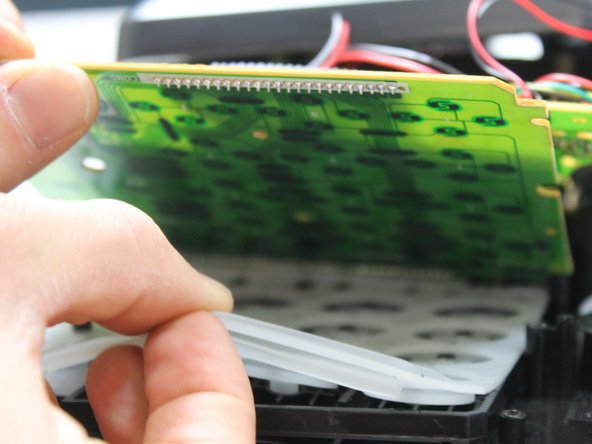
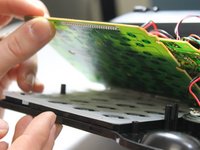
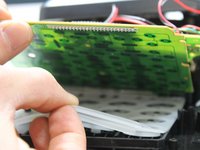
    • Lift the lower level Motherboard upward.

    • Remove the silicon pad above the buttons.

  9. ATT CL2940 Buttons and/or Keypad Replacement: passo 9, imagem 1 %32 ATT CL2940 Buttons and/or Keypad Replacement: passo 9, imagem 2 %32
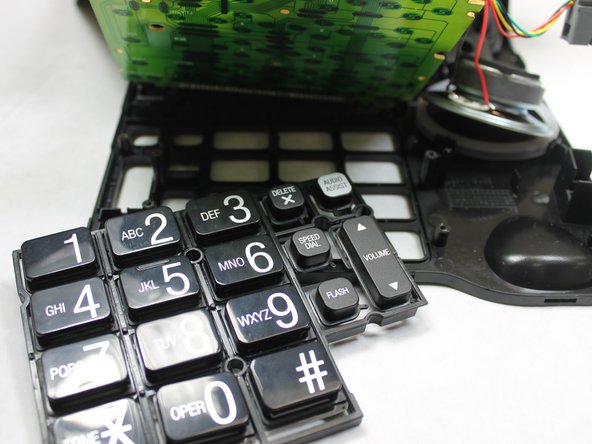
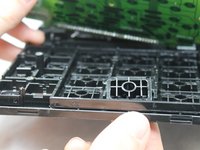
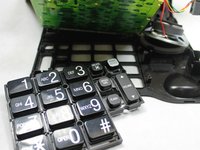
    • Push the Button Panel upward and pull it out.

    • Replace the entire Button Panel or a single defective button.

Conclusão

To reassemble your device, follow these instructions in reverse order.

2 outras pessoas executaram este guia.

Charles Messmore

Membro desde: 02/15/16

541 Reputação

Autoria de 5 guias

Equipe

IUPUI, Team 1-1, Harley Spring 2016 Membro de IUPUI, Team 1-1, Harley Spring 2016

IUPUI-HARLEY-S16S1G1

Membros da 4

Autoria de 13 guias

Um comentário

Great explanation! Where would you recommend buying replacement buttons for the phone? Thanks

Sean Richardson - Responder

Adicione um comentário

Exibir estatísticas:

Últimas 24 horas: 0
Últimos 7 dias: 2

Últimos 30 dias: 10

Duração total: 472