Ir para o conteúdo principal
Participe da comunidade de reparos - Criar conta

ASUS UX50V-RX05 Optical Drive Replacement

O que você precisa

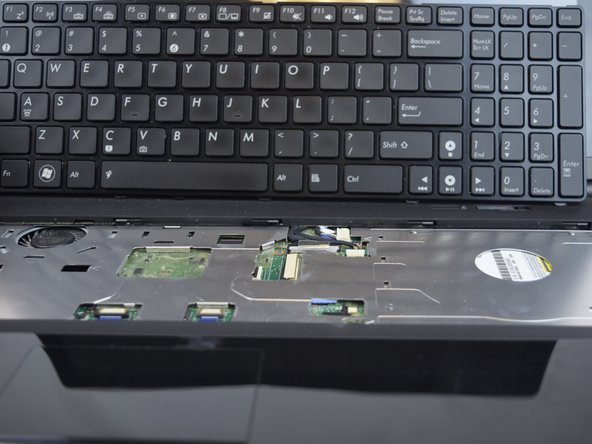
    1. ASUS UX50V-RX05 Optical Drive Replacement, Keyboard: passo 1, imagem 1 %32 ASUS UX50V-RX05 Optical Drive Replacement, Keyboard: passo 1, imagem 2 %32 ASUS UX50V-RX05 Optical Drive Replacement, Keyboard: passo 1, imagem 3 %32
      • Make sure the device is powered off and the battery is removed before beginning.

      • Use the Plastic Opening tool to pry the five slots up at the top of the keyboard.

      Pergunte ao FixBot

      Comentar

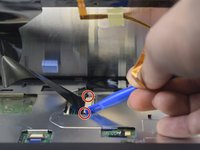
    2. ASUS UX50V-RX05 Optical Drive Replacement: passo 2, imagem 1 %32 ASUS UX50V-RX05 Optical Drive Replacement: passo 2, imagem 2 %32
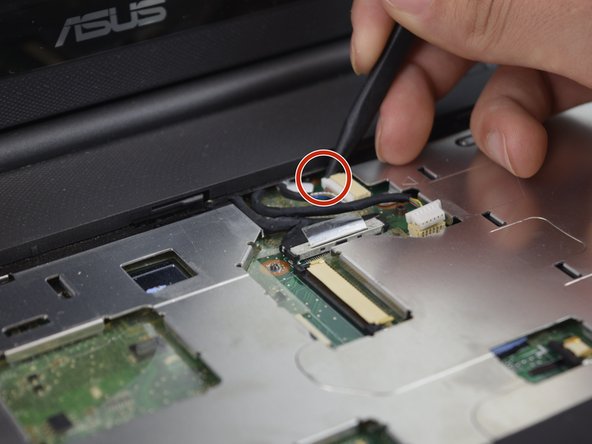
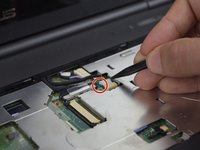
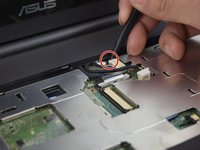
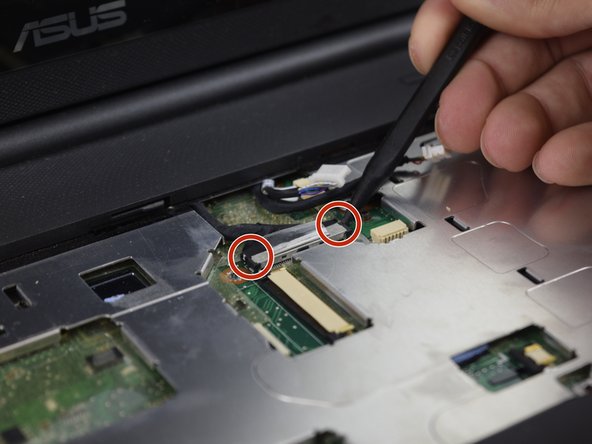
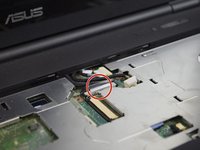
      • Lift the keyboard enough to expose the two ribbon connectors (LCD flex cable and flex band).

      • Use the Plastic Opening tool to push open the two black clips on each side of the connecting cords.

      • Remove the cable after pushing out the two black clips.

      Pergunte ao FixBot

      Comentar

    3. ASUS UX50V-RX05 Optical Drive Replacement: passo 3, imagem 1 %32 ASUS UX50V-RX05 Optical Drive Replacement: passo 3, imagem 2 %32
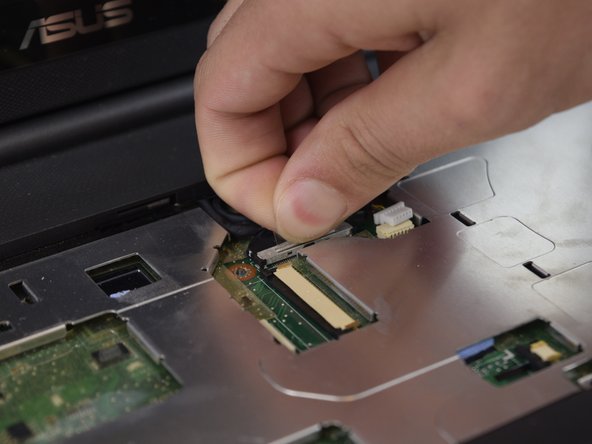
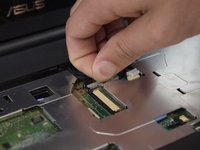
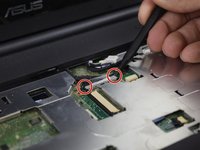
      • Push out each end of the black clip with a plastic opening tool or nylon spudger to remove the ribbon cable.

      • Remove the cable after pushing out both black clips.

      • Remove the keyboard.

      Pergunte ao FixBot

      Comentar

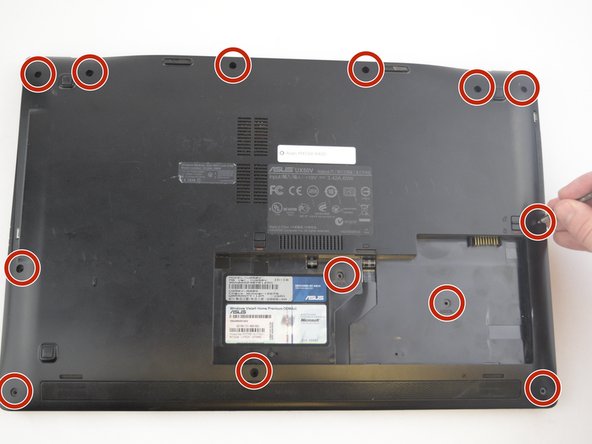
    1. ASUS UX50V-RX05 Optical Drive Replacement, Case Removal: passo 4, imagem 1 %32 ASUS UX50V-RX05 Optical Drive Replacement, Case Removal: passo 4, imagem 2 %32 ASUS UX50V-RX05 Optical Drive Replacement, Case Removal: passo 4, imagem 3 %32
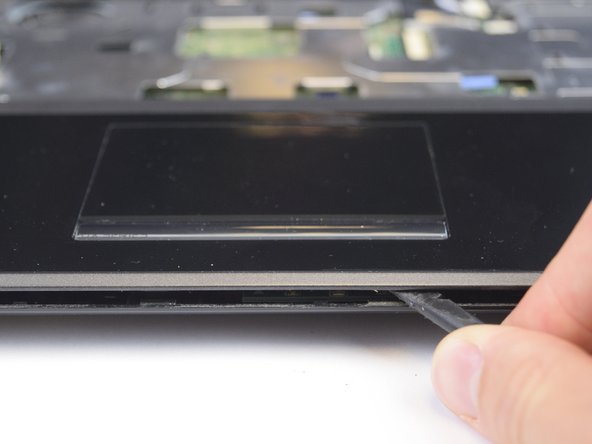
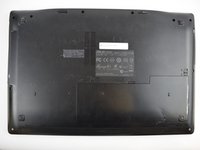
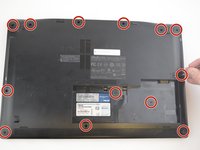
      • Remove the thirteen 5 mm J0 screws from the back of the laptop.

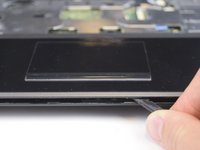
      • With the keyboard removed, use the spudger tool to pry around the edge of the laptop until it is free.

      Pergunte ao FixBot

      Comentar

    2. ASUS UX50V-RX05 Optical Drive Replacement: passo 5, imagem 1 %32 ASUS UX50V-RX05 Optical Drive Replacement: passo 5, imagem 2 %32
      • Use the spudger tool to unplug the two cords from the body by pushing on the tabs on both sides of the plug.

      Pergunte ao FixBot

      Comentar

    3. ASUS UX50V-RX05 Optical Drive Replacement: passo 6, imagem 1 %32 ASUS UX50V-RX05 Optical Drive Replacement: passo 6, imagem 2 %32 ASUS UX50V-RX05 Optical Drive Replacement: passo 6, imagem 3 %32
      • With the previous two cords unplugged and out of the way, you can work on unplugging the black cord.

      • Use your fingers to pull up on the clear tab, or use the spudger tool to push out both sides of the connector.

      Pergunte ao FixBot

      Comentar

    4. ASUS UX50V-RX05 Optical Drive Replacement: passo 7, imagem 1 %32
      • Carefully lift and remove the plastic cover to avoid damaging anything.

      Pergunte ao FixBot

      Comentar

    1. ASUS UX50V-RX05 Optical Drive Replacement, Optical Drive: passo 8, imagem 1 %32 ASUS UX50V-RX05 Optical Drive Replacement, Optical Drive: passo 8, imagem 2 %32
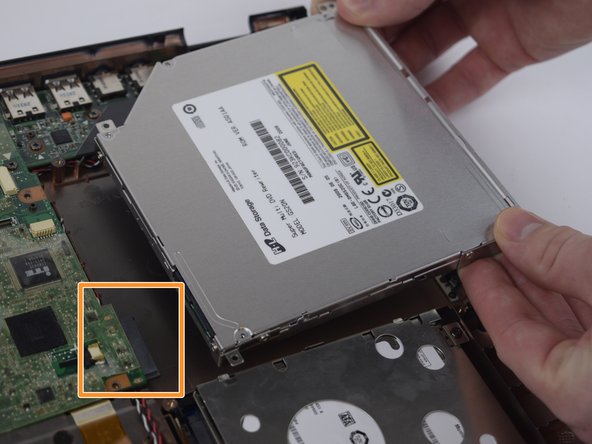
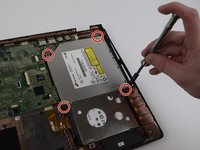
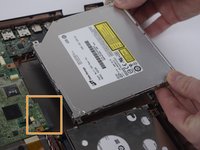
      • Remove the four 5 mm J0 screws surrounding the Optical Drive.

      • Remove the optical drive by pulling it out and away from the connector.

      Pergunte ao FixBot

      Comentar

Conclusão

To reassemble your device, follow these instructions in reverse order.

Cancelar: não concluí este guia.

James

Membro desde: 02/14/17

663 Reputação

Autoria de 6 guias

Equipe

USF Tampa, Team 20-2, Remmell Spring 2017 Membro de USF Tampa, Team 20-2, Remmell Spring 2017

USFT-REMMELL-S17S20G2

4 Membros

Autoria de 36 guias

0Comentários do guia

Comentar

Visualizações:

Últimas 24 horas: 1

Últimos 7 dias: 3

Últimos 30 dias: 66

Ao todo: 522