Introdução
Este guia de reparo mostra como substituir a bateria de um controle ASUS ROG Raikiri Pro. Se o seu controle não liga ou a bateria está descarregando rapidamente, siga este guia para a substituição.
Uma bateria em bom estado deve fornecer energia ao controle. Infelizmente, as baterias não duram para sempre e podem precisar ser substituídas. Se a sua bateria não mantém a carga ou a bateria não carrega, substituí-la pode ser a sua melhor opção.
Se você perceber que a bateria está inchada, manuseie-a adequadamente antes de prosseguir.
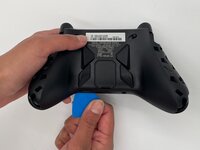
Antes de iniciar este reparo, desconecte o seu controle ASUS ROG Raikiri Pro do carregador ou console e deixe-o desligar.
O que você precisa
-
-
-
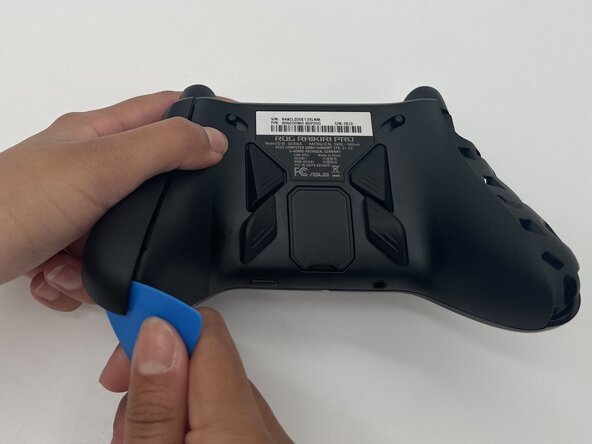
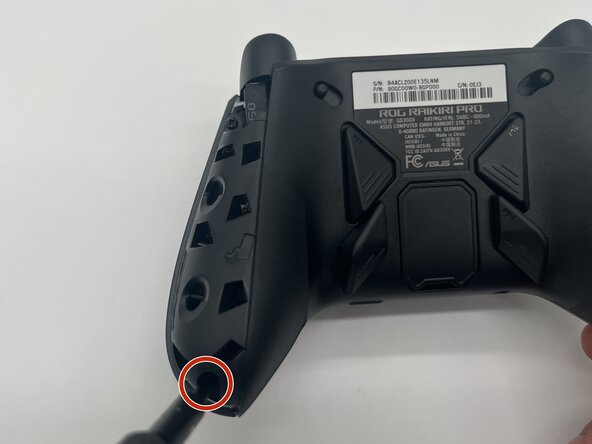
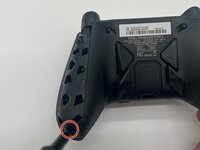
Insira a ponta de uma palheta (de abertura) na emenda da tampa do punho superior esquerdo.
-
Deslize-a para baixo para soltar os clipes que prendem a tampa do punho ao controle.
-
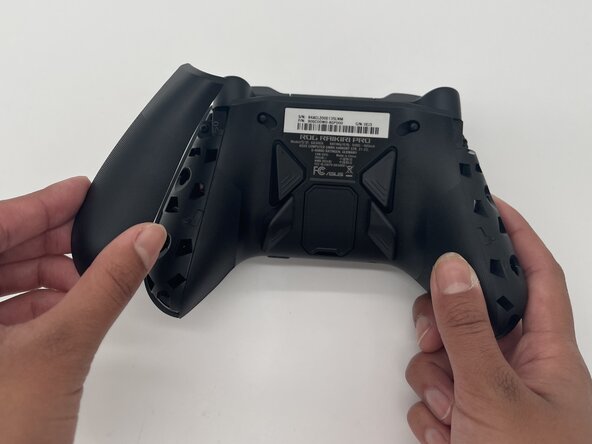
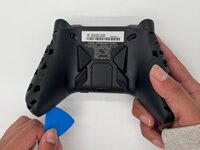
Remova a tampa do punho esquerdo.
-
Repita os passos para remover a tampa do punho direito.
 Pergunte ao FixBot
-
-
-
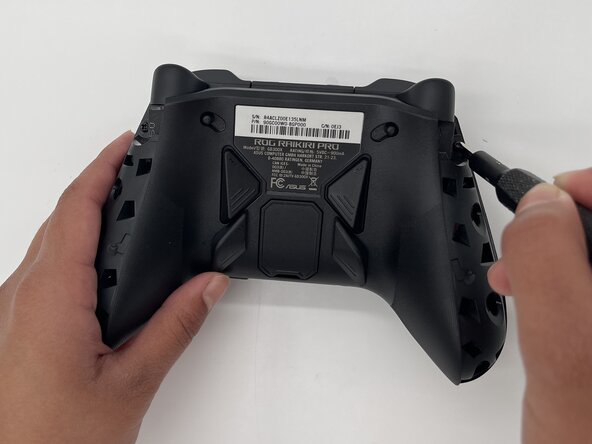
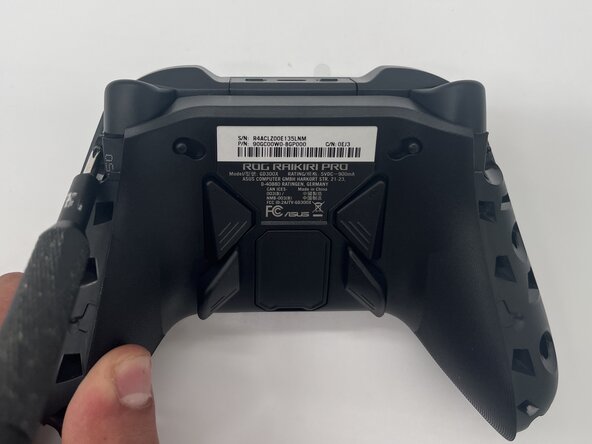
Use uma chave Phillips #1 para remover um parafuso Phillips de 11 mm do topo de cada alça.
-
-
-
Use uma chave Phillips #1 para remover um parafuso Phillips de 11 mm do canto inferior de cada alça.
-
-
-
-
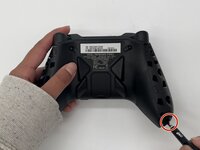
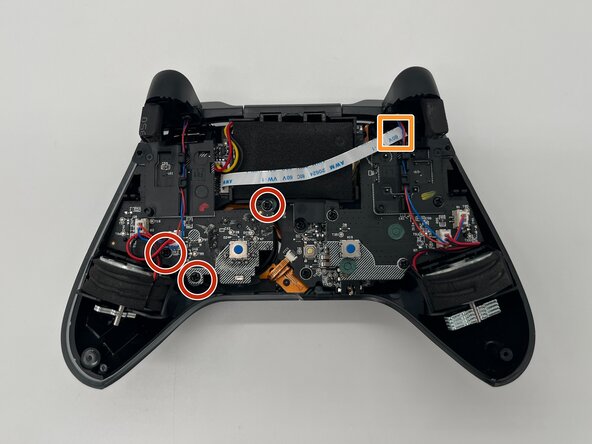
Coloque a ponta de uma palheta ou espátula na fresta do painel central traseiro.
-
Deslize a palheta suavemente da esquerda para a direita ao longo da fresta para soltar os clipes que prendem a parte superior e a inferior do controle.
-
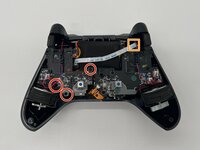
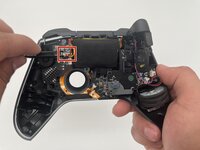
Separe a parte superior e a inferior do dispositivo.
-
-
-
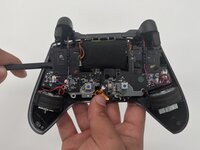
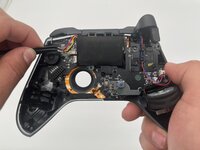
Use uma chave Phillips #1 para remover os três parafusos Phillips de 8 mm que prendem a placa esquerda.
-
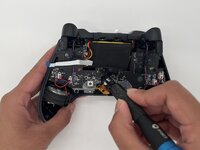
Desconecte o cabo plano que passa por cima da bateria.
-
-
-
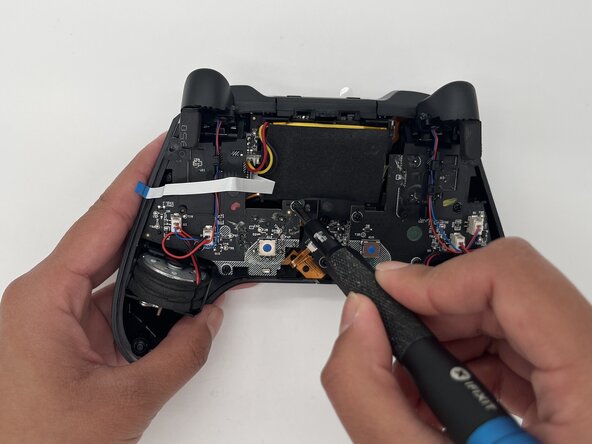
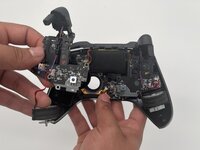
Use uma espátula para remover cuidadosamente a placa e o motor de vibração esquerdo.
-
-


Para a remontagem de seu dispositivo, siga estas instruções na ordem inversa. Leve o seu lixo eletrônico para um ponto de coleta ou uma recicladora certificada.
Cancelar: não concluí este guia.
Uma outra pessoa concluiu este guia.
Um agradecimento especial a esses tradutores:
100%

Translation Bot está nos ajudando a consertar o mundo! Quer contribuir?
Comece a traduzir ›

Equipe

University of North Texas, Team 1-3, Kilpatrick Spring 2025 Membro de University of North Texas, Team 1-3, Kilpatrick Spring 2025
UNT-KILPATRICK-S25S1G3
3 Membros
Autoria de 55 guias