Introdução
Use this guide to replace the Keyboard of your ASUS EEE PC701SD-WHI004X. Be sure to disconnect the laptop from all sources of power before beginning this process. You should follow this guide if a single key is unresponsive, cannot be pressed, or if the entire keyboard is unresponsive.
O que você precisa
-
-
Flip the laptop over, you should see two battery tabs.
-
Slide the right tab towards the right. The orange dot should be visible. This tab will be locked open.
 Pergunte ao FixBot
-
-
-
While holding the left tab towards the left. Gently slide the battery out of the laptop.
-
-
-
-
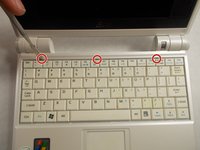
Push the 3 tabs at the top of the keyboard in and down one at a time using a nylon spudger.
-
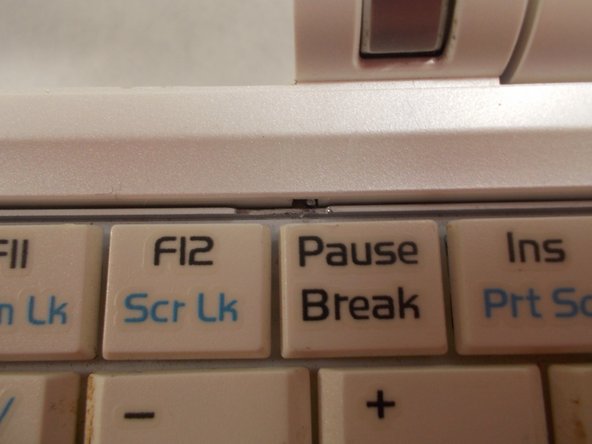
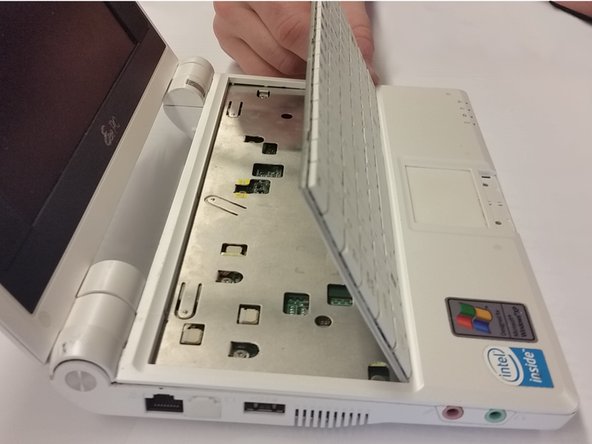
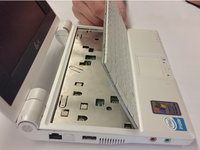
Once the three tabs have been pushed in, gently pry the top of the keyboard until it begins to hinge out of its slot.
-
-
-
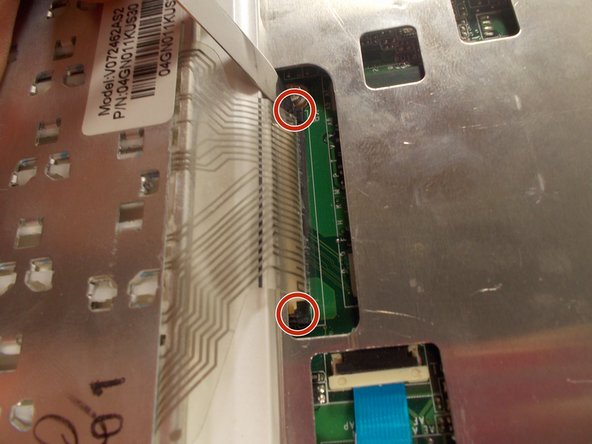
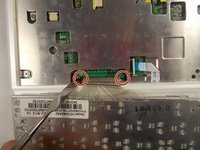
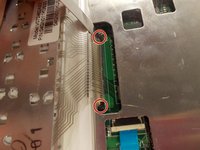
Push the two sides of the ribbon cable connector away from yourself. This will unseat the ribbon cable.
-
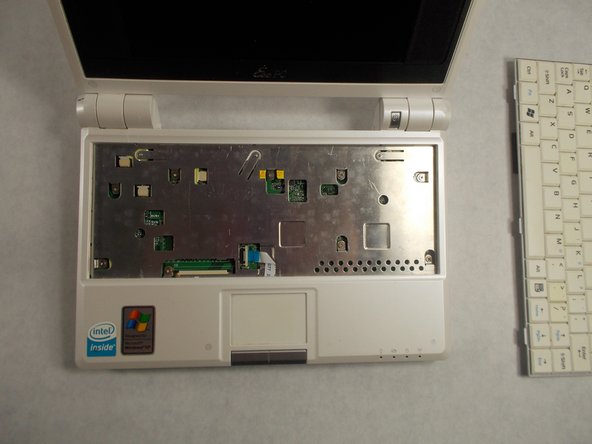
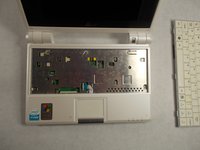
Once the tabs are unseated, you can gently remove the ribbon cable by pulling it out of its slot. The keyboard can now be removed.
-



To reassemble your device, follow these instructions in reverse order.
Cancelar: não concluí este guia.
Uma outra pessoa concluiu este guia.

Equipe

UMass Dartmouth, Team S2-G8, Isaacson Spring 2017 Membro de UMass Dartmouth, Team S2-G8, Isaacson Spring 2017
UMASSD-ISAACSON-S17S2G8
3 Membros
Autoria de 10 guias
