Ir para o conteúdo principal

ASDA ES177 Steam Iron Power cord Replacement

O que você precisa

  1. ASDA ES177 Steam Iron Power cord Replacement, Disassembly: passo 1, imagem 1 %32 ASDA ES177 Steam Iron Power cord Replacement, Disassembly: passo 1, imagem 2 %32 ASDA ES177 Steam Iron Power cord Replacement, Disassembly: passo 1, imagem 3 %32
    • Remove the security screw from the back panel.

    • Be cautious of any residual charge when disassembling.

  2. ASDA ES177 Steam Iron Power cord Replacement, Remove the back plate: passo 2, imagem 1 %32 ASDA ES177 Steam Iron Power cord Replacement, Remove the back plate: passo 2, imagem 2 %32 ASDA ES177 Steam Iron Power cord Replacement, Remove the back plate: passo 2, imagem 3 %32
    • Insert a flathead screwdriver to pop off the back plate

  3. ASDA ES177 Steam Iron Power cord Replacement, Remove the cord from the holder: passo 3, imagem 1 %32 ASDA ES177 Steam Iron Power cord Replacement, Remove the cord from the holder: passo 3, imagem 2 %32 ASDA ES177 Steam Iron Power cord Replacement, Remove the cord from the holder: passo 3, imagem 3 %32
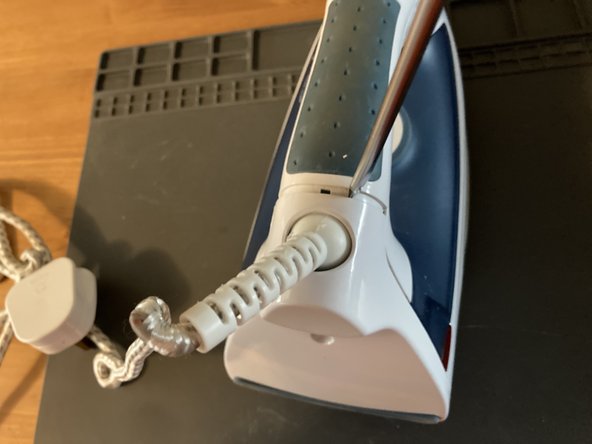
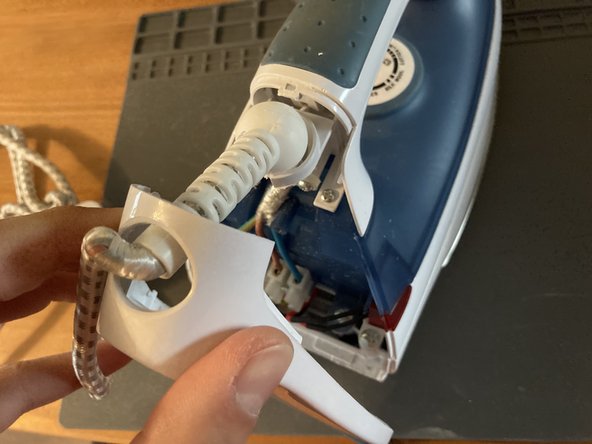
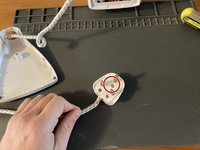
    • Remove the retainer clamp by unscrewing the two Phillips screws.

  4. ASDA ES177 Steam Iron Power cord Replacement, Release the cord from the connector: passo 4, imagem 1 %32 ASDA ES177 Steam Iron Power cord Replacement, Release the cord from the connector: passo 4, imagem 2 %32 ASDA ES177 Steam Iron Power cord Replacement, Release the cord from the connector: passo 4, imagem 3 %32
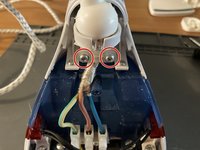
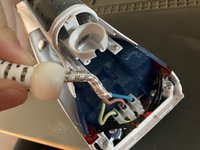
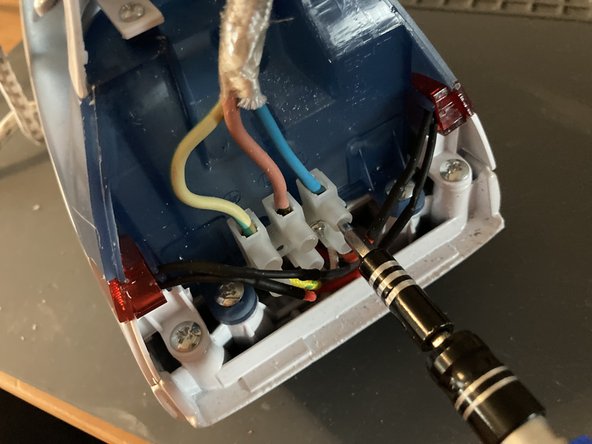
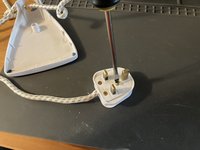
    • Remove the three flat-headed screws from the connector

  5. ASDA ES177 Steam Iron Power cord Replacement, Remove the plug: passo 5, imagem 1 %32 ASDA ES177 Steam Iron Power cord Replacement, Remove the plug: passo 5, imagem 2 %32 ASDA ES177 Steam Iron Power cord Replacement, Remove the plug: passo 5, imagem 3 %32
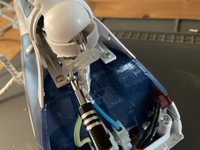
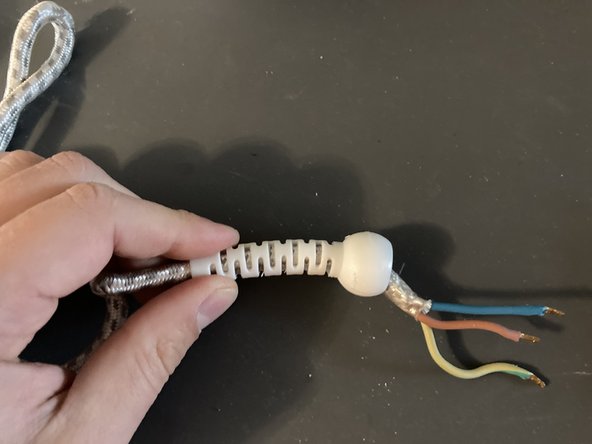
    • Unscrew the main screw to reveal the 3-core cable.

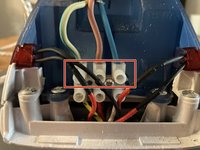
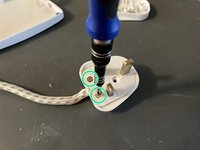
    • Remove the two screws that retain the cord in the plug.

  6. ASDA ES177 Steam Iron Power cord Replacement, Remove the rotator support: passo 6, imagem 1 %32
    • Remove the rotator guide.

Conclusão

To reassemble your device, follow these instructions in reverse order.

Uma outra pessoa concluiu este guia.

honakrisi

Membro desde: 01/28/20

3.328 Reputação

Autoria de 7 guias

0 comentários

Adicione um comentário

Exibir estatísticas:

Últimas 24 horas: 1

Últimos 7 dias: 3

Últimos 30 dias: 10

Duração total: 859