Introdução
This guide requires knowledge on splicing wires together either through soldering or crimping connectors. Fixers have the option of de-soldering the entire wire harness from the internal PDP/ESC board. If you desire to solder directly on the board, this guide will help you identify and locate the battery connector harness, but will only instruct a wire splice on the existing harness to remove the risk of damage to the main board.
For more information on soldering and desoldering connections, please visit the How to Solder and Desolder Connections guide.
O que você precisa
-
-
Power off the drone by holding down the power button.
-
Remove the battery by disconnecting it from the main battery connector.
-
Press the power button again to ensure all electricity is discharged.
-
-
-
If your drone is equipped with it, remove the video transmitter.
-
Disconnect all cables from the gimbal.
-
If your drone has neither the gimbal or video transmitter, you can skip this step.
-
-
-
-
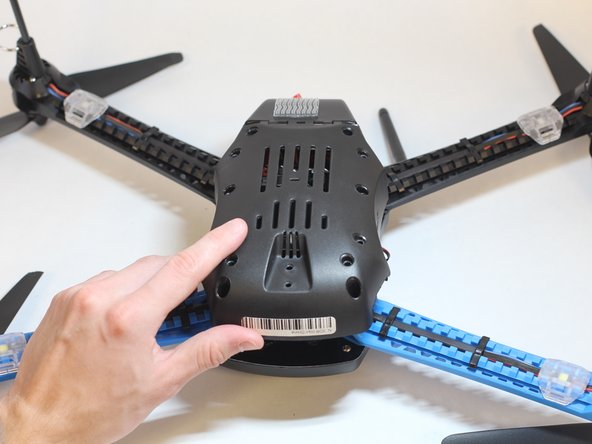
Remove the eight 11mm screws attaching the underbody of the drone using the 2mm Hex screwdriver/key.
-
-
-
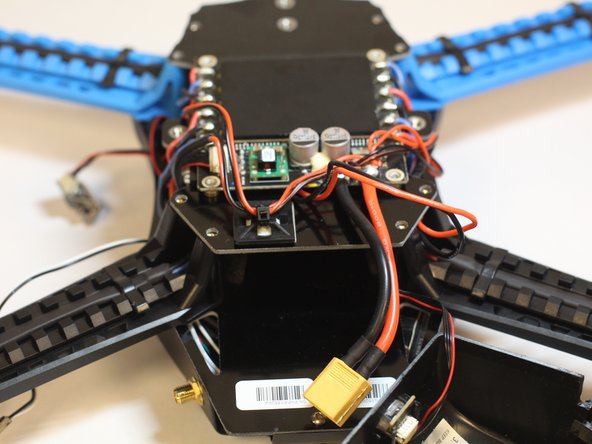
Identify the power line by locating the black and red wire pair with the largest gauge (wire thickness) extending from the board with a large black heat sink.
-


To reassemble your device, follow these instructions in reverse order.
To reassemble your device, follow these instructions in reverse order.
Cancelar: não concluí este guia.
2 outras pessoas executaram este guia.

Equipe

Cal Poly, Team S7-G5, Regan Winter 2020 Membro de Cal Poly, Team S7-G5, Regan Winter 2020
CPSU-REGAN-W20S7G5
Membros da 5
Autoria de 9 guias