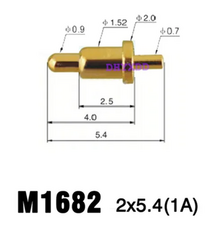
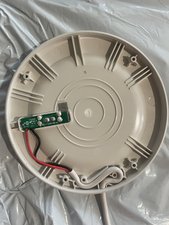
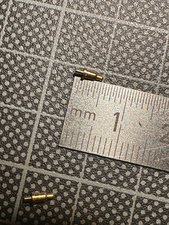
Thx guys, I followed @chalky101's and @dadibrokeit's instructions to remove the pcb from the plastic base, and I bought the pins from aliexpress recommended by @pogopooc (the M1682 pins, link: https://de.aliexpress.com/item/100500282...)
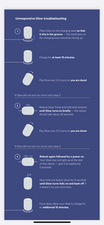
However, there seems to be another problem :(. I Have 2 "broken" charging bases and 2 lamps. I replaced the pins on one of the charging bases, and unfortunately the lamp still doesn't turn on when flipped, even after hours of charging. I even followed the reset guide that casper sent when I contacted them, shown below with the other pictures. (I tried this reset procedure before and after replacing the pins). I tried charging and resetting my second lamp on this modified charging base, and it would not turn on either. I checked for shorting on the pcb and there appeared to be none.
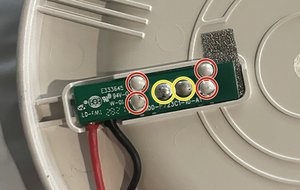
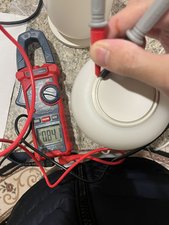
The charging base pcb with new pins outputs 9v when tested with a multimeter, the same as my other unmodified charging base.
Before doing the pin replacement on one of my charging bases, I believed that the problem for both of them was that the pins were not making proper/any contact with the lamp, however now I believe my problem may be different.
Some observations I noticed;
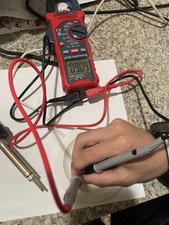
- My modified charging base and my unmodified charging base both output 9v
- When either lamp is placed on the modified charging base, the multimeter reads around 60mv on the lamp's top-side charging rings, gradually increases, then tops out to around 150mv. The same thing happens when both lamps are left to charge on the unmodified charging base.
- The multimeter reads 0mv on both lamps when they are not on the charging base
My guess is the problem lies within my 2 lamps themselves, but I have no clue what. I tried searching for any info online about repairs pertaining to the lamps with no luck. In any case, working on the lamps sees more complex than the bases - just my luck ha. Any thoughts? Thanks again for the help so far & Happy New Year!


3 comentários
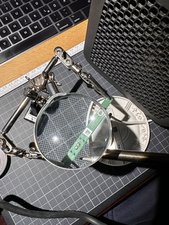
David Pomerleau that is interesting. Post a couple of good pictures of what this all looks like, with your QUESTION. Point out where you see the damage reoccurring and let's see those base pins. I am sure there is a way in getting this fixed
Adicionar imagens a uma pergunta já existente
por oldturkey03
https://honeypot.net/2023/11/08/fixing-t...
This guy found a solution. I haven't tried it but it sounds good to me
por ThatGuyEd
@ThatGuyEd I tried this solution awhile back and it wasn't really reliable. Overtime the solder cracked and then the spring compressed again.
por Brandon Philips