Ir para o conteúdo principal

Early 2011 Model: A1278 / 2.3 GHz i5 or 2.7 GHz i7 processor

778 Perguntas Visualizar todos

Is it possible to replace a Silicone Dome?

Hello Hope you guys are doing well.

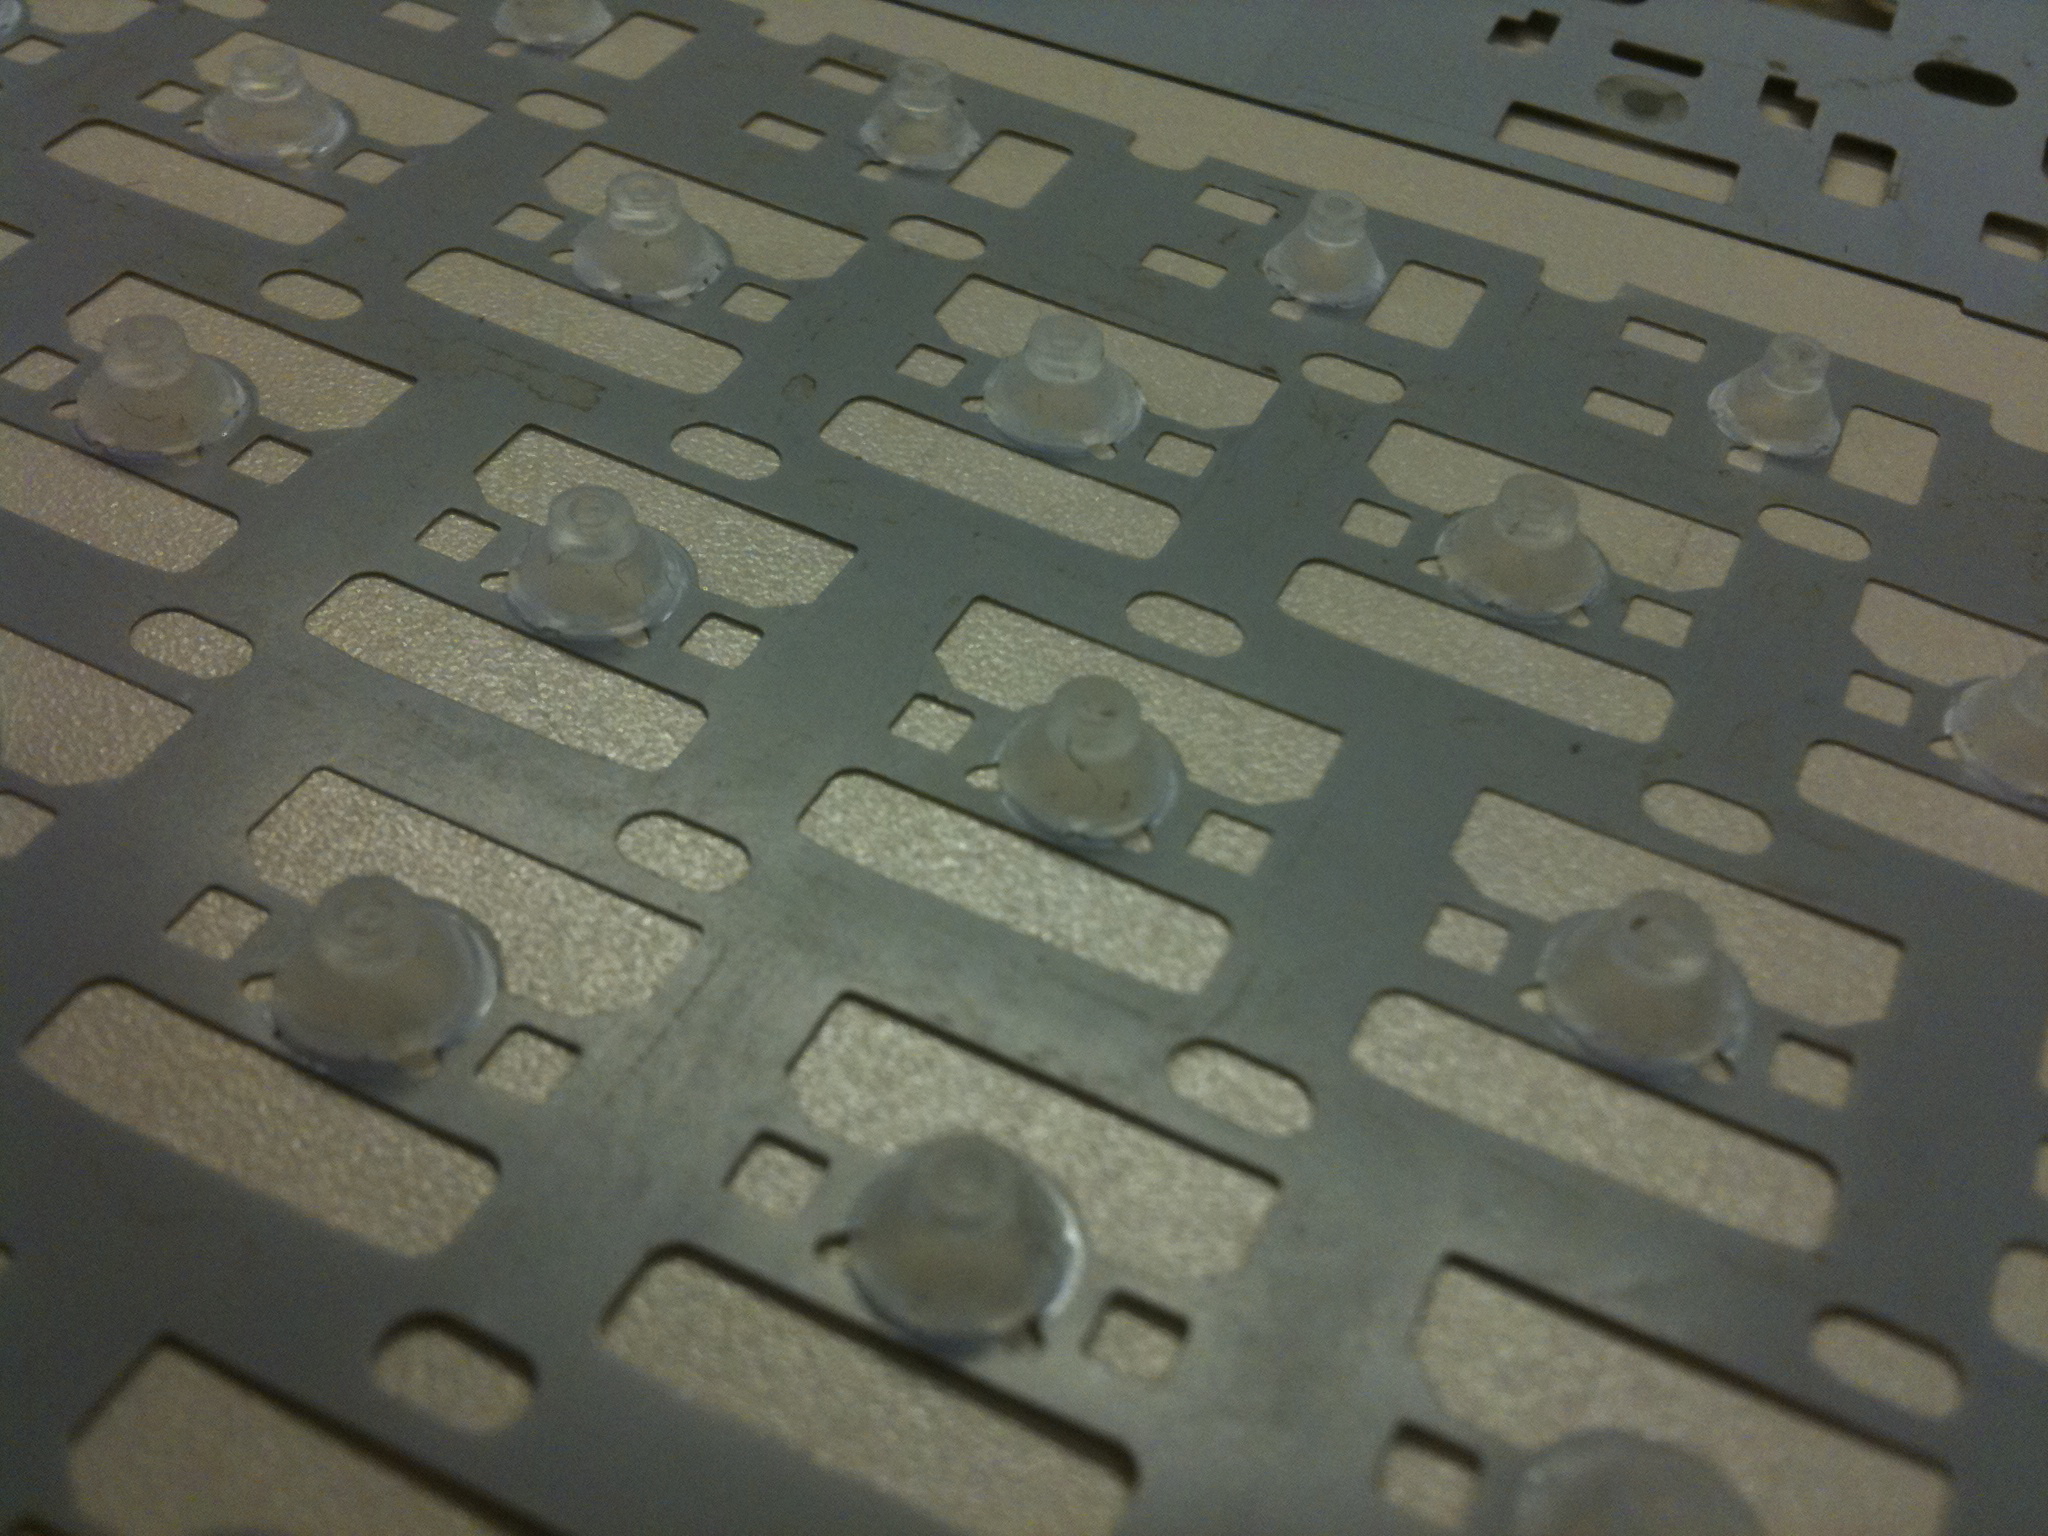
Today I was cleaning under the keys of my Macbook Pro. It was all going so well until I got to the delete(backspace) key. I wiped down the dirt from the key when I realised the silicone dome was rip from the board.

The key still works but it feels extremely hard when I press down, also the contact area is very central which means I am forced to press directly in the centre.

I was wondering if it's possible to replace just the silicone dome from the macbook or must I get the entire keyboard replaced?

Thanks for your time.

=)

Respondido! Ver a resposta Também tenho esse problema

Esta é uma boa pergunta?

Pontuação 0
1 comentário

Thanks for the help, I'm going to try gluing it back on. if it don't work I guess I'll send it off to repair :)

por

Adicionar um comentário

6 respostas

Solução escolhida

I'm assuming you mean the clear little silicone/rubber nipple pieces shown in this photo?

Picture

If so then the answer is no, I've never come across these as standalone replacements. On older machines (PowerBooks, iBooks, etc) you could replace just the keyboard but now that it's part of the top case it's a much more expensive part.

Because of that I'll usually try to repair damaged or missing nipples. If it's torn off completely, but you still have the rubber piece, you can reattach it with a very light amount of glue. The main thing is that you want to make sure it's centered, which luckily the scissor assembly kinda helps with by acting as a guide.

Good luck!

Esta resposta foi útil?

Pontuação 8

2 comentários:

Superglue can be very dangerous in the wrong hands. See Solution below which worked perfectly for my Macbook Pro circa 2015.

por

I agree with the glue idea. Yes, super glue can be dangerous. However, if you don't know what you're doing you should always be practicing first before, do some dry runs, then glue when you feel comfortable doing so. I did this glue fix on a Dell Inspiron 15 5566 that my work was going to be recycling (due to a bad charging port, not the membrane) after I rescued it. I haven't had any issues since.

por

Adicionar um comentário

O.K. If you look VERY closely at the offending item, you will note that the "base" of the nipple is sandwiched between two super-thin sheets of clear plastic which serve to trap the base of the nipple., the upper sheet having a "kitten's head" profile cut out of it through which the nipple protrudes. The trick is to separate the two sheets VERY carefully and feed the nipple through. Really tricky and fiddly but it can be done. Good luck.

Esta resposta foi útil?

Pontuação 7

4 comentários:

The key travel distance is shorter but it's better than I can't type!

por

This looks like the "proper" answer. But I spent nearly an hour trying to do this for the left command key with no success. Probably easier to take everything out and replace the whole keyboard.

por

Managed to slide the dome under the plastic bit. It's not going anywhere, but it's not secure like it was. Key worked great then stopped. Also a lot of the bounce is gone for some reason. Oh well, time for a new keyboard.

por

This definitely seems to have done the trick for me. My key was unpredictable but now it's no longer spongy, dome plastic hub doesn't move, key feels natural and wonderful. Thanks Dave for being a Genius and working it out!!! I've seen solutions using double sided tape which didn't work for me, nor was I keen to use superglue. This is the ultimate solution!

It took me about 5 minutes, but I needed 2 tweezers, and dental head light and magnifying glasses to get it into the right spot. Thank you thank you thank you!

por

Adicionar um comentário

If you do use glue to repair the dome, be sure to allow the adhesive to fully cure before reassembling your MBP. Every adhesive I'm familiar with that adheres to silicone will release volatiles during the curing process.

Usually this isn't an issue, but in the warm, confined space of the MBP, they could attack other parts. Follow the instructions for your adhesive and double (or even triple) the curing time, just to be sure.

Esta resposta foi útil?

Pontuação 3
Adicionar um comentário

Here’s the easy answer:

You don’t need to slide it back under the plastic, and you don’t need to superglue the nipple to the keyboard. You can just superglue the nipple to the key itself.

If anything goes wrong, you can just trash the key and the nipple and you don’t risk pouring superglue all over your keyboard.

Esta resposta foi útil?

Pontuação 2

1 comentário:

This is a great idea! But just wondering how you ensure the nipple is perfectly centered over correct spot?

por

Adicionar um comentário

I had this problem, too, and one issue was that the plastic sheet on the top was warped; so even when I managed to slide the silicone dome into place the first time, it popped out. I’m replacing my computer soon (not under apple care any longer/will cost hundreds to repair), so I just went ham with a toothpick and glue stick, hoping that inserting bits of glue will stabilize the dome for the next two or so weeks. (My key affected is ‘T’, so you can imagine the headache).

Esta resposta foi útil?

Pontuação 0
Adicionar um comentário

If you use Painters Tape or Clear tape (looks better) under the Key cap, cut a whole in a middle so it keeps the keynip clear, and tape that over the silicon with the butterfly clasp underneath the silicon, then you can clip the keycap in, in a non destructive way.

Esta resposta foi útil?

Pontuação 0
Adicionar um comentário

Adicionar a sua resposta

Rizwaan Akhtar será eternamente grato(a).
Exibir estatísticas:

Últimas 24 horas: 3

Últimos 7 dias: 25

Últimos 30 dias: 131

Duração total: 20,496