Introdução
A quick and easy teardown/disassembly guide for the ZEN V Creative Media Player.
O que você precisa
-
-
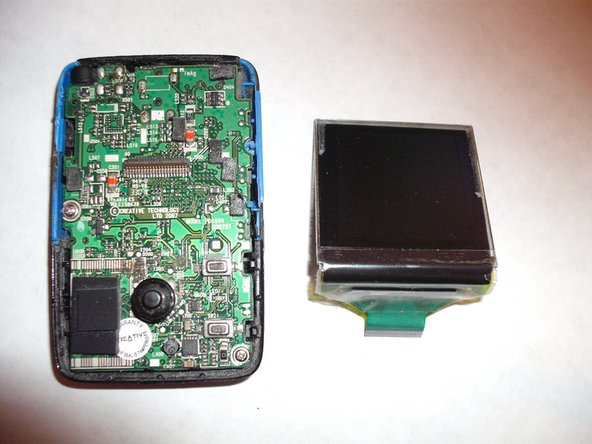
Here we have Creative's ZEN V Media Player.
-
The Navigator Stick
-
The Play/Pause Button
-
The Back Button
-
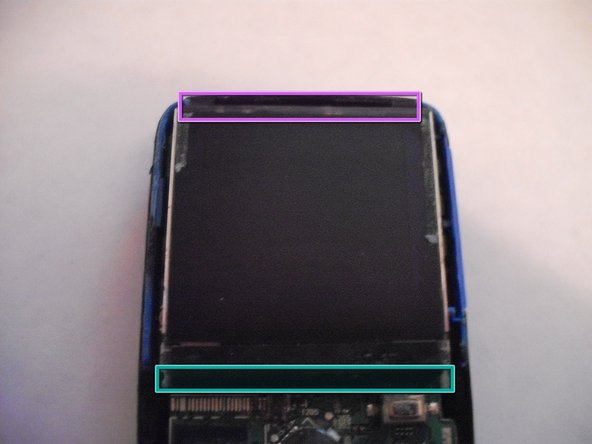
The LCD
-
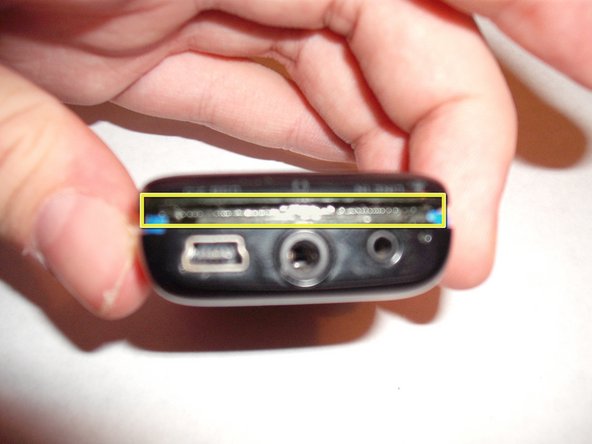
USB 2.0 Charging Port
-
Headphone Jack
-
Line In Jack
-
-
-
Start by taking a pointy metal spudger and insert it on the bottom edge of the player
-
Slide it along, prying up until a gap forms
-
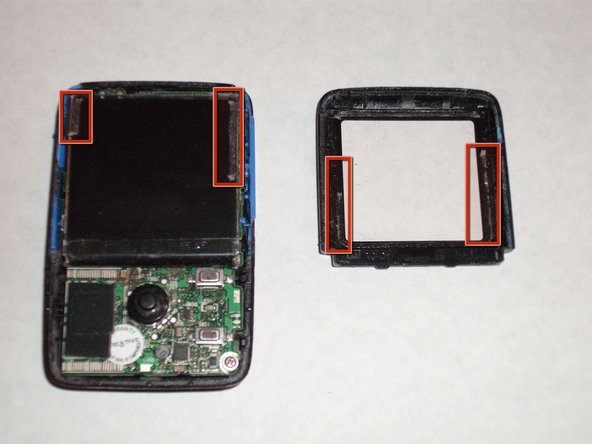
Proceed to insert and slide the tool along the left and right side of the device, until the plastic piece with the buttons comes free.
-
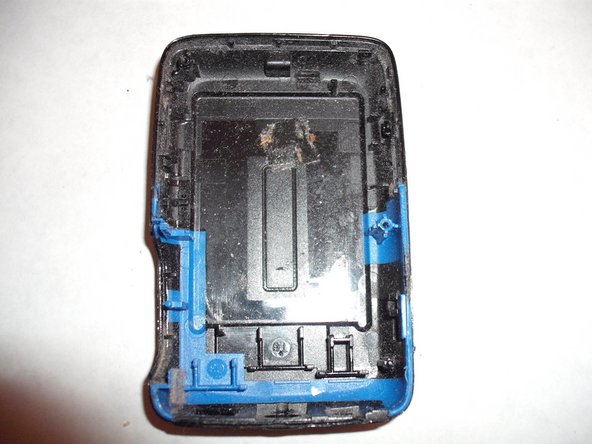
Half of the covering plastic should be off now
-
Gap between plastics
-
-
-
-
Put down your spudger and pick up a Phillips #000 Screwdriver
-
Remove the two screws on the logic board
-
Screws
-
Remove Volume control button by pulling it up off the board
-
Volume control button
-
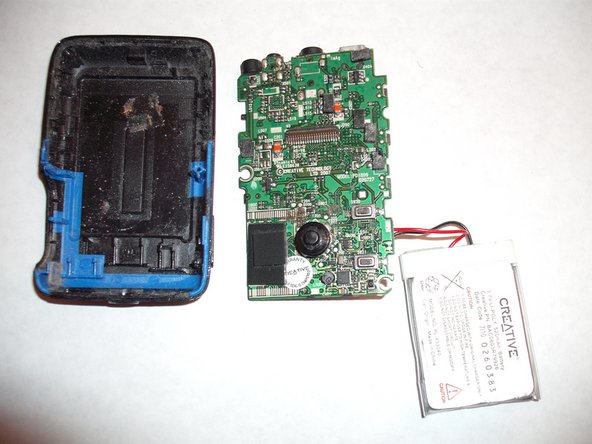
Pull up board from bottom of player
-
Gently wiggle the logic board out of the casing. Be careful because it is connected to a battery underneath it
-
Battery
-
-
-
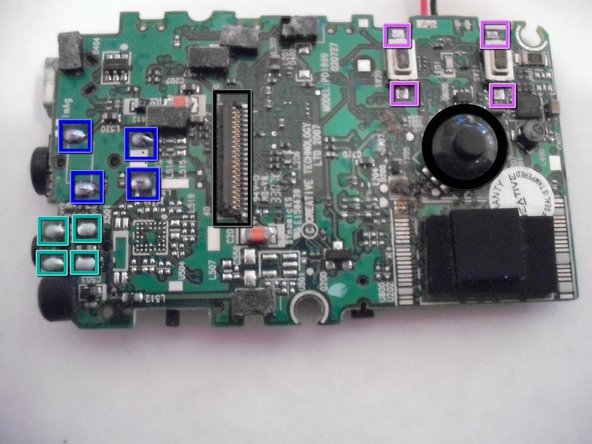
These all are various components that can be removed with a soldering iron
-
USB 2.0 Port has 4 pads and 5 pins attaching it to the logic board
-
Various Switches- 4 pads each. From the (Bottom left), Volume up, Volume Down, Mute?, (Top Left), Power on/Hold, Reset
-
Line In Jack 4 pads
-
Headphone Jack 4 pads
-
Play/Pause Button 2 pads and Back Button 2 pads
-
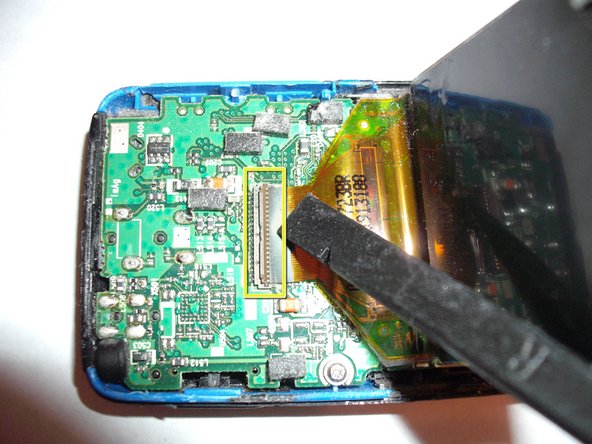
LCD connector and Navigtor button
-
-
-
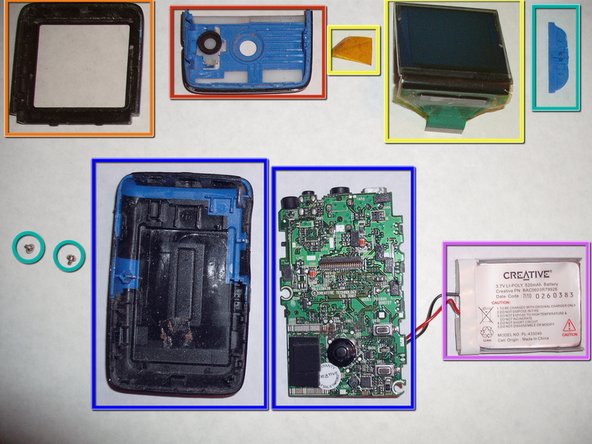
All the innards of the ZEN V Media Player
-
Button Plastic- Removed in Step 2
-
LCD Plastic- Removed in Step 3
-
Orange ESD Safe tape and LCD Screen- Removed in Step 5
-
Screws and Volume Button- Removed in Step 6
-
Back Plastic Case and Logic Board- Removed in Step 7
-
Battery Removed in Step 8
-