O que você precisa
-
Este passo não foi traduzido. Ajude a traduzi-lo
-
It's your classic Super Nintendo controller.
-
Notably, it's a wired controller (same as most of the controllers of the era), and has a very simple layout.
-
The design is often called a "dogbone", due to the shape of the lower part.
-
-
Este passo não foi traduzido. Ajude a traduzi-lo
-
Nintendo, unlike the Control Deck counterpart, did not use custom screws in the controller, therefore it's very easy to open and clean.
-
We remove the 5 Phillips screws on the back of the controller.
-
-
-
Este passo não foi traduzido. Ajude a traduzi-lo
-
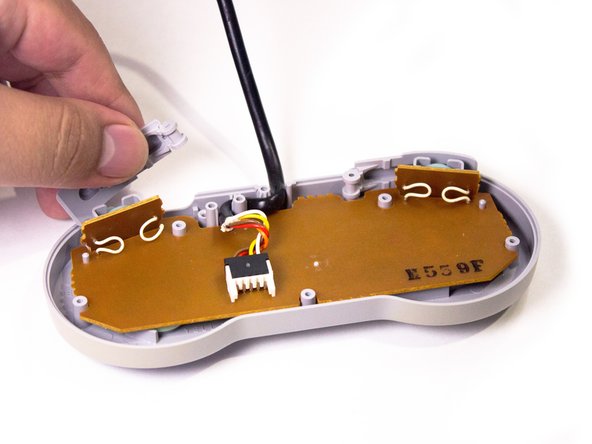
Now we can get onto the board! We first remove the cable from the slack poles.
-
After that, it's only a matter of lifting the board out.
-
-
Este passo não foi traduzido. Ajude a traduzi-lo
-
Onto the rubber pads that represent the buttons, we'll have to remove those too.
-
-
Este passo não foi traduzido. Ajude a traduzi-lo
-
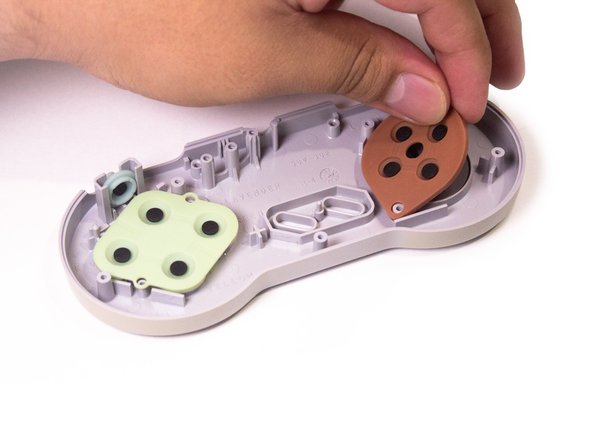
Inching closer, we get to the shoulder button's rubber pads.
-
We can finally remove the remaining plastic buttons from the D-Pad and face button areas.
-
-
Este passo não foi traduzido. Ajude a traduzi-lo
-
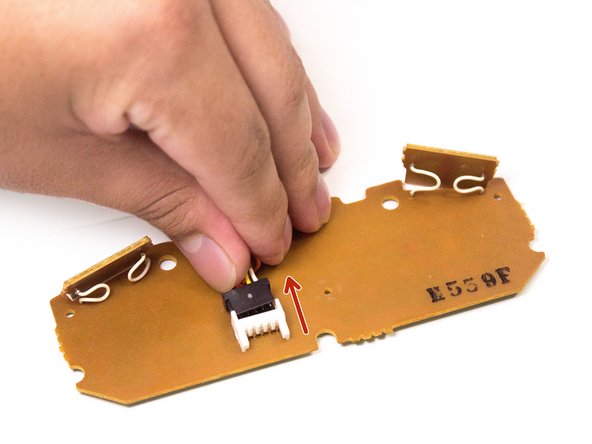
The board itself has the controller cable attached, we can remove that too.
-
-
Este passo não foi traduzido. Ajude a traduzi-lo
-
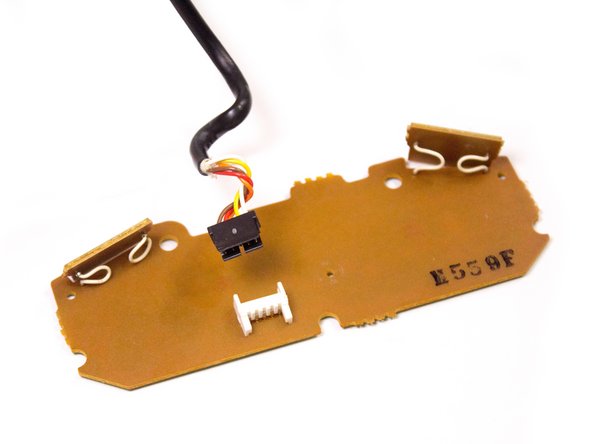
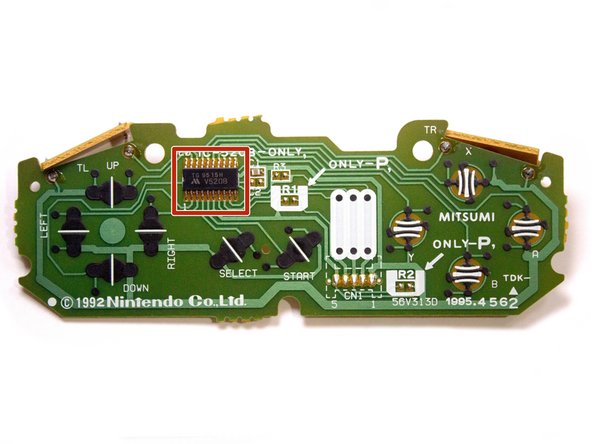
The SNES Controller board features a number of pads as well as a chip.
-
The chip on the board is a 12-bit shift register, used to multiplex all the button signals on the controller into a more budget-friendly connector.
-
-
Este passo não foi traduzido. Ajude a traduzi-lo
-
Finally, we can see all the innards that make this little controller work.
-
Maybe we should play a few rounds of Super Mario World...
-


2 comentários
what size screws are used?