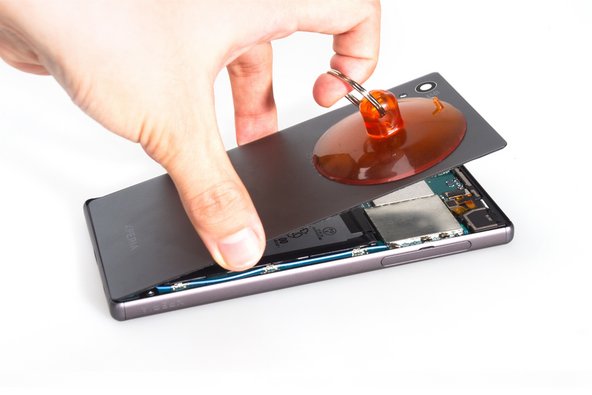
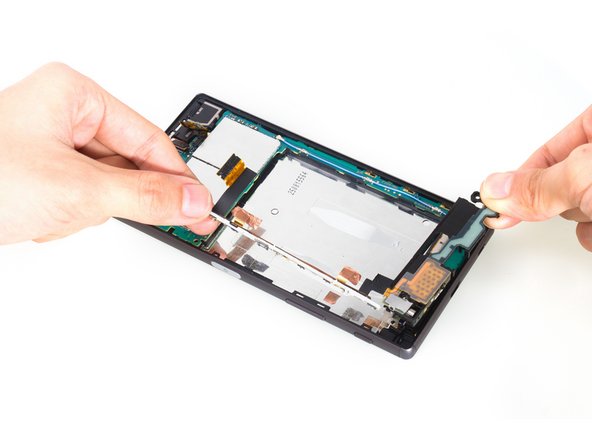
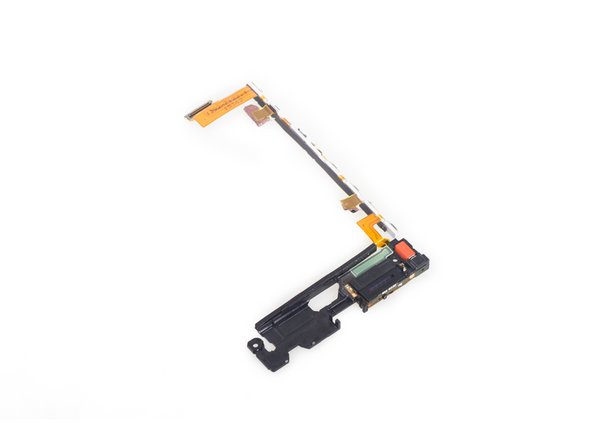
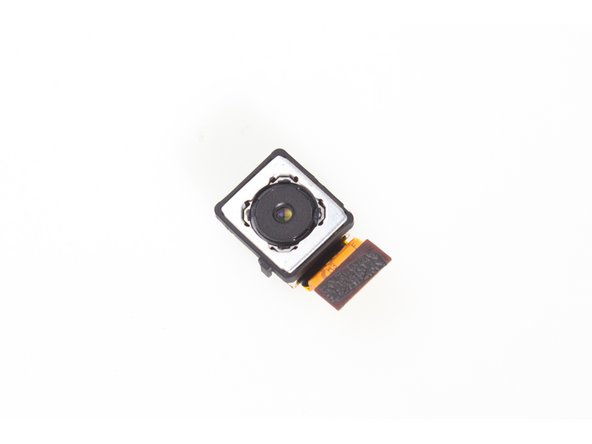
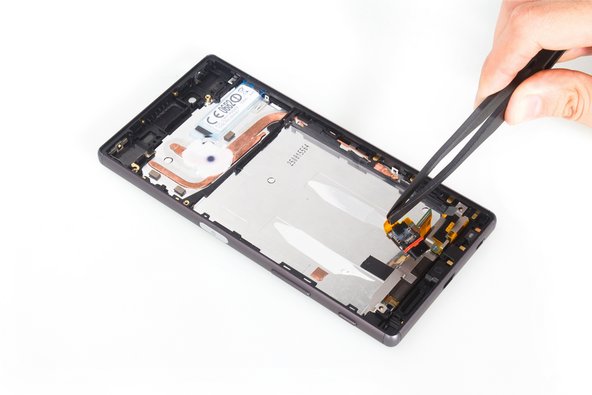
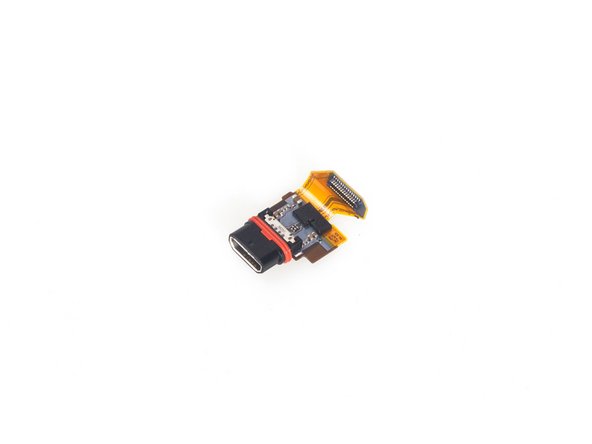
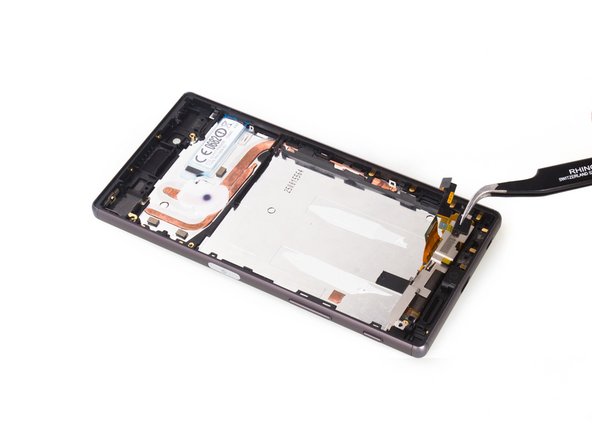
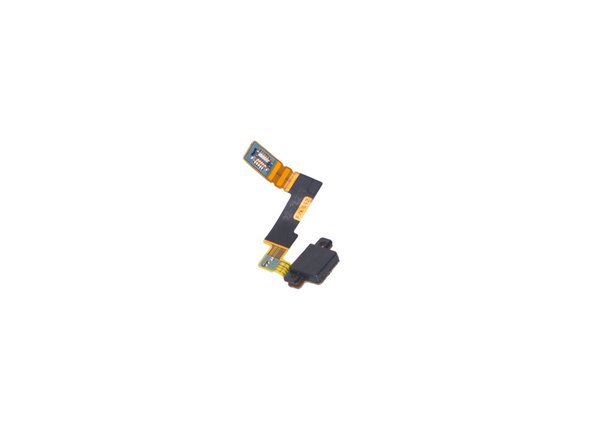
Ir para o conteúdo principal

O que você precisa

Vídeo de Apresentação

Este teardown (desmontagem analítica) não é um guia de reparo. Para reparar seu/sua Sony Xperia Z5, use o nosso manual de serviço.

  1. Sony Xperia Z5 Teardown, Sony Xperia Z5 Teardown: passo 1, imagem 1 %32 Sony Xperia Z5 Teardown, Sony Xperia Z5 Teardown: passo 1, imagem 2 %32
    • Remove SIM card tray.

  2. Sony Xperia Z5 Teardown: passo 2, imagem 1 %32 Sony Xperia Z5 Teardown: passo 2, imagem 2 %32
    • Heat the back cover to soften the adhesive.

    • Place the suction cup and insert metal opening tool to open a gap from top side.

  3. Sony Xperia Z5 Teardown: passo 3, imagem 1 %32 Sony Xperia Z5 Teardown: passo 3, imagem 2 %32 Sony Xperia Z5 Teardown: passo 3, imagem 3 %32
    • Insert the guitar picks and slide it to cut the adhesive underneath.

    • Remove back cover. The back cover is glass, so only use a sucker if you're experienced. otherwise use a small blade to lift off the back while the glue is soft.

  4. Sony Xperia Z5 Teardown: passo 4, imagem 1 %32 Sony Xperia Z5 Teardown: passo 4, imagem 2 %32 Sony Xperia Z5 Teardown: passo 4, imagem 3 %32
    • Release battery connector and pull off the adhesive tape underneath.

    • Pry up battery.

  5. Sony Xperia Z5 Teardown: passo 5, imagem 1 %32 Sony Xperia Z5 Teardown: passo 5, imagem 2 %32 Sony Xperia Z5 Teardown: passo 5, imagem 3 %32
    • Release rear camera connector, front camera connector, audio jack flex connector and main flex connector on the motherboard and remove the screws there.

    • Take away the plastic bracket.

  6. Sony Xperia Z5 Teardown: passo 6, imagem 1 %32 Sony Xperia Z5 Teardown: passo 6, imagem 2 %32 Sony Xperia Z5 Teardown: passo 6, imagem 3 %32
    • Remove metal cover securing loudspeaker and twist off screws.

    • Pry up and loosen the bottom side of main flex assembly.

  7. Sony Xperia Z5 Teardown: passo 7, imagem 1 %32 Sony Xperia Z5 Teardown: passo 7, imagem 2 %32
    • Remove main flex. ( Attention: the fingerprint sensor connector is here, be careful to loosen it)

  8. Sony Xperia Z5 Teardown: passo 8, imagem 1 %32 Sony Xperia Z5 Teardown: passo 8, imagem 2 %32
    • This is main flex assembly. (It comes with loudspeaker and vibration motor )

  9. Sony Xperia Z5 Teardown: passo 9, imagem 1 %32 Sony Xperia Z5 Teardown: passo 9, imagem 2 %32
    • Remove rear camera.

  10. Sony Xperia Z5 Teardown: passo 10, imagem 1 %32 Sony Xperia Z5 Teardown: passo 10, imagem 2 %32 Sony Xperia Z5 Teardown: passo 10, imagem 3 %32
    • Remove that securing bracket, then remove front camera.

  11. Sony Xperia Z5 Teardown: passo 11, imagem 1 %32 Sony Xperia Z5 Teardown: passo 11, imagem 2 %32 Sony Xperia Z5 Teardown: passo 11, imagem 3 %32
    • Release connectors on the motherboard.

    • Remove motherboard.

  12. Sony Xperia Z5 Teardown: passo 12, imagem 1 %32 Sony Xperia Z5 Teardown: passo 12, imagem 2 %32 Sony Xperia Z5 Teardown: passo 12, imagem 3 %32
    • Remover cover bracket on the audio jack.

    • Cut adhesive at the top of the audio jack and noise canceling mic, then remove it.

  13. Sony Xperia Z5 Teardown: passo 13, imagem 1 %32
    • This is audio jack flex coming with noise canceling mic.

  14. Sony Xperia Z5 Teardown: passo 14, imagem 1 %32 Sony Xperia Z5 Teardown: passo 14, imagem 2 %32 Sony Xperia Z5 Teardown: passo 14, imagem 3 %32
    • Cut the adhesive underneath the earpiece and remove the earpiece.

  15. Sony Xperia Z5 Teardown: passo 15, imagem 1 %32 Sony Xperia Z5 Teardown: passo 15, imagem 2 %32 Sony Xperia Z5 Teardown: passo 15, imagem 3 %32
    • Push the charging port flex out of the slot and remove it.

  16. Sony Xperia Z5 Teardown: passo 16, imagem 1 %32 Sony Xperia Z5 Teardown: passo 16, imagem 2 %32 Sony Xperia Z5 Teardown: passo 16, imagem 3 %32
    • Remove the microphone.

  17. Sony Xperia Z5 Teardown: passo 17, imagem 1 %32
    • Done.

Lenka

Membro desde: 11/06/15

2.376 Reputação

Autoria de 6 guias

23 comentários

No Service after a tear down. What is the problem?

Yuhao Min - Responder

it is hard to define which part causes such problem. Make sure the signal antenna connects with logic board perfectly.

Witrigs -

Would the water proof go out because of the removal/teardown ?

Tam Alden - Responder

Most likely. The back is glued on so unless you can make that seal perfect again, the phone wont be water proof.

Discalimer: I don't own a z5 and have never taken one apart but I have dissasembled my z3 to replace the screen and they look very similar.

Kip K -

Hi Lenka,

short question was that a normal xperia z5 or the dual SIM Version because it looks like the SIM reader is long enough to Support two SIM cards. It would be nice if you could check if there are two SIM ports here.

Tobias K - Responder

Adicione um comentário

Exibir estatísticas:

Últimas 24 horas: 8

Últimos 7 dias: 38

Últimos 30 dias: 174

Duração total: 139,840