Introdução
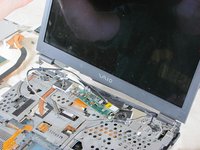
This is a full teardown of the Sony Vaio VGN-SZ120P laptop computer. This guide provides detailed photographs and steps to taking apart and repairing the laptop.
Hazards
Keep out of reach of children and pets.
DO NOT attempt to teardown or repair your device under the influence of drugs or alcohol.
DO NOT ingest any parts of the system.
Use the correct tools as stated in the tools section.
DO NOT touch any gold connectors on interior or exterior of the system.
Make sure system is unplugged before performing any maintenance on the system.
O que você precisa
-
-
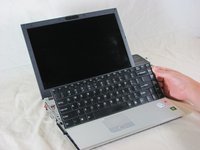
Turn the laptop upside down.
-
Locate the battery.
-
Unlock the battery by shifting the 'lock' slide to the 'unlock' position on the underside and back of the system.
-
Hold the release on the right side and remove the battery out carefully.
-
-
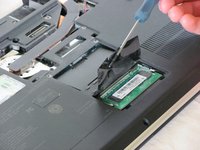
Ferramenta utilizada neste passo:Tweezers$4.99
-
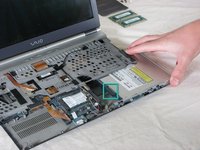
Lift the film covering to reveal the memory modules with the tweezers.
-
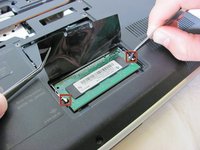
Pull the tabs on both sides of the RAM away from the module. The module will pop up.
-
Repeat these step for the other RAM module located above the RAM module previously removed and set aside.
-
-
-
-
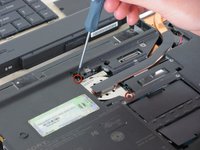
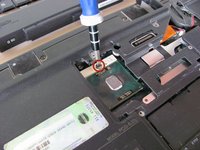
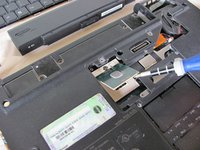
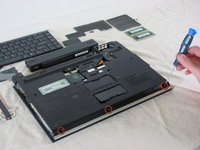
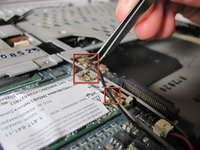
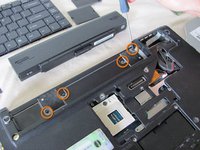
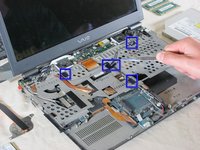
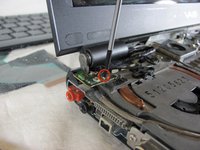
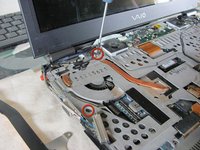
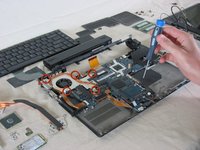
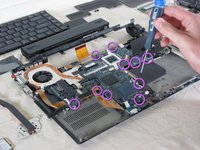
Remove the four screws from the underside of the computer. These screws are located underneath where the battery sits and secure the top keyboard panel.
-
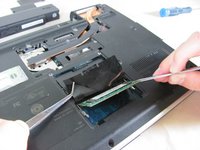
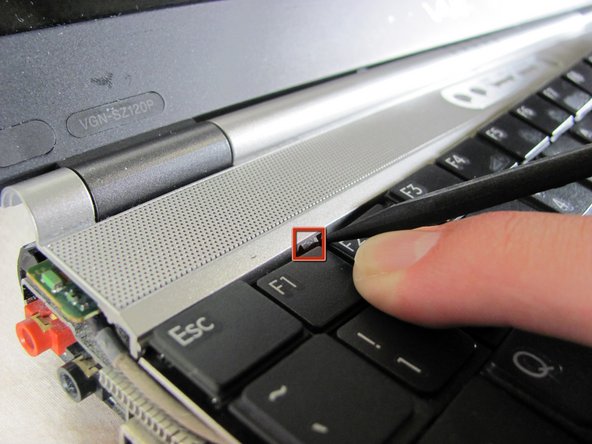
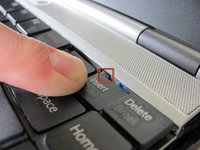
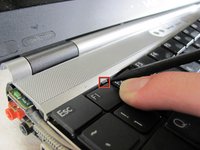
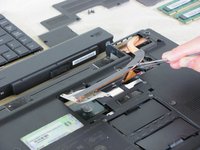
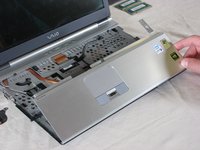
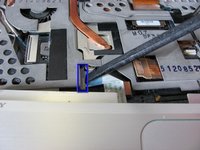
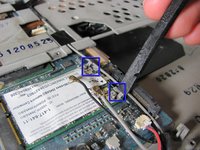
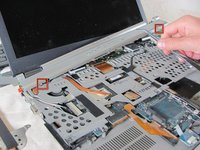
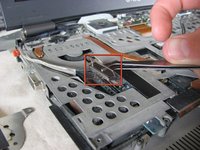
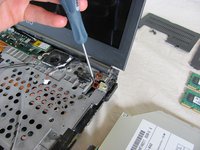
To remove the panel below the screen, press up on the two tabs holding the panel in and lift up. The panel should pop off.
-
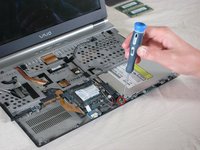
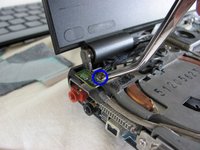
Before proceeding, remove all black tape holding down wires and other cabling.
-


Equipe

Cal Poly, Team 25-89, Amido Spring 2010 Membro de Cal Poly, Team 25-89, Amido Spring 2010
CPSU-AMIDO-S10S25G89
Membros da 4
Autoria de 61 guias
3 comentários
Does this work with the PCG 9J5L
Helped on PCG-6N1M = VGN- sz3xwp (was similar).