Ir para o conteúdo principal

O que você precisa

Este teardown (desmontagem analítica) não é um guia de reparo. Para reparar seu/sua Gas and Smoke Detector, use o nosso manual de serviço.

  1. Smoke Detector Teardown, Smoke Detector Teardown: passo 1, imagem 1 %32 Smoke Detector Teardown, Smoke Detector Teardown: passo 1, imagem 2 %32
    • Use a screwdriver to pry open the plastic enclosure. It might be easier to push the buzzer through the hole, if you need extra leverage.

  2. Smoke Detector Teardown: passo 2, imagem 1 %32
    • The buzzer is unhooked from the PCB board, by hands.

  3. Smoke Detector Teardown: passo 3, imagem 1 %32 Smoke Detector Teardown: passo 3, imagem 2 %32
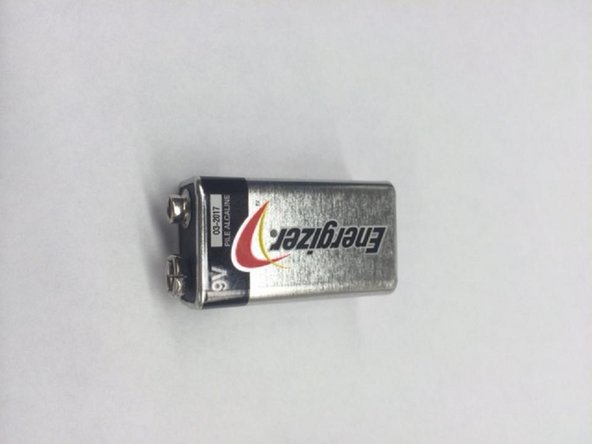
    • This is the circuit for the smoke detector. It is powered by a 9V battery. The 3 metal leafs are contacts for the buzzer and the bigger leaf is for the test button.

  4. Smoke Detector Teardown: passo 4, imagem 1 %32
    • The metal cap is removed to reveal a, MC145017, driver chip and americium sensor. Do not remove americium from the sensor!

Ari Dubinsky

Membro desde: 03/04/14

253 Reputação

Autoria de 1 guia

Um comentário

Adicione um comentário

Exibir estatísticas:

Últimas 24 horas: 2

Últimos 7 dias: 9

Últimos 30 dias: 49

Duração total: 8,076