O que você precisa
-
Este passo não foi traduzido. Ajude a traduzi-lo
-
Power off the Samsung Galaxy S6.
-
Use an eject pin or pointed tweezers to take out the SIM Card Tray.
-
-
Este passo não foi traduzido. Ajude a traduzi-lo
-
Heat up the Samsung Galaxy S6 Battery Door.
-
Draw the battery cover up with a suction cup. (Note: The battery door is adhered to the rear housing with quite strong adhesive, take your time during this process.)
-
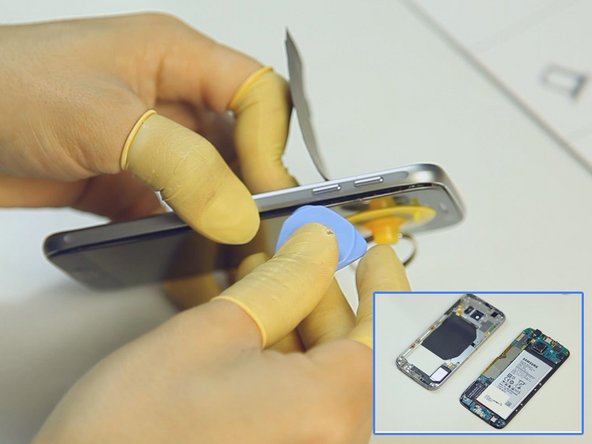
Separate the battery door with an opening pick.
-
-
Este passo não foi traduzido. Ajude a traduzi-lo
-
Undo the 13 screws in the rear housing.
-
Heat up the LCD Assembly.
-
Separate the rear housing from the LCD Assembly with the help of suction cup tool and case opening tool. (Notice: be careful not to damage the wireless charging chip attached to the battery.)
-
-
Este passo não foi traduzido. Ajude a traduzi-lo
-
Remove the power button flex.
-
Remove the volume button flex.
-
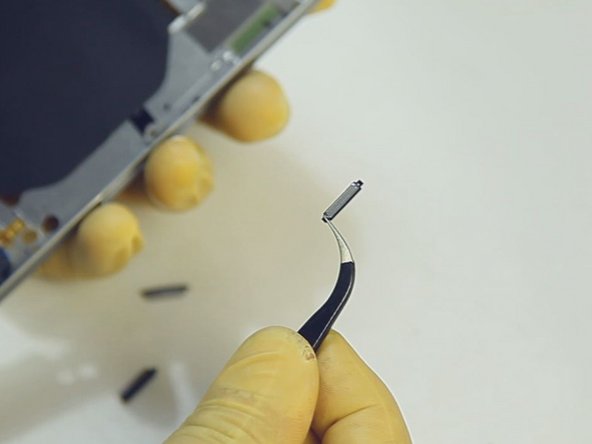
Remove the side keys. (Note: the Galaxy S6 power button and volume buttons are compatible with each other.)
-
-
-
Este passo não foi traduzido. Ajude a traduzi-lo
-
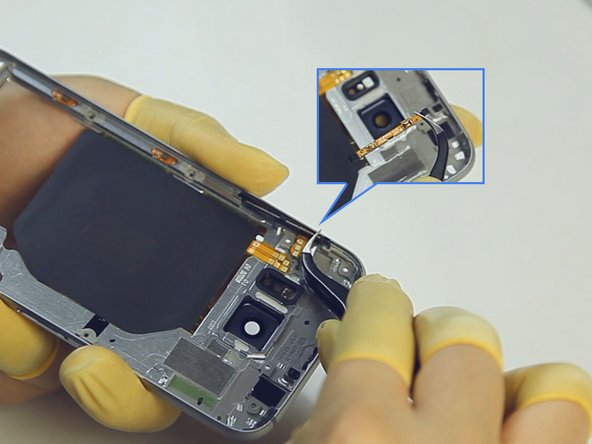
Pry up the charging chip flex ribbons on both sides of rear housing. (Notice: be careful not to damage the flex ribbons.)
-
-
Este passo não foi traduzido. Ajude a traduzi-lo
-
Pry up the LCD assembly connector, front facing camera connector, battery connector, ear speaker connector and home button flex ribbon connector.
-
Turn over the motherboard and pry up the connector.
-
-
Este passo não foi traduzido. Ajude a traduzi-lo
-
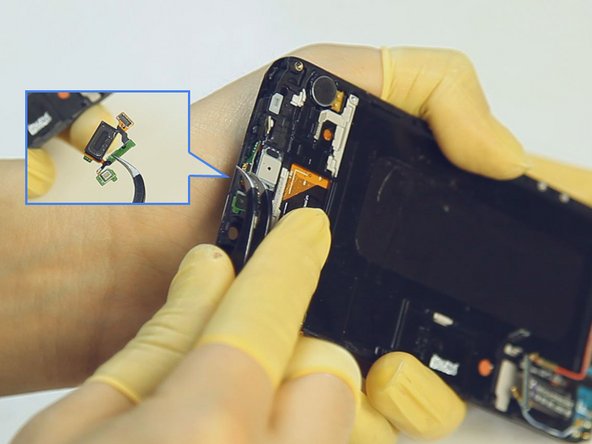
Remove the front facing camera.
-
Remove the ear speaker. (Notice: be careful not to break the flex ribbon.)
-
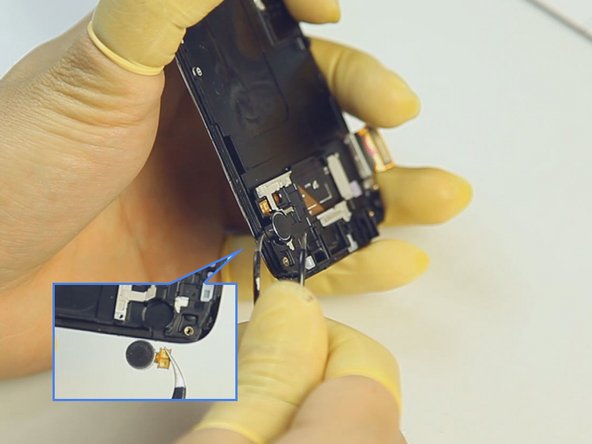
Remove the vibrating motor.
-
-
Este passo não foi traduzido. Ajude a traduzi-lo
-
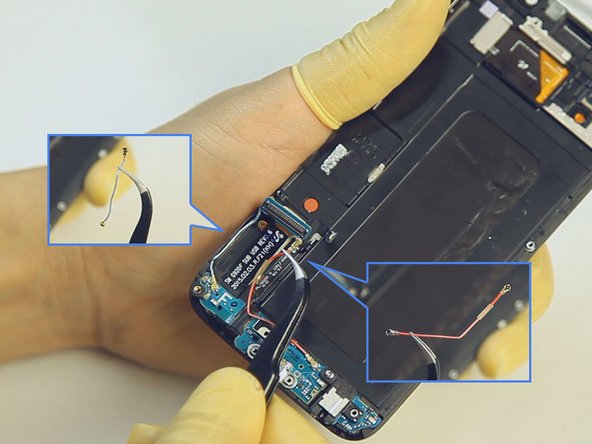
Remove the back facing camera on the mainboard.
-
Remove the Bluetooth cable and Wi-Fi signal cable.
-
-
Este passo não foi traduzido. Ajude a traduzi-lo
-
Undo the earphone jack screw. (Notice: the screw is different than the rear housing screws.)
-
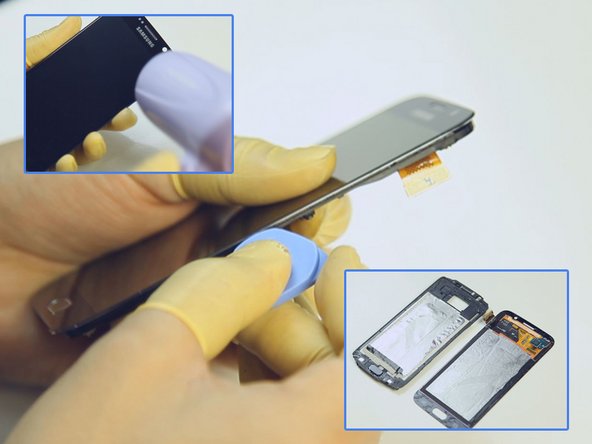
Heat up the LCD Assembly to release the front housing.
-
Pry up the navigation light stickers.
-
-
Este passo não foi traduzido. Ajude a traduzi-lo
-
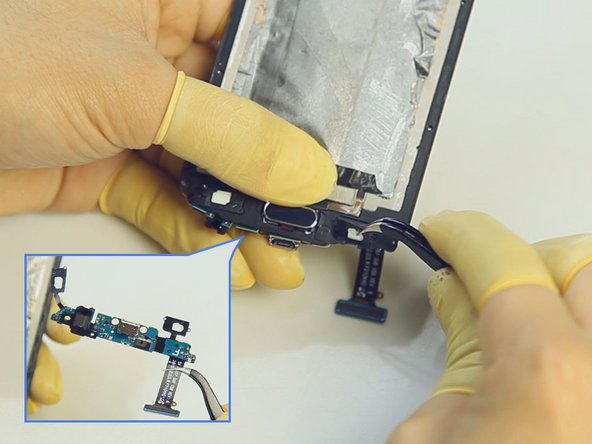
Pry up the connector on the back side of home button.
-
Pry up the home button.
-
-
Este passo não foi traduzido. Ajude a traduzi-lo
-
The Samsung Galaxy S6 disassembly process is complete.
-


20 comentários
I'm curious, what is the DAC on this phone? I know Cirrus Logic partnered with Wolfson so it could be interesting to find out.
The original author of this guide is ETrade Supply (as noted by the video itself). The video, images, and writeup were all produced and watermarked by them, though the image watermarks have since been removed via liberal cropping.
For the full and un-doctored photo set, please see: