O que você precisa
-
Este passo não foi traduzido. Ajude a traduzi-lo
-
Let's see what's inside!
-
Turn your Pantech Crux so that the back cover is facing upwards.
-
Press the indented area at the top of the back cover with one thumb and slide down the cover with your other thumb.
-
Remove back cover and set it to the side.
-
-
Este passo não foi traduzido. Ajude a traduzi-lo
-
Place your thumbnail in the groove at the bottom of the battery.
-
Lift your thumbnail up to remove the battery from the battery casing.
-
-
Este passo não foi traduzido. Ajude a traduzi-lo
-
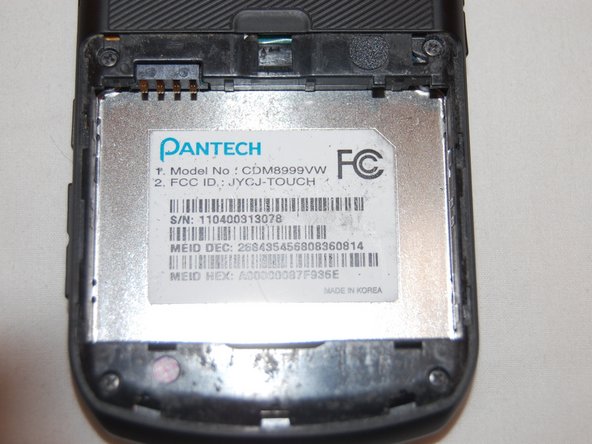
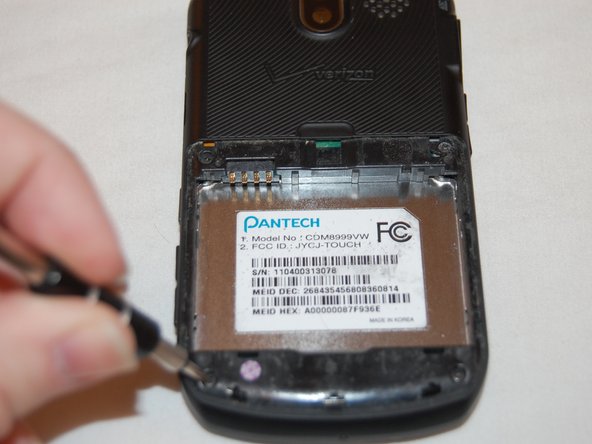
Grab something with a Phillips #000 Screwdriver head.
-
Locate the four screws on the corners of where the back cover was.
-
Use the Phillips #000 Screwdriver to remove these screws.
-
-
Este passo não foi traduzido. Ajude a traduzi-lo
-
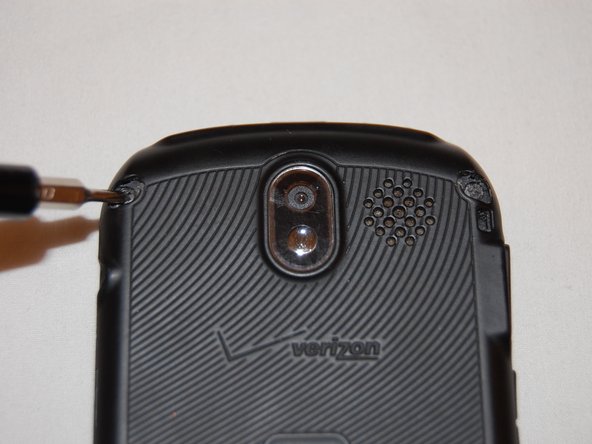
Locate the two screw covers at the top of the phone.
-
Grab a 0.8 SIM Eject bit.
-
Use this bit to get underneath the cover and lift up.
-
Remove both covers.
-
Use the Phillips #000 Screwdriver to remove both screws.
-
-
Este passo não foi traduzido. Ajude a traduzi-lo
-
Flip your Pantech Crux so the screen is facing upwards.
-
Locate the sticker above your screen (it has a lock on it).
-
Use the 0.8 SIM Eject bit to get underneath the sticker.
-
Peel up the sticker.
-
Use a Phillips #000 Screwdriver to remove the screw that was beneath the sticker.
-
-
Este passo não foi traduzido. Ajude a traduzi-lo
-
Locate the area where the back case meets the silver outlining.
-
Use your thumb or the 0.8 SIM Eject bit to lift the back case up.
-
Slide either your thumb or the 0.8 SIM Eject bit between the back case and the silver outlining until the back case comes free.
-
Lift and remove the back case from the phone.
-
Place phone with the screen facing downwards.
-
-
-
Este passo não foi traduzido. Ajude a traduzi-lo
-
Locate the buttons on the side of the phone that are now loose.
-
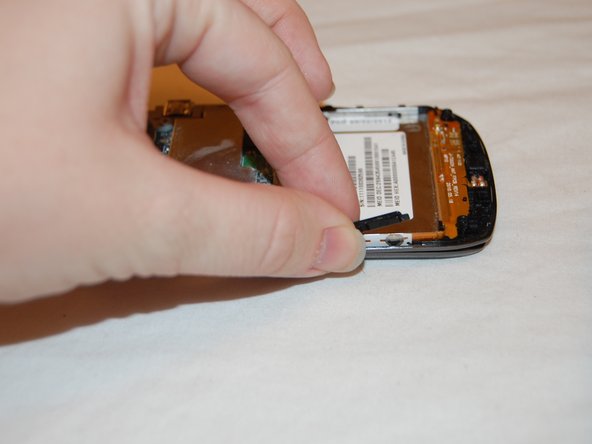
Remove these buttons by pulling on them with your thumb and pointer finger.
-
-
Este passo não foi traduzido. Ajude a traduzi-lo
-
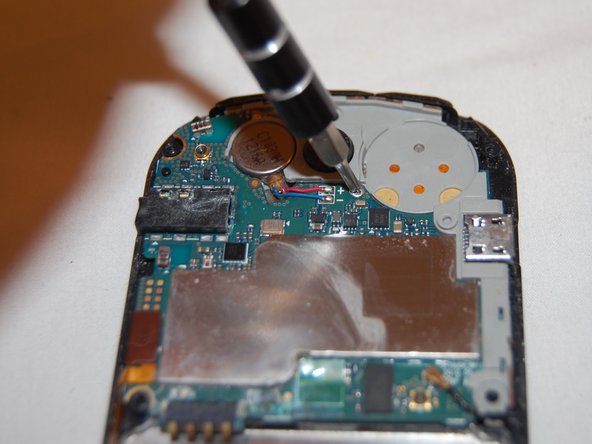
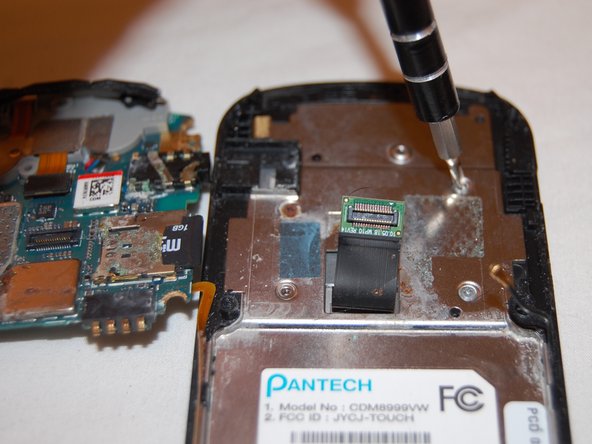
Locate the screw that is in the middle of the motherboard.
-
Use the Phillips #000 Screwdriver to remove this screw.
-
-
Este passo não foi traduzido. Ajude a traduzi-lo
-
Locate the small wire in the bottom right corner of the motherboard.
-
Release this wire by gently pulling up on it with your thumb and pointer finger.
-
-
Este passo não foi traduzido. Ajude a traduzi-lo
-
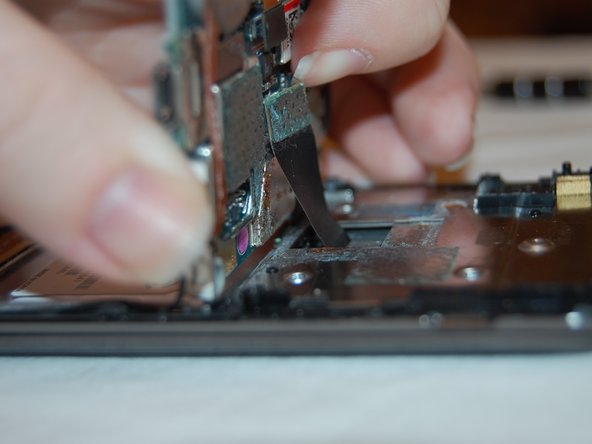
Lift the motherboard.
-
Locate the cable that attaches the motherboard to the front case.
-
Use the 0.8 SIM Eject bit or your nail to lift up and pop off the piece that attaches the cable to the motherboard.
-
-
Este passo não foi traduzido. Ajude a traduzi-lo
-
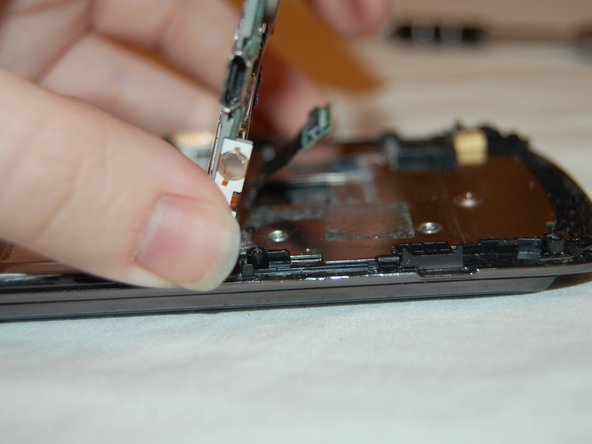
Flip the motherboard to the left of the front case.
-
Locate the four screws that were below the motherboard.
-
Use the Phillips #000 Screwdriver to remove all four screws.
-
-
Este passo não foi traduzido. Ajude a traduzi-lo
-
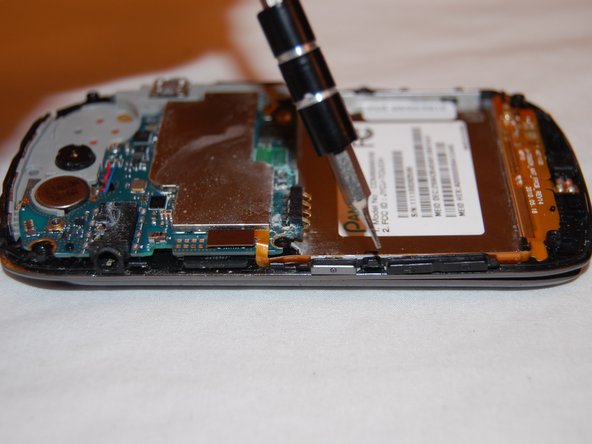
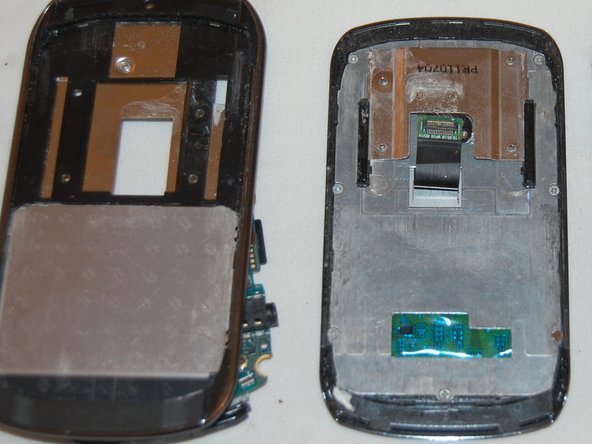
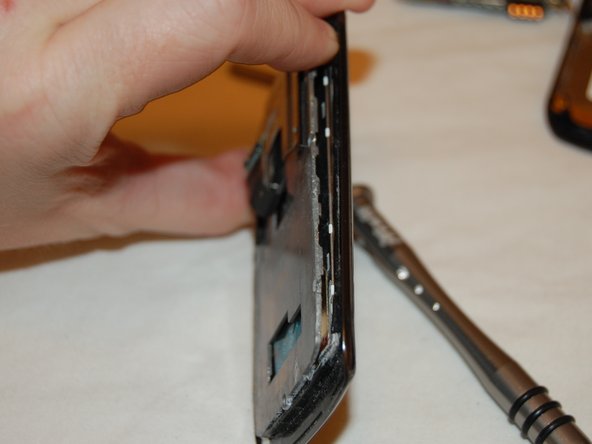
Use your thumb or the 0.8 SIM Eject bit to lift up the layer containing the motherboard from the front of the phone.
-
Run your thumb or the 0.8 SIM Eject bit along the edge of this layer to loosen it.
-
Remove the layer when it becomes loose enough.
-
-
Este passo não foi traduzido. Ajude a traduzi-lo
-
Underneath the layer you just removed is a piece of metal with seven screws on it.
-
Use a Phillips #000 Screwdriver to remove all seven screws.
-
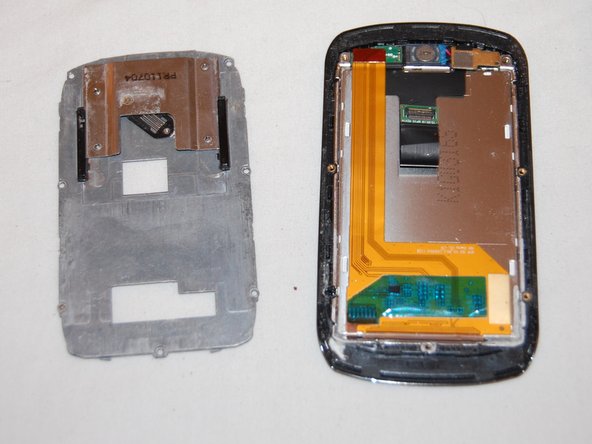
Use your finger or the 0.8 SIM Eject bit to remove this metal piece from the front of the phone.
-
-
Este passo não foi traduzido. Ajude a traduzi-lo
-
What you see is the back of the screen.
-
To remove the screen lift it up from the side.
-
-
Este passo não foi traduzido. Ajude a traduzi-lo
-
Congratulations! You have completed a teardown of the Pantech Crux.
-
Um comentário
Thanks for the help. It was fun to take apart my phone and see if I could fix it before trading in for a new one.
The screen is black: it shows light, but it is just projecting a black screen. Since this is a touch screen, that means that I can't see anything that I am doing or even make a phone call. I have memorized where the "answer" button is, so I can receive...
Thanks again!


